
 ChatGPT
 Perplexity
 Claude
 Gemini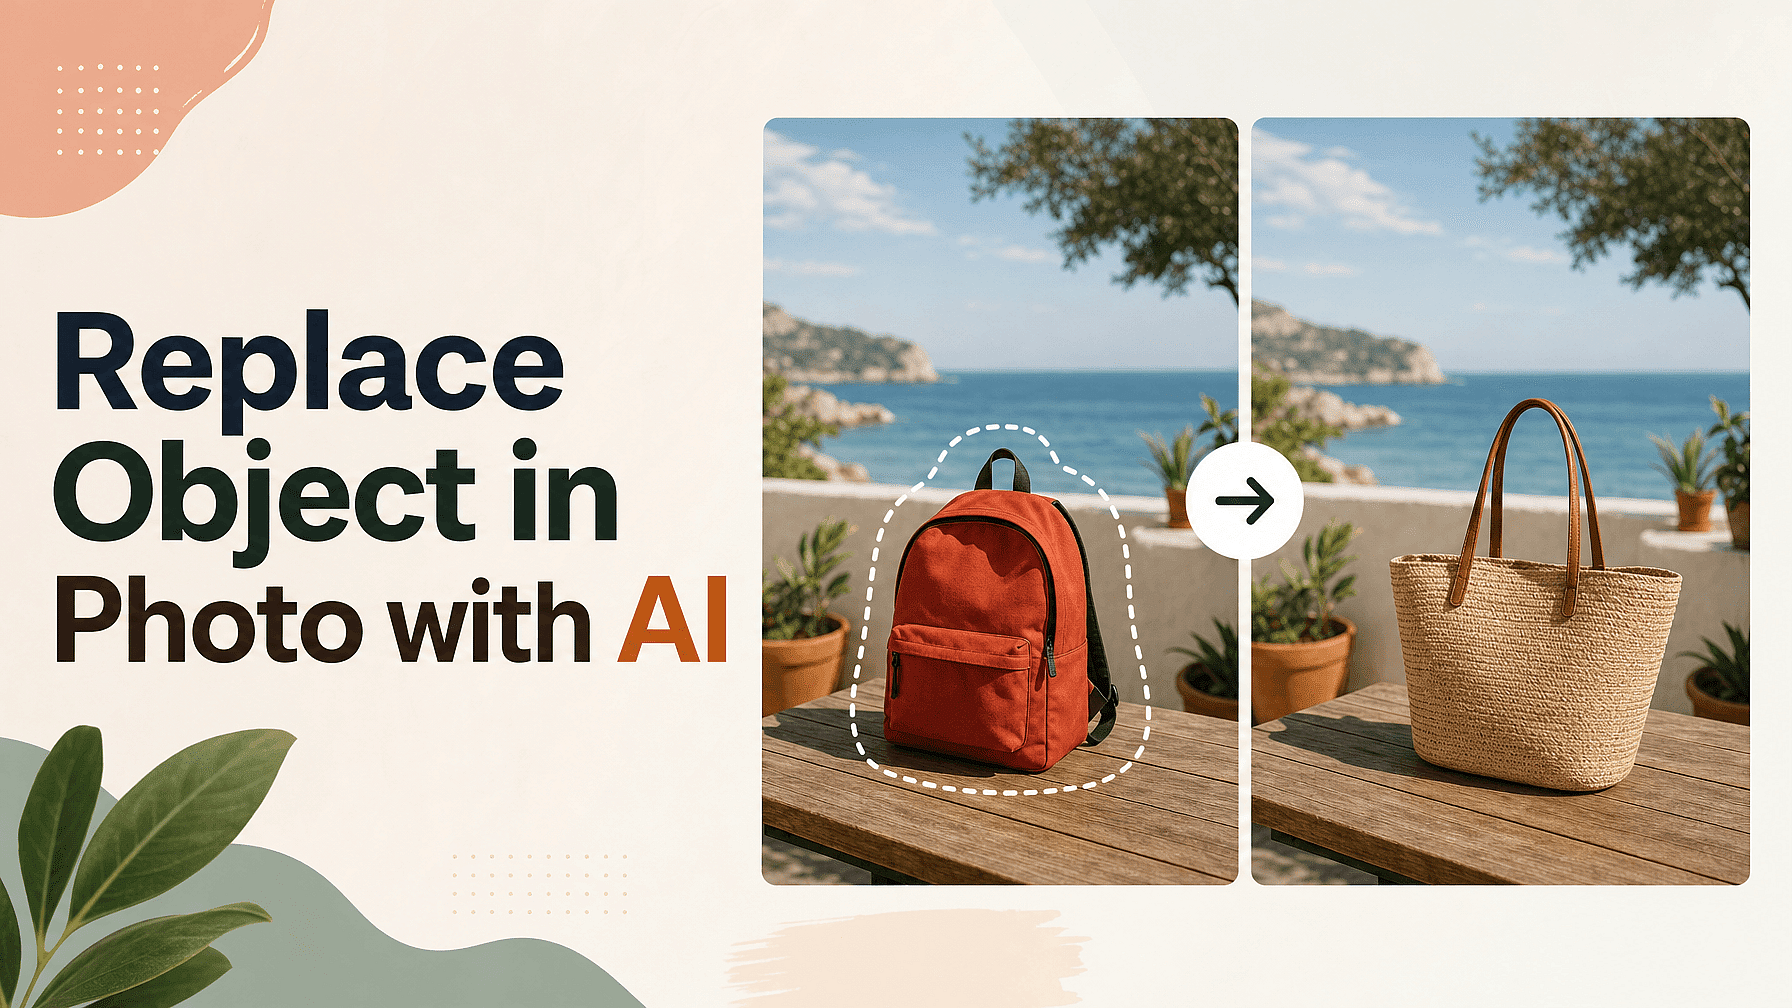
You have a photo you like, except for one thing sitting in it. A plain white mug on the desk, or a folding chair in the corner.
AI can swap that one item for something else and leave the rest of the picture alone. The whole job takes about two minutes once you know the steps.
Key takeaways
- Use Edit Image in Area Edit mode so only the part you pick gets changed.
- Select a little wider than the object, including the space where its shadow falls.
- Describe the new object by name, material, size, and the light on it.
- Make 8 versions in one go and pick the best one.
- Upscale at the very end, after the swap already looks right.
Pick the tool that changes one region
Open OpenArt's AI image generator and go to Edit Image. It has three modes, and Area Edit is the one for this job.
Area Edit lets you highlight one part of the picture and describe what should go there. Only that highlighted area gets rebuilt, so everything outside it stays exactly as you shot it.
Describe mode changes the whole picture at once, so save it for bigger jobs. Annotate mode lets you draw arrows and brush marks on the photo first, which helps when the object is hard to explain in words.
Select a little wider than the object
Highlight the object you want gone, then push the selection out past its edges.
Include some of the surface it sits on and the space where its shadow lands. Those extra pixels are how the AI learns what the light in your photo is doing.
A selection that hugs the object too tightly leaves the AI guessing. One that covers half the photo starts rebuilding parts you wanted to keep.
Say what the new object is, not just that it is new
"Replace this" gives the AI almost nothing to work with. Name the thing you want and give it three facts.
Say what it is made of, how big it is next to what is around it, and where the light comes from. "A short wooden stool, light oak, about knee height, lit from the left with a soft shadow to the right" is a real instruction.
Adding "keep the existing lighting and shadows in the scene" is worth the extra words. It stops the AI relighting your whole photo to suit the new object.
Make eight versions in one go
Set the number of outputs to 8 before you generate, so you pick from eight tries instead of judging one.
Turn on Auto-Polish Prompt if your description is short. It fills in the detail the AI needs and usually gets you closer on the first try.
When one version is nearly right, run it through Image Variations. You can make up to 8 more from it, and the creativity slider keeps them close to the one that already worked.
Clean up what the first pass missed
Two small edits beat one long prompt. If the new object looks right but a piece of the old one is still showing, select just that leftover bit and run it again.
Generative AI Fill handles that kind of cleanup, like erasing a stray edge or patching a bit of floor. If the shadow is the only thing that looks wrong, select the shadow area on its own and describe the shadow you want.
Judge the result on four things: which way the shadows fall, how soft their edges are, where the bright spots sit, and whether the color of the light matches the rest of the photo.
Upscale after the swap looks right
Save the image upscaler for last. Upscaling first just gives you a bigger copy of an edit you are about to change again.
Pick Precise mode for a finished photo. It keeps what is already there instead of inventing new detail. The upscale slider goes from 1x to 11x, and you can switch on face enhancement when a person is in the shot.
Then look at the picture at full size, because an edge that looked perfect in a thumbnail does not always hold up close.
FAQ
Can I replace an object in a photo I took myself?
Yes. Upload it and Area Edit works the same way it does on an image you generated in OpenArt. Photos from your phone are fine.
Why does my new object look pasted in?
It is almost always the light rather than the sharpness. Check that the shadow falls the same way as every other shadow in the photo, and that the bright side of the new object faces the same direction as the light.
Do I have to remove the old object first?
No. You select the area the old object sits in and describe what should be there instead. The old object goes away as part of that same step.