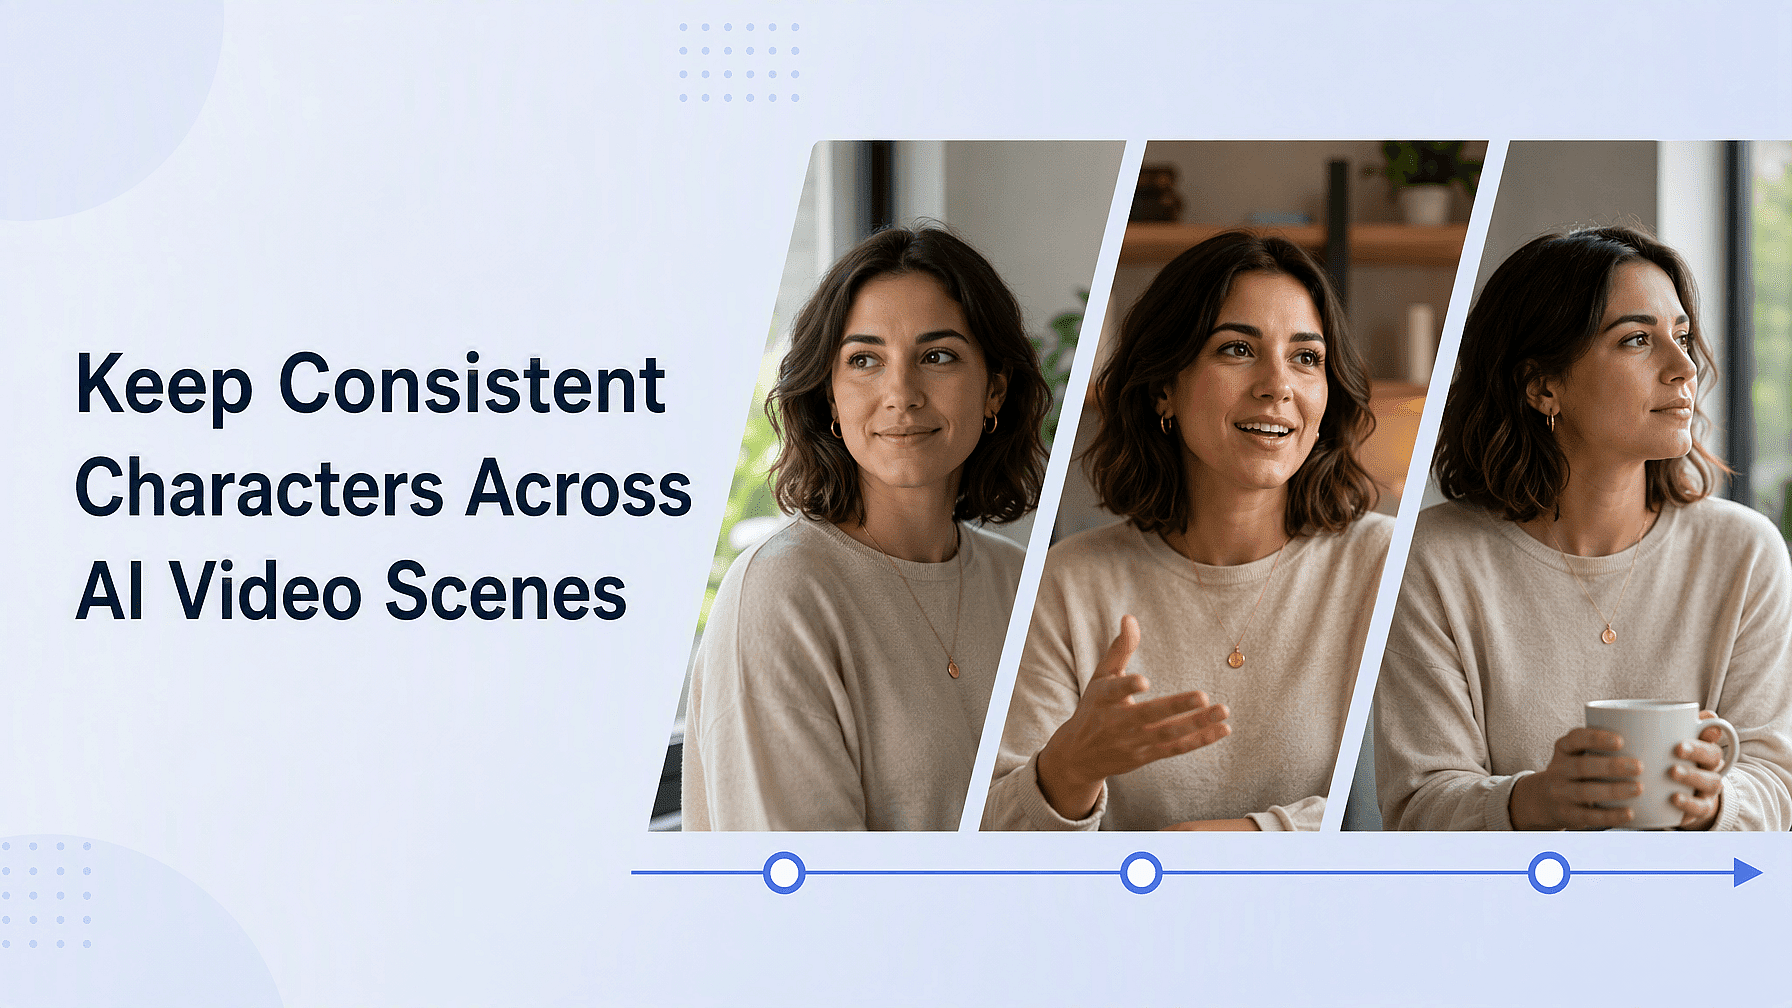

Your protagonist looks perfect in scene one, then scene two returns a different person: rounder face, new hairline, jacket replaced by a coat you never prompted. Creators call that failure character drift, and it breaks serialized stories and brand campaigns. It also breaks any video longer than one clip.
Consistency comes from a repeatable workflow. Build the character once, lock the definition into a canonical image set, anchor every scene with image-to-video, chain frames between shots, and correct the stragglers.
Why your AI character keeps changing between clips
Video models don't remember your character between generations. Each clip starts from random noise, so text-to-video has no identity anchor: the model invents a face each time it denoises, and that invented face can drift from clip to clip.
Drift shows up in two distinct places, and they need different fixes:
- Within-clip drift: The face degrades across frames inside a single generation. Researchers found that identity progressively degrades as errors propagate from frame to frame, which is why a longer single clip is harder to hold together than a short one.
- Scene-to-scene drift: Each new clip regenerates the character from scratch, so identity resets with every generation.
Scene-to-scene drift is the harder problem and the one this workflow targets. Kling's own product materials point to reference images, not prompt tuning, as the reliable way to hold a face steady, and the workflow below follows the same logic.
What you need before you start
The workflow requires generation tools and a video editor, whether you assemble them separately or use one platform:
- Generation tools include an image generator for your canonical character reference set and a video generator with image-to-video, so each clip can start from your reference rather than text alone. On OpenArt, image models include GPT Image 2, Seedream 5.0 Pro, Nano Banana Pro, and Recraft V4. Its video lineup includes Seedance 2.5, Veo 3.1, Kling Omni, Wan 2.7, and LTX-2.3.
- A video editor stitches clips and grades color for visual unity.
The all-in-one path runs the whole pipeline in one workspace: OpenArt's Character Builder saves your character to a persistent library for reuse across every image and video generation. OpenArt Director reuses the saved character across multi-scene videos without manual stitching, though identity can still drift in video. Paid plans start at $14 per month; check the OpenArt pricing page for current plan names and credit amounts.
How to keep a character consistent across scenes: step by step
The workflow in one pass: define the character in writing, generate a canonical reference image set, lock the description into a reusable prompt block, generate every scene with image-to-video starting from a canonical frame, chain the last frame of each clip into the next, and stitch the results in an editor. Each step removes one source of drift, and skipping any of them reintroduces it.
Step 1: Build a character bible
Write down every visual fact about your character before generating anything. Cover face shape, hair color and length, eye color, skin tone, build, specific garments with colors and materials, and the rendering style (photorealistic, anime, cinematic).
Then add one unique identifier, such as a scar or distinctive accessory. It anchors identity even when other details wobble.
On OpenArt you define this once instead of retyping it. The Character Builder lets you set presets for look, vibe, gender, ethnicity, and age range, and it isn't limited to photorealistic looks: stylized and fantasy characters work too. For any character, including non-human ones, OpenArt Characters can start from a single reference image, a text prompt, or a preset, and it works across models including Nano Banana Pro, Seedream 4.0, and Kling Omni.
Saved characters live in your library. Tag a saved character in any generation, and the system carries the full identity definition into that prompt for you.
Step 2: Create and prepare reference images
Generate a canonical set of stills from your character bible, then treat those images as the single source of truth for every scene. A common practitioner starting point is 4 to 8 strong stills covering multiple angles and lighting conditions. More images can help, but only if each one is genuinely different: near-duplicate shots just teach the model to memorize one photo instead of learning the character.
A working eight-image character sheet covers:
- Front view, three-quarter left, three-quarter right, and side profile
- One head-and-shoulders close-up and one neutral full-body shot
- At least two expressions beyond neutral, such as a subtle smile and a serious look
Shoot for even, neutral lighting on a plain background. Runway recommends a neutral expression as a blank starting point for reference images, and harsh shadows can carry into results as if they were facial features. Close-up and half-body images tend to hold facial detail better than full-body shots, so weight your set toward those.
Step 3: Write a prompt that locks facial features and wardrobe
Write a 1–3 sentence context block describing the character and wardrobe, then define the lighting. Prepend it verbatim to every clip's prompt. Verbatim matters: paraphrasing between clips gives the model room to reinterpret.
Be ruthlessly specific. "Navy crewneck" beats "a navy or dark sweater"; "shoulder-length brown waves" beats "medium-length brown hair." Lock your lighting keywords the same way, for example "golden hour, warm key, soft fill, no green cast," and reuse them across every scene in the same location.
A four-line block you can copy and refill for each shot:
Character: [saved character or full description]
Wardrobe: [garment, color, material]
Lighting: [key light, fill, color cast]
Motion + scene: [what the character does, where]
Kling's official prompt formula is a useful skeleton: Subject (Subject Description) + Subject Movement + Scene (Scene Description) + (Camera Language + Lighting + Atmosphere).
On OpenArt, tagging your saved character does the repetition for you. The saved character carries the face and hair definition into every prompt, along with the wardrobe. Your per-clip prompt only needs to describe motion and scene.
Step 4: Generate each scene with image-to-video
Start every clip from a canonical image rather than from text. Image-to-video uses your reference as the literal first frame, so the character enters the clip exactly as designed. The generation modes trade off differently:
- Text-to-video: No visual anchor at all. The model invents the face each time, which is why it's the primary cause of scene-to-scene drift.
- Image-to-video: Strong first-frame anchor with drift risk later in the clip. Keep your prompt focused on motion, not on re-describing the subject, and keep motion strength moderate. Set it too high and the model invents motion that requires inventing new geometry, at which point identity collapses.
Video-to-video anchors motion and structure from an existing clip. Use it for post-generation correction. Runway notes that for its Aleph editing model, keeping subjects and objects consistent works best when you include them directly in the input footage rather than relying on a text description alone.
Most current models also accept extra reference images alongside the start frame. Veo 3.1 takes up to 3 reference images, Kling's Elements feature accepts 2 to 4, and Seedance 2.5 on OpenArt supports up to 50 tagged reference assets in a single generation.
You can assign the face from image one while video one controls the camera movement. Audio one can drive lip sync.
Step 5: Chain frames scene to scene
For sequential shots, export the last frame of clip N and use it as the first frame of clip N+1. That frame preserves the character's exact appearance at the cut point. It also carries forward the lighting and position, so the model has far less freedom to reinvent anything.
Veo 3.1 supports first-and-last-frame generation natively, and Kling's Start & End Frames mode generates the transition between two stills you supply.
Keep clips short: 3–5 seconds per generation limits accumulated drift. Drift still adds up the longer a chain runs, even with frame chaining, so make it a habit to refresh the chain every few clips: feed your original reference pack back in alongside the strongest recent frame instead of letting the chain run indefinitely on its own momentum.
Advanced ComfyUI users add a checkpoint here: run a face-similarity comparison on the extracted frame against your reference set, and if it looks off, inpaint the face region at a low denoise strength before feeding it into the next clip.
Step 6: Stitch clips into the final video
Assemble the clips in your editor, batching shots with similar lighting and camera angles. Keep matching backgrounds next to each other so small variations read as continuity rather than error. A final color grade across all clips unifies whatever tonal differences remain between generations.
With Director you skip this step. OpenArt Director builds multi-scene videos up to 5 minutes from a chat conversation, with use cases spanning short films, music videos, UGC ads, and product ads.
You describe the idea and refine the script or characters with the built-in assistant Ori. Then you review the storyboard scene by scene. OpenArt designed Director to develop the story and build the characters while keeping faces, voices, environments, and products consistent across scenes, though generated video can still show identity drift.
Advanced techniques for stubborn drift
When reference images and locked prompts still aren't enough, these methods lock identity at the model level.
LoRA training
LoRA (Low-Rank Adaptation) teaches a model your specific character by training a small adapter file on your reference images, without retraining the base model.
OpenArt lets you train a custom model through its interface without ML expertise, with a Character Training option built for one recurring character. Check OpenArt's own guidance for current image-count minimums and training times, since these details can change as the feature evolves.
In the open-source world:
- HunyuanVideo ships official LoRA training scripts, alongside popular community tools like musubi-tuner.
- Wan 2.2 trains via DiffSynth-Studio.
- Lightricks' LTX-2.3 offers an IC-LoRA that conditions generation on a single reference sheet of characters, props, and locations.
- Mochi 1 includes official LoRA fine-tuning support.
IP-Adapter
The IP-Adapter architecture lets you use an image as a prompt. A frozen encoder converts your reference into embeddings and injects them into the model through separate cross-attention layers, steering generation toward that face while your text prompt still controls the scene.
The FaceID variants swap in face-recognition embeddings for stronger identity control. The license restricts those variants to research use rather than commercial use. The widely used cubiq/ComfyUI_IPAdapter_plus repository has been in maintenance-only status since April 2025.
A common ComfyUI identity-conditioning workflow locks the face first with IP-Adapter FaceID, applies a character LoRA for style and body on top, and controls the pose separately with ControlNet.
Seed locking
A seed fixes the starting noise for a generation, so reusing it under unchanged generation settings tends to generate similar output. Runway Gen-4 exposes a fixed-seed toggle that yields generations with similar style and movement, Google Veo accepts a seed value on Vertex AI, and Kling recommends saving seeds and settings once you find a baseline look. Seeds stabilize output, but reproducibility can vary across hardware and platform updates even with identical seeds.
Troubleshooting character drift
A clip can look 90% right even when one detail fails. Regenerating it may cost more than repairing it.
Face swap and character swap as last resorts
Face-swap tools replace a drifted face in a clip with your canonical one. Character-swap tools go further by replacing the whole character while preserving the background, lighting, motion, and camera work. Reach for these tools at cleanup stage: face swapping can create unnatural blending artifacts around extreme head angles or strong lighting, so treat it as a fix for a mostly-right clip, not a first resort.
Fast motion creates the same problem.
Get consent from every real person you depict in a face-swap workflow. Congress enacted the TAKE IT DOWN Act on May 19, 2025 to target nonconsensual intimate imagery, and EU AI Act Article 50 disclosure duties apply from August 2, 2026.
Multiple characters in one scene
Multi-character scenes drift faster because the model juggles several identities at once. Seedance 2.5 on OpenArt supports up to 50 tagged reference assets in a single generation, and its @-tagging lets you assign roles explicitly: image one as the left dancer and image two as the right dancer, so identities don't blend.
Third-party testing adds a fair caveat: Seedance 2.5 reduces drift when you approach it methodically, but it doesn't eliminate drift outright.
Voice and lip sync
Visual consistency means little if your character sounds different in every episode. On OpenArt, clone a voice once from a reference sample and reuse it across every clip, with voiceover available in 30+ languages. Audio plus your character image drives lip sync.
A reference performance can preserve physical continuity by transferring a dance or sports action onto your character. The same process works for a walk, so performance style stays recognizable across episodes.
FAQ
How many reference images do I need for a consistent character?
OpenArt Characters can start from a single reference image. Reference-only video workflows use 4–8 stills covering front and three-quarter angles, plus profiles.
Custom model training on OpenArt accepts a wider range of images, and a common starting point for training-free consistency is 10 to 15 diverse images. More images help only if they're varied, since near-duplicates cause the model to memorize one photo instead of learning the character.
What's the best tool combo for consistent characters in 2026?
No single model has a permanent edge for consistent AI video characters as of 2026, so the right stack depends on your pipeline. OpenArt covers the full loop: a character library plus image-to-video across Seedance 2.5, Veo 3.1, Kling Omni, Wan 2.7, and LTX-2.3. Director handles the multi-scene assembly.
Can I fix character drift after the model generates a clip?
Face-swap tools replace a drifted face with your canonical one, while targeted video editing can fix a specific region like wardrobe without regenerating the clip. Character-swap tools replace the whole character while preserving the background and motion. On Runway's platform, Aleph makes targeted edits across single shots or multi-shot sequences and accepts a reference image to guide characters.
How do I keep continuity when stitching separately generated clips?
- Chain the last frame of each clip into the next one's start frame
- Prepend your character description block verbatim to every prompt
- Save and reuse seeds where the platform exposes them
- Batch visually similar shots, then apply one color grade across the whole cut
With Director you build the multi-scene video as one continuous project, so there's nothing to stitch.