 ChatGPT
 Perplexity
 Claude
 Gemini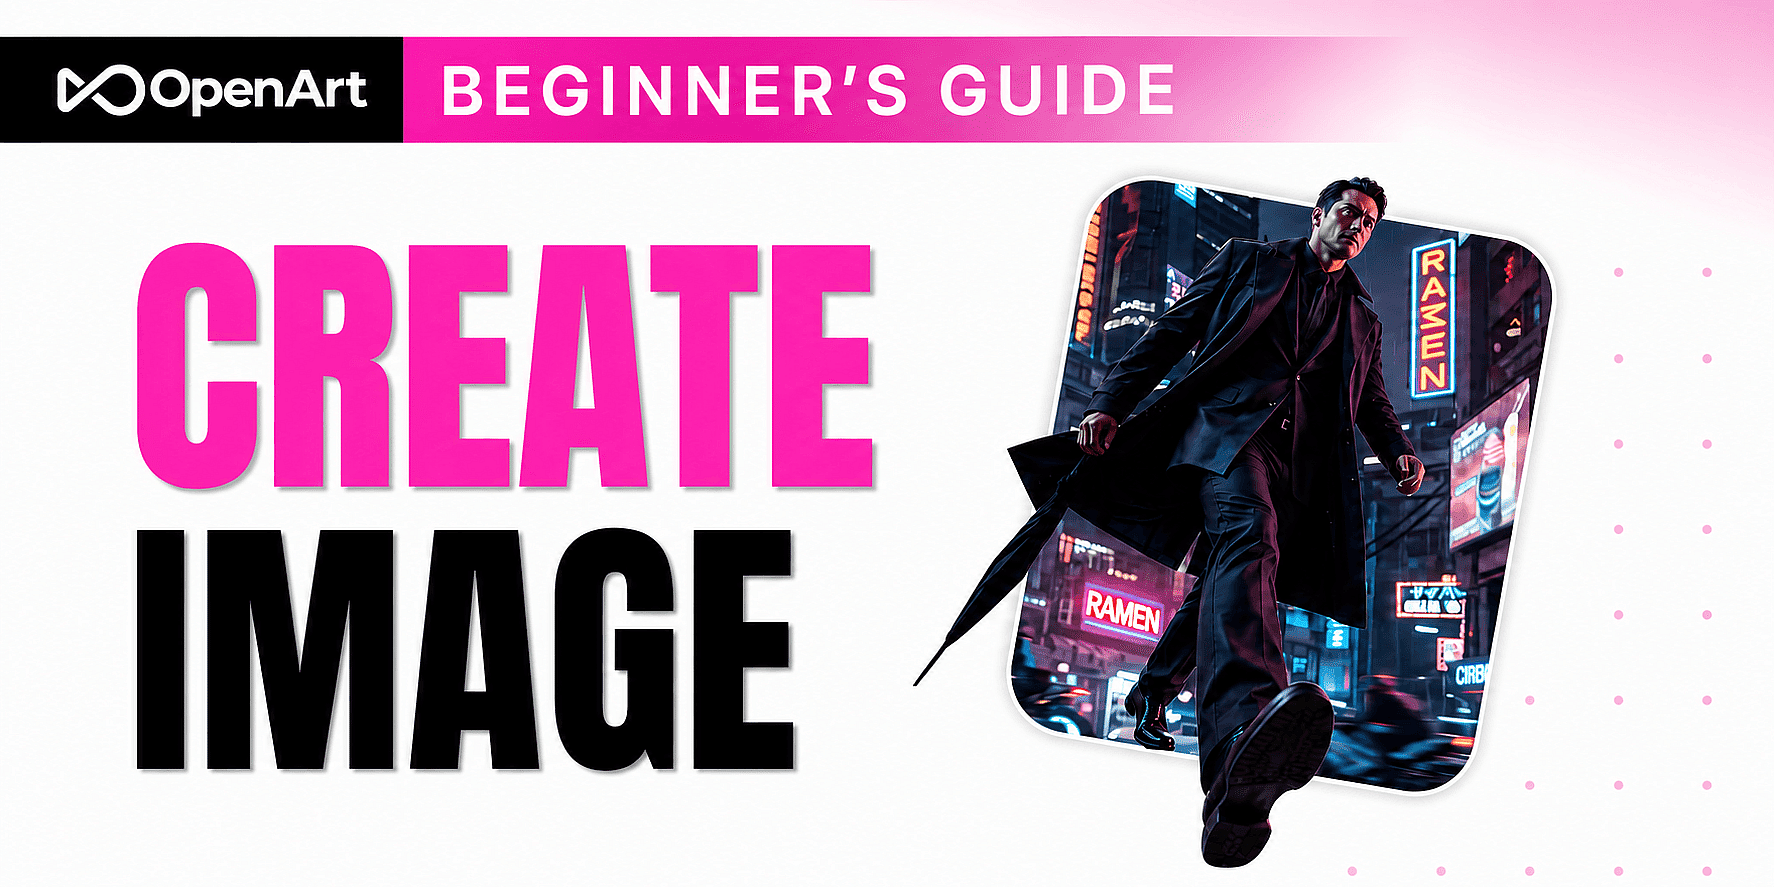
要約
- OpenArt のホームページで「作成」を選び、次に「画像を作成」を選びます。
- テキスト入力にはプロンプト専用モデルを選び、アップロードした画像で顔・商品・ポーズ・スタイルを誘導したい場合はリファレンスモデルを選びましょう。
- プロンプトは4つの要素で書きましょう。ショットの種類、被写体の描写、照明を含む環境、そしてビジュアルスタイルを加えます。
- 解像度、(利用可能な場合は)品質、アスペクト比、画像の枚数を設定します。
- Create を選択して結果グリッドを生成し、画像をダウンロードしたり、編集したり、動画に送ったりしましょう。
OpenArtでAI画像を生成するには、4つの選択がポイントになります。どのモデルを使うか、プロンプトをどう書くか、どの設定を調整するか、そして生成された結果をどう扱うか、です。このガイドでは、ホームページから始まり、ダウンロード・編集・動画化できる完成画像に至るまで、各ステップを順を追って説明します。下の全編ウォークスルーをご覧いただくか、そのまま文章による手順へお進みください。
ホームページから画像作成を開いています
OpenArt のホームページで、 作成を選び、次に 画像を作成 を開いて AI画像ジェネレーター。以下のすべての判断が行われるページで、まずはモデルの選択から始まります。
モデルの選び方:プロンプトのみ vs. 参照あり
Create Image ページを開いたら、最初の判断はどのモデルを使うかです。それはテキストだけで画像を描写できるか、それともアップロードした画像でガイドする必要があるかによって決まります。OpenArt は自動的にモデルを選択しますが、 モデルピッカー がその選択をコントロールできるようにします。
プロンプト専用モデルは、書かれた指示だけから画像を生成します。 Recraft V4 はその一例です。リファレンス画像がない場合や、被写体・舞台・スタイルをプロンプトで十分に明確に説明できる場合は、このタイプを選びましょう。
リファレンスモデルは、アップロードした画像を視覚的なガイドとして受け入れます。 Nano Banana 2 は、リファレンスを使って顔や製品まわりのディテールを保持できます。さらに、生成をまたいでポーズやビジュアルスタイルをより忠実に再現することも可能です。同じキャラクターやアイテムの画像を複数作る場合など、一貫性が重要なときはリファレンスモデルを選びましょう。
モデルピッカーのフィルターを使うと、リファレンス対応や4K出力といった機能でオプションを絞り込めます。画像をアップロードする予定なら、リファレンスフィルターを適用しましょう。より大きな出力が必要なら4Kフィルターを適用し、選んだモデルの設定で利用可能な解像度を確認しましょう。モデルの機能は変わることがあるので、すべてのモデルが同じ設定を備えていると思い込まず、モデルのドロップダウンで確認してください。
プロンプトを書く:被写体、スタイル、その間のすべてを支えるOpenArtの構造
モデルを選んだら、次のステップはプロンプトそのものです。AIプロンプトの書き方を学んでいるなら、OpenArtの構造は「点滅するカーソル問題」を解決する再現可能な方法を与えてくれます。完成した画像をいきなり説明しようとするのではなく、シーンを一層ずつ組み立てていくのです。OpenArtでは、まず被写体とアクションから始め、続いて被写体のディテール、環境とライティング、ショットタイプ、スタイルを加えていくことをおすすめします。
最初の一文では被写体を挙げ、動作を描写しましょう。最初の下書きは「街を歩く男性」のようにシンプルで構いません。「〜の美しい画像が欲しい」や「〜を見てみたい」といった書き出しは避けましょう。こうした表現では、画像に何を映すべきかがモデルに伝わりません。
具体的な形容詞は、モデルが被写体を定義するのに役立ちます。プロンプトを「街を歩く、チャコールのオーバーコートを着た中年男性」のように広げてみましょう。年齢、服装、表情、外見といったディテールは、モデルが解釈できる目に見える情報を与えます。求める画像に影響するディテールだけを加えましょう。
環境とライティングはシーンの設定とムードを決めます。次のバージョンは「夕暮れの賑やかな街並みを、チャコールグレーのコートを着て歩く中年の男性。暖かい店先の明かりが濡れた路面に反射している」といった具合になります。環境はアクションが起こる場所を示し、ライティングはシーンの見え方を描写します。
ショットの種類とスタイルが最終的な見せ方を左右します。モデルが被写体をどうフレーミングすればよいか分かるように、ショットの種類は文頭に、ビジュアルスタイルは文末に置きましょう。完成したプロンプトは、たとえば「夕暮れの賑やかな街を歩く、チャコールのオーバーコートを着た中年男性のワイドショット。濡れた歩道に温かい店先の光が反射する、シネマティックなエディトリアルフォトグラフィー。」のようになります。
完成した順序は実用的なテンプレートになります。
ショットの種類、形容詞付きの被写体、環境とライティング、スタイル。
優れたAI画像生成プロンプトは、モデルがビジュアルとして表現できる選択肢を記述します。「ワイドショット」は構図に、「チャコールのオーバーコート」は外観に、「暖かい店先の光」は色と照明に影響します。それぞれのフレーズには明確な役割があります。
OpenArtはこの構造を固定的な公式ではなく、あくまで足場として捉えています。慣れてきたら、要素を並べ替えたり、詳細を省いたり、さまざまなスタイルを試して選んだモデルの反応を確認できます。この構造はプロンプト欄が真っ白なときに信頼できる出発点となりますが、どんな言い回しが望む画像を生み出すかは実験を通して学べます。
生成設定を細かく調整する
プロンプトの下にある設定は、出力に関するすべてをコントロールします。解像度はOpenArtが生成するピクセル数を決めます。印刷、トリミング、大きなディスプレイ向けにより多くのディテールが必要なときは、高い解像度を選びましょう。 GPT Image 2 は 4K 出力に対応しており、Nano Banana 2 と Nano Banana Pro も同様です。OpenArt はモデルの機能を頻繁に更新するため、選択したモデルのドロップダウンで 4K 対応を確認してください。どのモデルにするか迷っている場合は、こちら GPT Image 2 と Nano Banana 2 の比較 は、それぞれの出力がどう違うかを詳しく解説します。
品質コントロールは、選んだモデルがそれを公開している場合にのみ表示されます。たとえばGPT Image 2は品質を調整できますが、他のモデルは固定設定を使用します。高品質は最終素材に適し、低い設定は初期のプロンプトテストに役立ちます。
アスペクト比はキャンバスの形をコントロールします。生成する前に、画像の用途に合わせて設定しましょう。正方形の比率は多くのフィード投稿に合い、ワイドな比率はバナーやプレゼンテーションのスライドに適しています。意図した形を今選んでおけば、後でのトリミングが減ります。
数量は、1つのプロンプトからOpenArtが作成するテイクの数を制御します。小さなプロンプトの変更を試したいときは1枚生成しましょう。同じプロンプトを繰り返し送信せずに別の構図やディテールが欲しいときは、複数枚を選びます。
Prompt from Image、Enhance Prompt、Clear Promptの使い方
一からプロンプトを書きたくないですか? 画像からプロンプト アップロードした画像を編集可能なテキストプロンプトに変換します。アップロードした画像をもとに、被写体・背景・ライティング・スタイルなどの要素を言葉で表現します。生成されたプロンプトは、画像を作成する前に修正できます。
Prompt from Imageは、先に取り上げたリファレンスモデルのワークフローとは異なります。リファレンスモデルは生成時にアップロード画像をビジュアルの手がかりとして使います。Prompt from Imageはプロンプトのテキストを書き出すだけなので、元画像が最終出力を直接誘導することはありません。
プロンプト強化は、プロンプト欄にすでに入力されているテキストに詳細を加えたり、指示をより具体的にしたりして洗練させます。生成前に修正版を確認し、意図した被写体やスタイルが保たれているか確かめましょう。プロンプトを消去すると、最初からやり直したいときに欄内のすべてのテキストが削除されます。
「作成」を押した後に起こること
モデル・プロンプト・設定が整ったら、「作成」を選ぶのが最後のステップです。OpenArtは生成した画像を結果グリッドに並べます。各結果を確認し、残したい画像をダウンロードするか、「画像を編集に送る」を選んで次で開きましょう: AIフォトエディター でさらに調整できます。
生成した画像を動画の出発点として使いたいときは、Send to Video を選択してください。ツールは 画像から動画へ 機能です。OpenArt では「画像バリエーション」を、既存の画像から複数のバージョンを作成するための別ツールとして扱っているため、最初の生成フロー内には表示されません。
よくある質問
このフローに取り組み始めると、よく出てくる質問がいくつかあります。
リファレンス画像がない場合はどうすればいいですか?
プロンプト専用モデルは、テキストの指示だけで画像を作成します。OpenArtでは、次のようなプロンプト専用モデルを提供しています Recraft V4。視覚素材をアップロードせずに画像を生成できます。
推奨されるプロンプト構造を正確に守る必要がありますか?
このプロンプト構造は、ショット、被写体、環境、ライティング、スタイルを記述するための柔軟な順序を提供します。OpenArtでは固定のルールではなく、出発点としておすすめしています。望む結果を生み出す方法がわかってきたら、順序を変えたりディテールを省いたりして構いません。そして AI画像生成に最適なプロンプト に、参考にできる例がもっとあります。
どの OpenArt モデルが 4K 出力に対応していますか?
4K出力は、標準オプションよりも高いピクセル解像度で画像を生成します。OpenArt では以下を掲載しています GPT Image 2, Nano Banana 2、そして Nano Banana Pro が 4K に対応するモデルに含まれます。利用可能なモデルや設定は変わることがあるため、生成前にモデルピッカーを確認してください。
一度に複数の画像を生成できますか?
数量の設定は、OpenArtが1つのプロンプトから作成する画像の枚数を制御します。Createを選択する前に、生成設定パネルで数量を増やせます。複数の結果があれば、プロンプトを何度も送信せずに異なる仕上がりを比較できます。
まとめ
Create Image を開いてから完成した結果に至るまでの全工程はこれで完了です。結果を比較し、特定の詳細を修正することでプロンプトは上達します。OpenArt の構造を出発点として使い、ライティングやショットの種類など一度に一つの要素を変えて、各フレーズが画像にどう影響するかを確認しましょう。スクロールの手を止めさせるポートレートのインスピレーションが欲しいなら、こちらをご覧ください バズる写真のためのベストNano Bananaプロンプト.
このワークフローを試してみましょう AI画像ジェネレーター 結果をもとにプロンプトを調整しましょう。