
 ChatGPT
 Perplexity
 Claude
 Gemini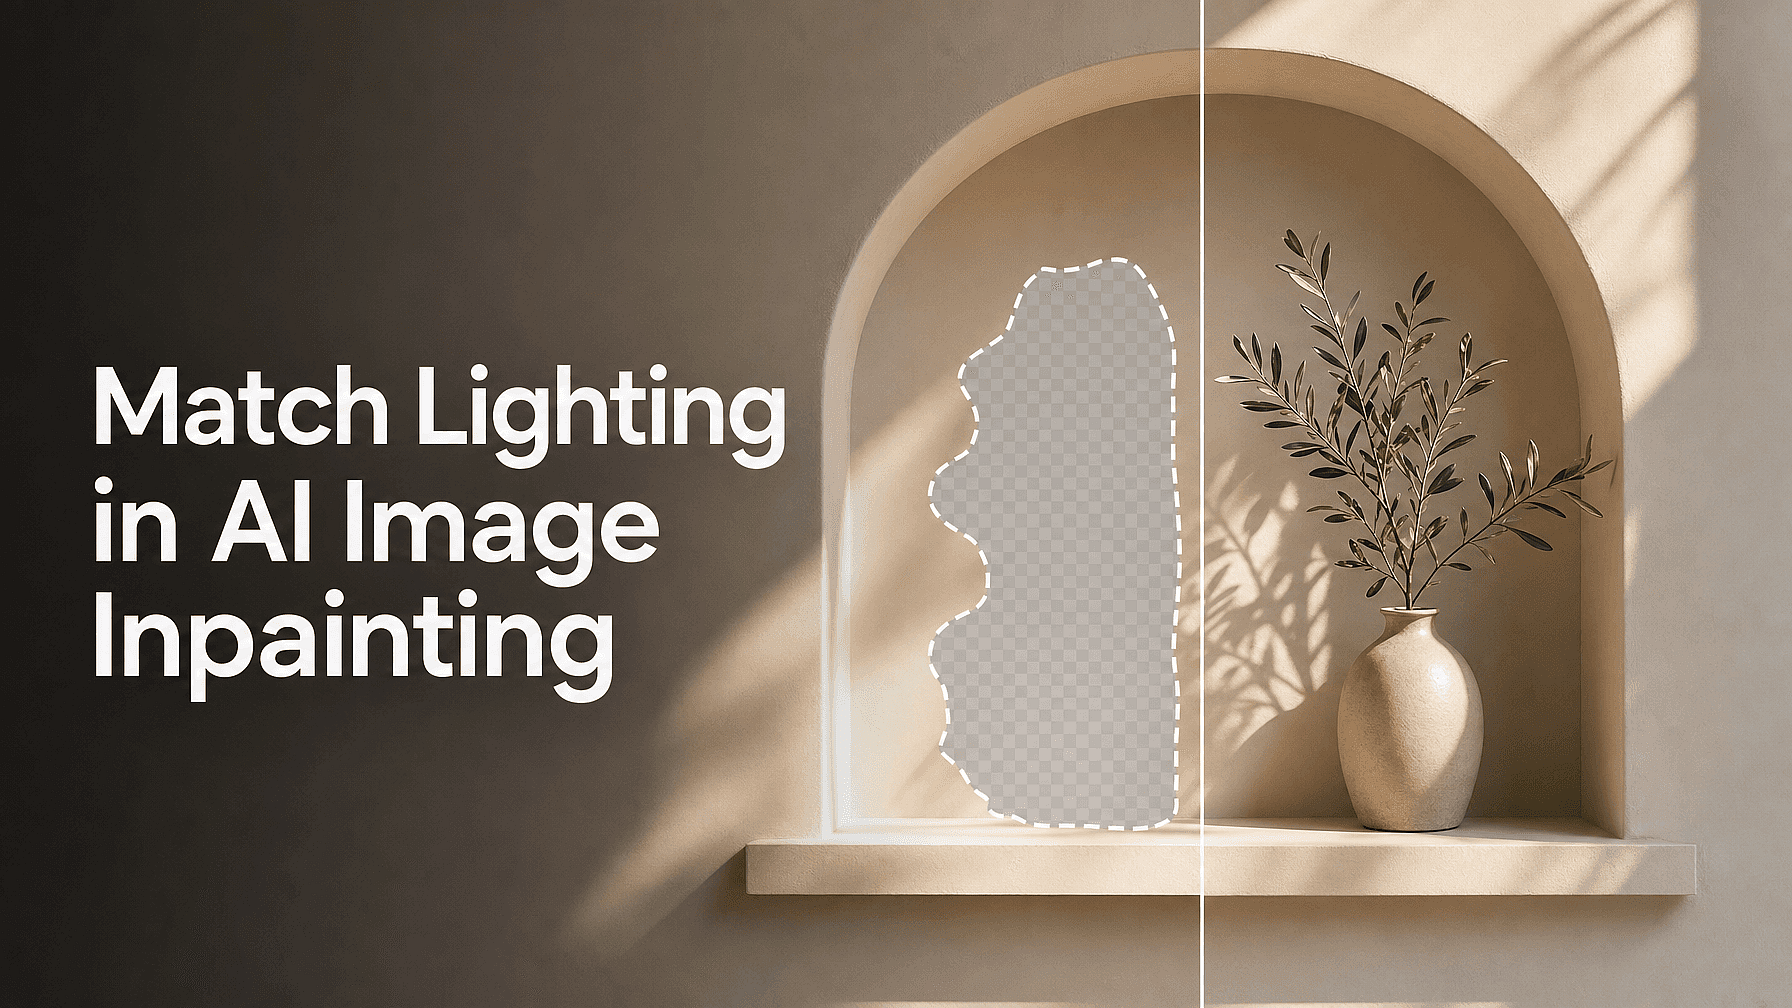
An inpainted edit rarely fails because the new object looks wrong. It fails because the light on it does not match the light on everything else.
The object is sharp, the edges are clean, and it still reads as pasted in. That is almost always a lighting problem, and lighting is something you can control.
Key takeaways
- Read the light in your photo before you write a word of the prompt.
- Name the direction, the hardness, and the color of the light inside the region prompt.
- Select a little more than the object so the model can see the light next door.
- Judge the result on four tells: shadow direction, shadow softness, highlights, and color temperature.
- Fix a mismatch with a second small pass instead of one giant prompt.
Read the light before you prompt
Spend thirty seconds on the photo you already have, looking for four things.
Direction. Find an existing shadow and see which way it falls. Shadows running right mean the light is on the left.
Hardness. Sharp-edged shadows mean hard light, like direct sun. Soft, gradual shadows mean diffused light, like an overcast sky or a window.
Color. Look at a white or grey surface. Warm and yellowish means late sun or indoor bulbs. Cool and bluish means shade or overcast.
Height. Short shadows mean the light is high overhead. Long shadows mean it is low.
Write those four answers down in plain words. They become your prompt.
Name the light in the region prompt
In the AI image generator, Edit Image's Area Edit mode lets you highlight one part of the picture and describe what should change there. Only that region gets rebuilt.
Your description has to carry the lighting, because that region is being filled to your instructions. "Add a ceramic mug" gives the model no light to work with. "Add a ceramic mug lit by soft window light from the left, with a soft shadow falling to the right" gives it four decisions.
Use the words you wrote down: direction, hardness, color, then the shadow you expect on the ground. Adding "keep the existing lighting and shadows in the scene" stops the model relighting everything to suit the new object.
Two habits that do most of the work
Select slightly wider than the object. Include a little of the surface it sits on and the space where its shadow belongs. Those surrounding pixels are the model's only evidence of how light behaves in your scene.
Mark the light with an arrow. Annotate mode lets you draw arrows, shapes, and brush marks on the picture before you generate. An arrow from the light source toward the subject shows direction faster than describing it does.
Judge it on four tells, not on vibes
When the result comes back, do not ask whether it looks good. Ask these four questions in order.
Do the shadows agree? Every shadow in the frame should fall the same way. One pointing the wrong direction is the most obvious giveaway there is.
Is the shadow the right softness? A hard-edged shadow next to soft ones reads as fake instantly, even to people who could not say why.
Are the highlights in the right place? The bright spot should sit on the side facing your light. Light on the left and shine on the right is wrong.
Does the color temperature match? A cool object in a warm scene looks like a sticker. This is the tell people miss most, because each part looks fine alone.
Generate up to 8 options in a run rather than one, and compare them against those four questions. When one is nearly right, Image Variations makes up to 8 takes from it, and the creativity slider keeps them close to what already worked.
Fix what is left with a second pass
Two small passes beat one complicated one. If only the shadow is wrong, select just the shadow area and describe the shadow you want. If the object is right but too cool, run a second pass over it asking for warmer light.
Generative AI Fill handles the cleanup that follows, removing a leftover artifact or filling a gap the first pass left behind. For people, a mismatch often shows up as slightly plastic skin rather than bad light, and turning on face enhancement in Image Upscale brings that texture back.
Save the upscale for last
Upscale after the lighting is right, never before. The image upscaler runs in Precise, Generative, or Creative mode, and Precise is the one for a finished composite, since it holds what is there instead of reinterpreting it.
Then look at the file at 100%. Upscalers can invent detail that was never in the original, and an edge that looked seamless at thumbnail size does not always survive a close look.
FAQ
Why does my inpainted object look pasted in even when it is sharp?
Almost always the light. Check the shadow direction first, then the shadow softness, then whether the highlight sits on the side facing your light source. Sharpness is rarely the problem, and a soft object in soft light usually looks more real than a crisp one in the wrong light.
Should I describe the lighting in every region prompt?
Yes. The region prompt is the only place the model learns what you want in that area, so leaving the light out means it guesses. Naming direction, hardness, and color takes one extra clause and saves a regeneration.
How big should my selection be?
A little wider than the object itself, including some of the surface it sits on and the space where its shadow falls. Too tight and the model has nothing nearby to sample. Too wide and it starts rebuilding parts of the picture you wanted to keep. This works the same way on a photo you uploaded as on one you generated.