
 ChatGPT
 Perplexity
 Claude
 Gemini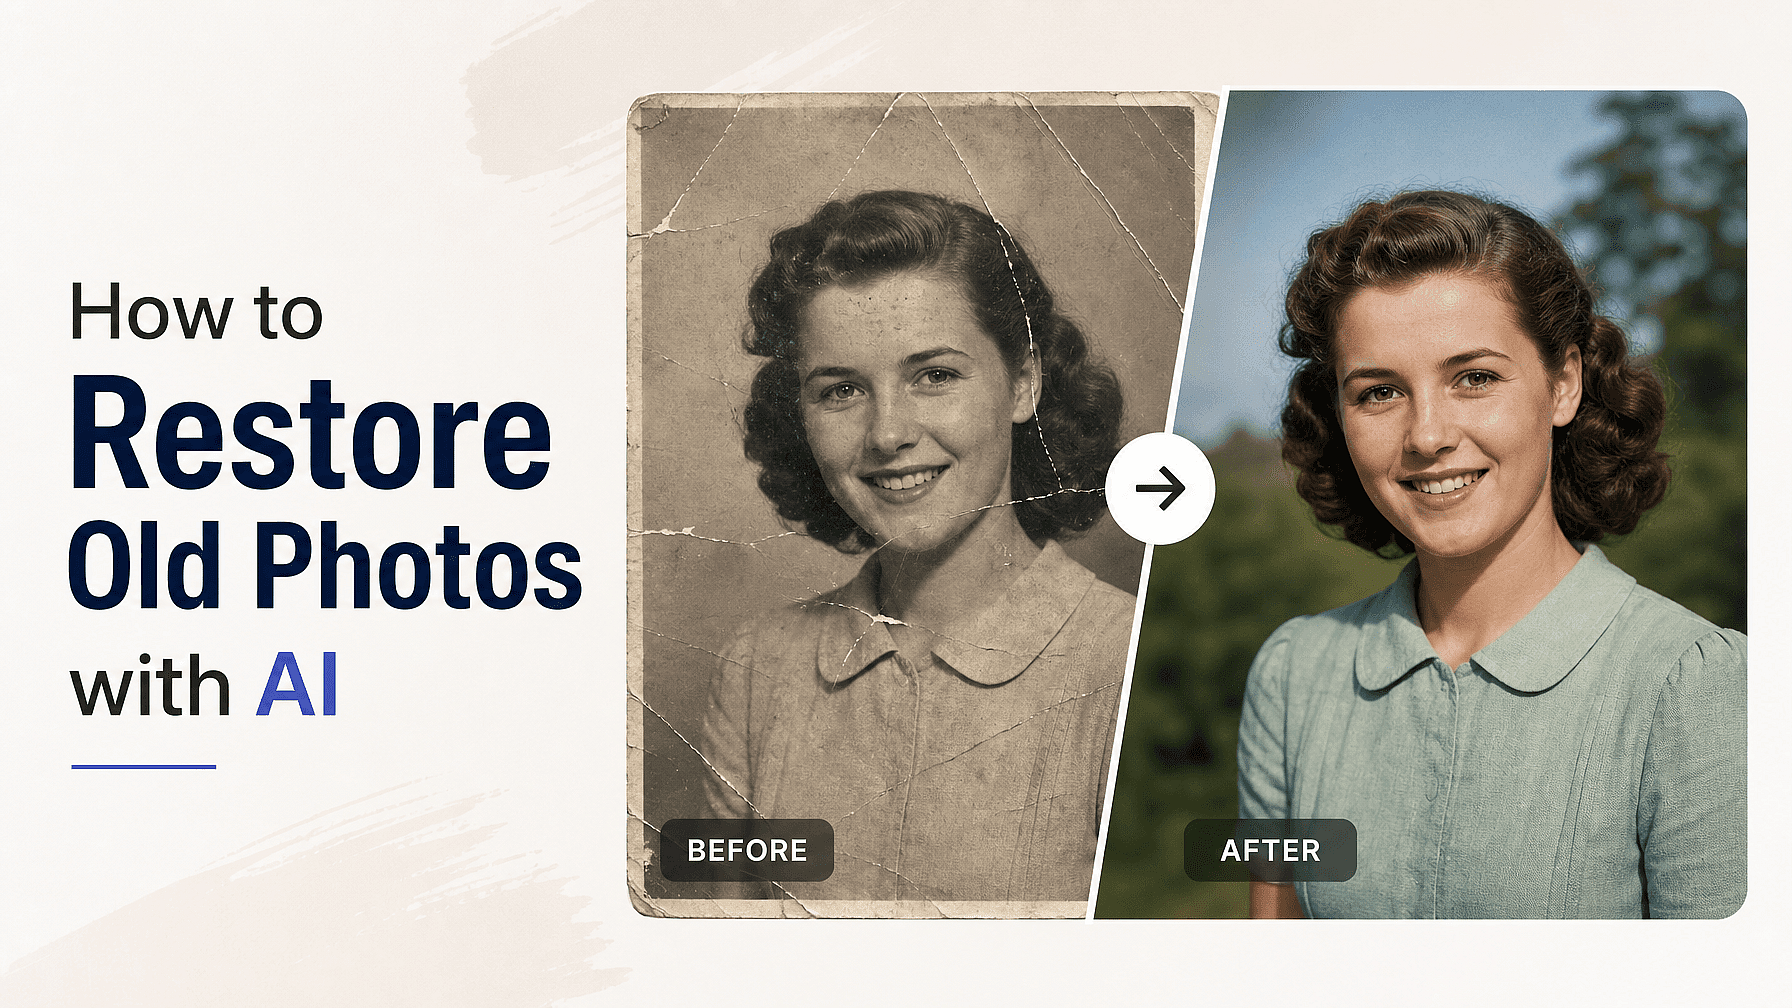
Most old photos have the same problem. The print is small, the scan comes out soft, and every detail you actually care about, like a face or a name on a sign, falls apart the moment you zoom in.
You do not need a professional retouching background to fix that anymore. Here's how to restore old photos using OpenArt's AI Image Upscaler.
Key takeaways
- Old photos look soft because the original print holds very little resolution.
- Scan at the highest setting you can before you upload anything.
- The AI Image Upscaler rebuilds the photo at a higher resolution instead of stretching it.
- Precise mode keeps the photo faithful, Creative mode adds the most new detail.
- Turn on skin enhancement so restored faces look real rather than plastic.
Why old photos look worse when you scan them
A 1970s print carries a limited amount of detail, and your phone or scanner can only capture what is physically there. Enlarging that file with a normal resize tool just stretches the pixels you already have, which is why the result looks blurry and blocky.
An AI upscaler works differently. It rebuilds the photo at a higher resolution and adds new detail across edges, textures, and faces, so the restored version stays sharp as it grows.
Step 1: Scan the original at the highest setting
Start with the best capture you can get, because everything after this depends on it. Use a flatbed scanner at its highest resolution setting, or photograph the print in flat, even daylight with no glare on the surface.
Keep the photo square to the lens and fill the frame. If you are working from a photo of a photo, wipe the print first so you are not restoring dust along with the image.
Step 2: Upload the photo to the AI Image Upscaler
Open the AI Image Upscaler on OpenArt and drop your scan in. You can also pull an image straight from your History if you have already worked on it inside OpenArt's image tools.
There is nothing to configure before this point and no editing experience required. One file in, one restored file out.
Step 3: Choose your upscale mode
This is the setting that decides how your restoration looks, so it is worth understanding. The AI Image Upscaler gives you three modes.
Precise stays as close to the original as possible, which is what you want for family photos, historical documents, and anything where accuracy matters more than polish.
Refined gives you a cleaner, balanced result and handles most everyday scans well.
Creative lets the AI add the most new detail, which suits badly degraded photos where there is very little information left to work from.
For a first pass on an irreplaceable photo, start with Precise. Run it again on Refined or Creative if the result still looks too soft.
Step 4: Set the output quality
Pick Fast when you want to test a mode quickly and see whether the restoration is heading in the right direction. Pick Ultra for your final version, when you want the highest-quality output and do not mind waiting a little longer.
A useful habit is to test on Fast and commit on Ultra. That way you compare all three modes cheaply and only spend the longer render on the version you actually plan to keep.
Step 5: Turn on skin enhancement for faces
Old portraits are where most restorations fall apart, because faces get smoothed into a waxy, plastic look. Toggle skin enhancement on and the upscaler keeps skin textured and believable while it scales the photo up.
Leave it on for any photo with a person in it. Turn it off for landscapes, buildings, documents, and product shots, where there is no skin to protect.
Step 6: Upscale, review, and download
Run the upscale, then compare the result against your original scan at full zoom before you download. Check the faces, the hands, and any text in the frame, since those are the areas where an AI adds detail most aggressively.
If something looks invented rather than recovered, drop down a mode and run it again. Once the result holds up, download your high-resolution photo and archive both the scan and the restored file.
The bottom line
Restoring old photos comes down to a good scan, the right upscale mode, and skin enhancement on anything with a face. Run those three decisions through OpenArt's AI Image Upscaler and a small, soft print becomes a file you can actually print, share, and keep.
Common questions
Can AI restore a very blurry old photo?
Yes, though the softer the original, the more the AI has to reconstruct. Creative mode gives you the best chance on badly faded prints.
Is restoring old photos online safe for the original?
Your original print is never touched, and the upscaler creates a new file rather than overwriting your scan.
Can I print a restored photo?
Yes. Upscaling adds the resolution that small prints lack, so the restored version holds up at larger sizes.