
 ChatGPT
 Perplexity
 Claude
 Gemini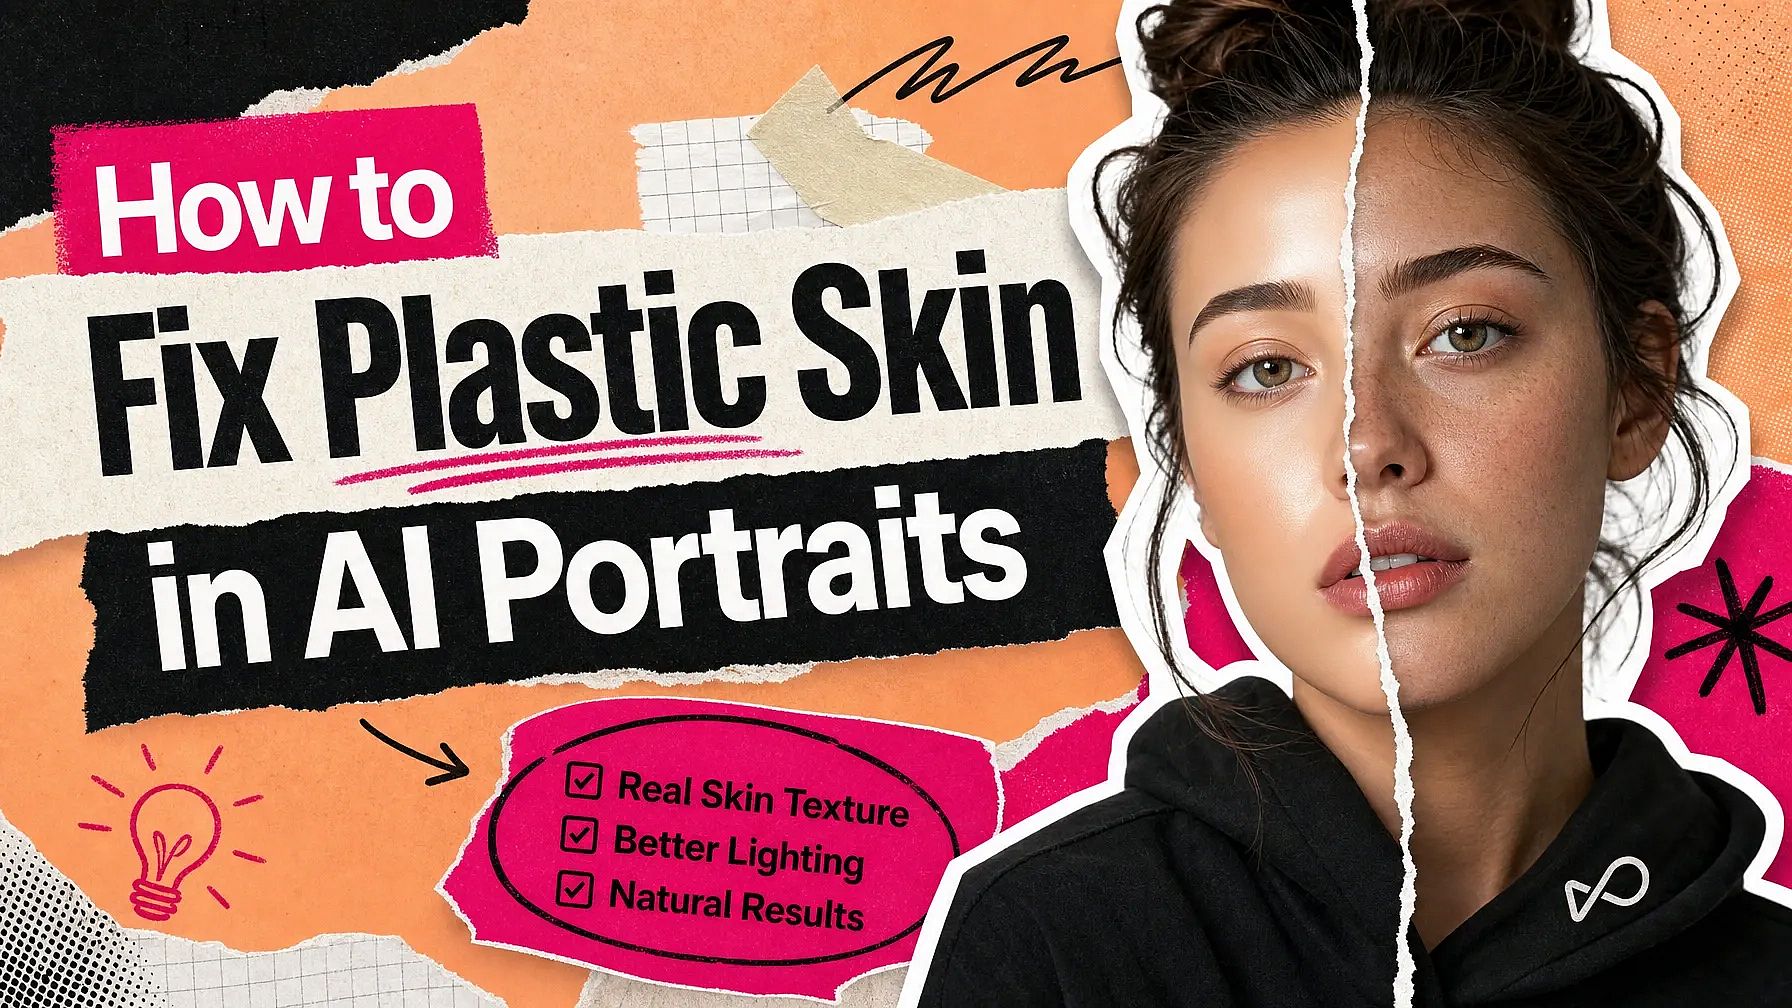
AI image generators are good at portraits. Skin is the part they still get wrong.
Generate a face and you will often see something too smooth. The cheeks look polished. The forehead has a slight shine. Creators call this plastic skin, and it is one of the fastest ways to spot an AI image.
It is also one of the easier problems to fix. OpenArt's AI Image Upscaler has a face enhancement setting that rebuilds skin detail while it makes the picture bigger. Here is why plastic skin happens and how to get rid of it.
Key takeaways
- Plastic skin happens when the tiny surface detail in real skin goes missing during generation.
- Your eye reads a face as fake when light spreads too evenly across it.
- OpenArt handles skin inside Image Upscale, using a face enhancement toggle with face strength and face creativity sliders.
- Face strength sets how hard the effect lands. Face creativity sets how much the AI is allowed to rebuild.
- Start both sliders low and raise them, then compare the two versions at full size.
Why AI Portraits Often Look Too Smooth
Real skin is messy up close. It has pores, faint lines, small bumps, and little shifts in color from one patch to the next.
AI models have a hard time drawing all of that. They tend to even it out instead. Once the small stuff is gone, a face starts to look waxy, glossy, or blurred.
The bone structure can be perfect and the picture will still feel wrong. The missing detail is what gives it away.
What Plastic Skin Actually Means
Plastic skin is what you get when the surface structure of real skin goes missing.
Real skin bounces light unevenly. Pores catch tiny shadows. A cheek is brighter in one spot than another. When those details disappear, light spreads flat and even across the whole face.
Your brain picks up on that in about half a second. You may not be able to say what is off, but you can tell something is.
What Causes Plastic Skin in AI Images
Four things tend to cause it.
Smoothing during generation
Some models soften skin on their own to make faces look clean. That softening takes the texture with it.
A low-detail starting image
Small or soft source images give the AI very little to work with. There is no pore data to rebuild from.
Filters and retouching
Beauty filters blur the skin surface. Anything you run afterward has less real detail to work with.
Too many editing rounds
Every time you re-run an image through a tool, a bit more fine detail drops out. After a few rounds, the face is smooth all the way through.
How OpenArt Rebuilds Skin Texture
OpenArt puts the face controls inside Image Upscale, so the size and the skin get handled in the same run.
Face enhancement is a toggle. Turn it on and two sliders appear.
Face strength sets how hard the enhancement lands on the face. Face creativity sets how much freedom the AI has to rebuild features that are soft or unclear in your file.
Those two do different jobs. Strength controls the amount. Creativity controls the invention. Keep creativity low and the person stays the person. Push it up and you are asking the AI to make up detail, which suits an AI portrait much more than a photo of someone you know.
The rest of the settings decide what happens to the whole picture.
Mode
Precise stays close to your original. Generative gives the AI more room to rebuild. Creative lets it add the most detail. For a flat AI portrait, Generative is usually the right middle.
Upscale factor
A slider from 1x to 11x. You land on the exact size you want. For a portrait you plan to print or crop into, aim higher.
Preset
High Fidelity, Standard, Art & CGI, Low Res, and Text and Shapes tell the AI what kind of file it is looking at. Art & CGI is the one for AI-generated work. Low Res is for a small, soft file that needs the most rebuilding.
Subject detection
All treats the whole picture. Foreground concentrates on the subject. Background leaves the subject alone. On a portrait shot against a busy scene, Foreground keeps the work on the person.
How to Fix Plastic Skin, Step by Step
It takes about a minute.
- Upload your portrait. Open Image Upscale and drop in the image you want to fix.
- Pick a mode and a size. Choose Precise, Generative, or Creative, then set the upscale factor slider.
- Choose a preset and subject detection. Art & CGI suits AI portraits. Foreground keeps the focus on the person.
- Turn on face enhancement. Set face strength and face creativity. Start both low.
- Generate and download. Look at the result at full size, then download it.
Tips for Better Results
The image you start with changes how much you get back.
Start with the biggest version you have
More detail in the file gives the AI more to rebuild from. A 512-pixel crop has almost nothing to work with.
Use portraits where the face is clear
A well-lit, unblocked face gives you a stronger result than a face in shadow or half turned away.
Skip the filters first
Run the upscaler before you add any beauty filter. Filters remove the exact detail the AI needs.
Compare at full size
Open the original and the new version side by side and zoom in. You are checking two things: that the skin looks real, and that the person still looks like themselves.
Raise the sliders slowly
Run it once at a low setting. If the skin still looks flat, bump face strength first, then face creativity. Too much creativity is where faces start to drift.
Why Realistic Skin Matters
Skin texture is a small detail that carries a lot of weight.
A portrait with real texture holds up in a close-up, on a big screen, and in print. A smooth one falls apart the moment someone zooms in.
If you are making character art, marketing images, profile pictures, or anything a client will look at closely, this is the step that makes the picture believable.
What to Try Next
Run a few of your own portraits through it. Try one that came out very smooth, one shot in low light, and one where the face is small in the frame. You will get a feel for where the sliders should sit for your own work.
If the same person needs to show up across a whole set of images, OpenArt Characters locks the face first, and you upscale afterward.
FAQs
What is plastic skin in AI images?
It is skin that comes out smooth, shiny, and even, with no pores or fine lines. Light spreads flat across the face because the tiny surface detail that would break it up is gone.
How do I fix plastic skin on an AI portrait?
Run the image through OpenArt's AI Image Upscaler with face enhancement turned on. Face strength and face creativity control how much detail comes back and how much freedom the AI has to rebuild.
What is the difference between face strength and face creativity?
Face strength sets how strongly the enhancement lands on the face. Face creativity sets how much the AI is allowed to invent where your file is unclear. Creativity is the one that changes how a person looks, so keep it low on real people.
Can I fix plastic skin without changing the person's face?
Keep face creativity near the bottom and use Precise mode. The AI then works with what is already in the file. Check the result at full size before you download it.
Does the starting image size matter?
Yes. A larger, sharper file holds more real detail, and the AI rebuilds from that. A small or heavily filtered image gives you a weaker result.
Which model should I use to generate portraits in the first place?
Any of the photoreal models in the OpenArt AI image generator will get you a good face. Plan on an upscale pass afterward either way, since skin is where most models come up short.
Related features
- OpenArt AI Image Upscaler: Precise, Generative, and Creative modes, an upscale factor up to 10x, and face enhancement.
- OpenArt Characters: keep the same person across a whole set before you upscale.
- OpenArt AI image generator: where the portraits start.