
お気に入りのモデルがすべてここに。生成は無制限。

期間限定・最大27%OFF! ›

AI画像アップスケーラー

どんな画像もディテールを損なわずに、より大きく鮮明にできます。画像をアップロードし、アップスケール方法を選ぶと、OpenArtのAIが高解像度で再構築します。モードを選び、画質を設定して、きれいな仕上がりをダウンロードしましょう。

画像を追加 またはここにドラッグ&ドロップ · JPEG、PNG、WEBP
今すぐアップスケール

Why Use OpenArt’s AI Image Upscaler

Bigger without the blur

Small or low-res images come back larger and sharper. The AI adds detail instead of stretching pixels.

アップスケール方法を選ぶ

Choose Precise, Refined, or Creative depending on how close you want to stay to the original.

肌は自然なまま

アップスケール時に肌補正をオンにすれば、顔がのっぺりせずリアルに仕上がります。

どんな画像もディテールを保ったままアップスケール

OpenArtのAI画像アップスケーラーは主要な画像モデルを基盤としているため、アップスケール結果は過度に加工されることなく、クリーンで自然に仕上がります。AIの適用度合いはあなたがコントロールできます。
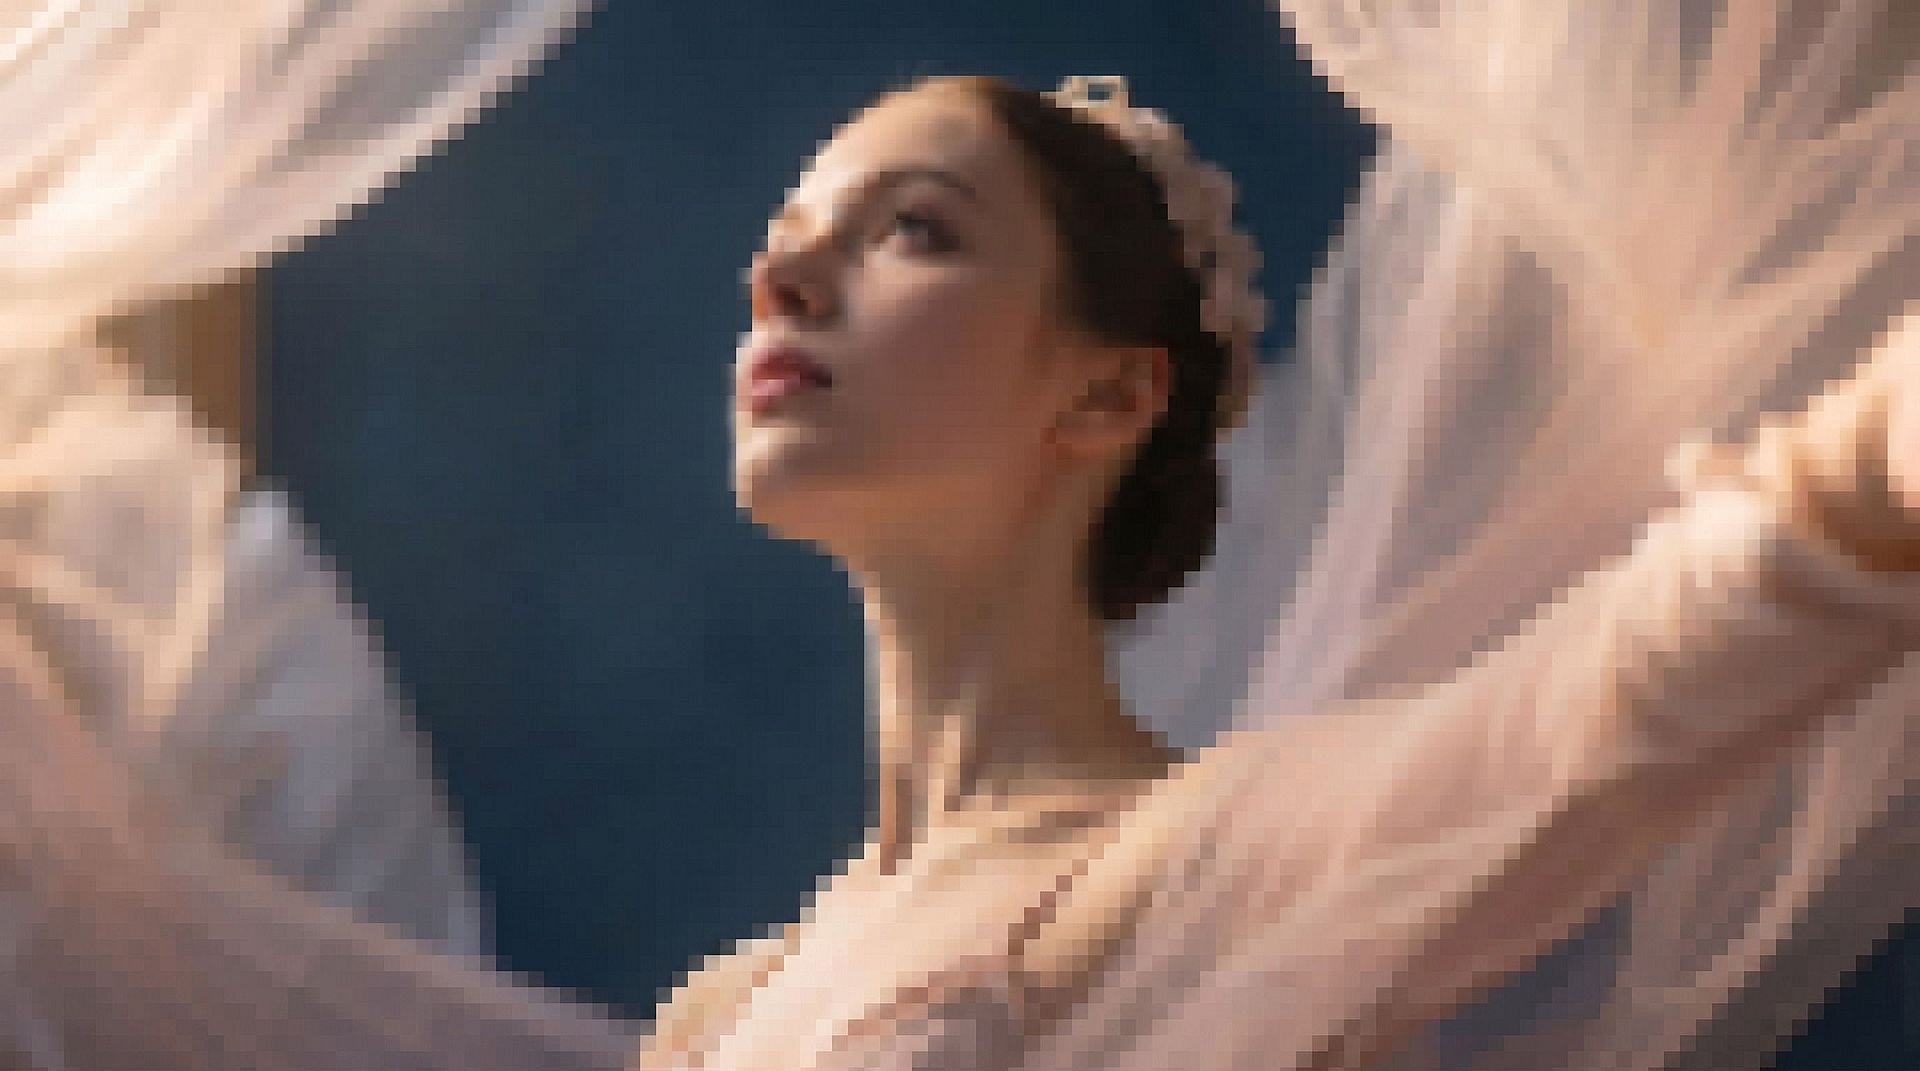
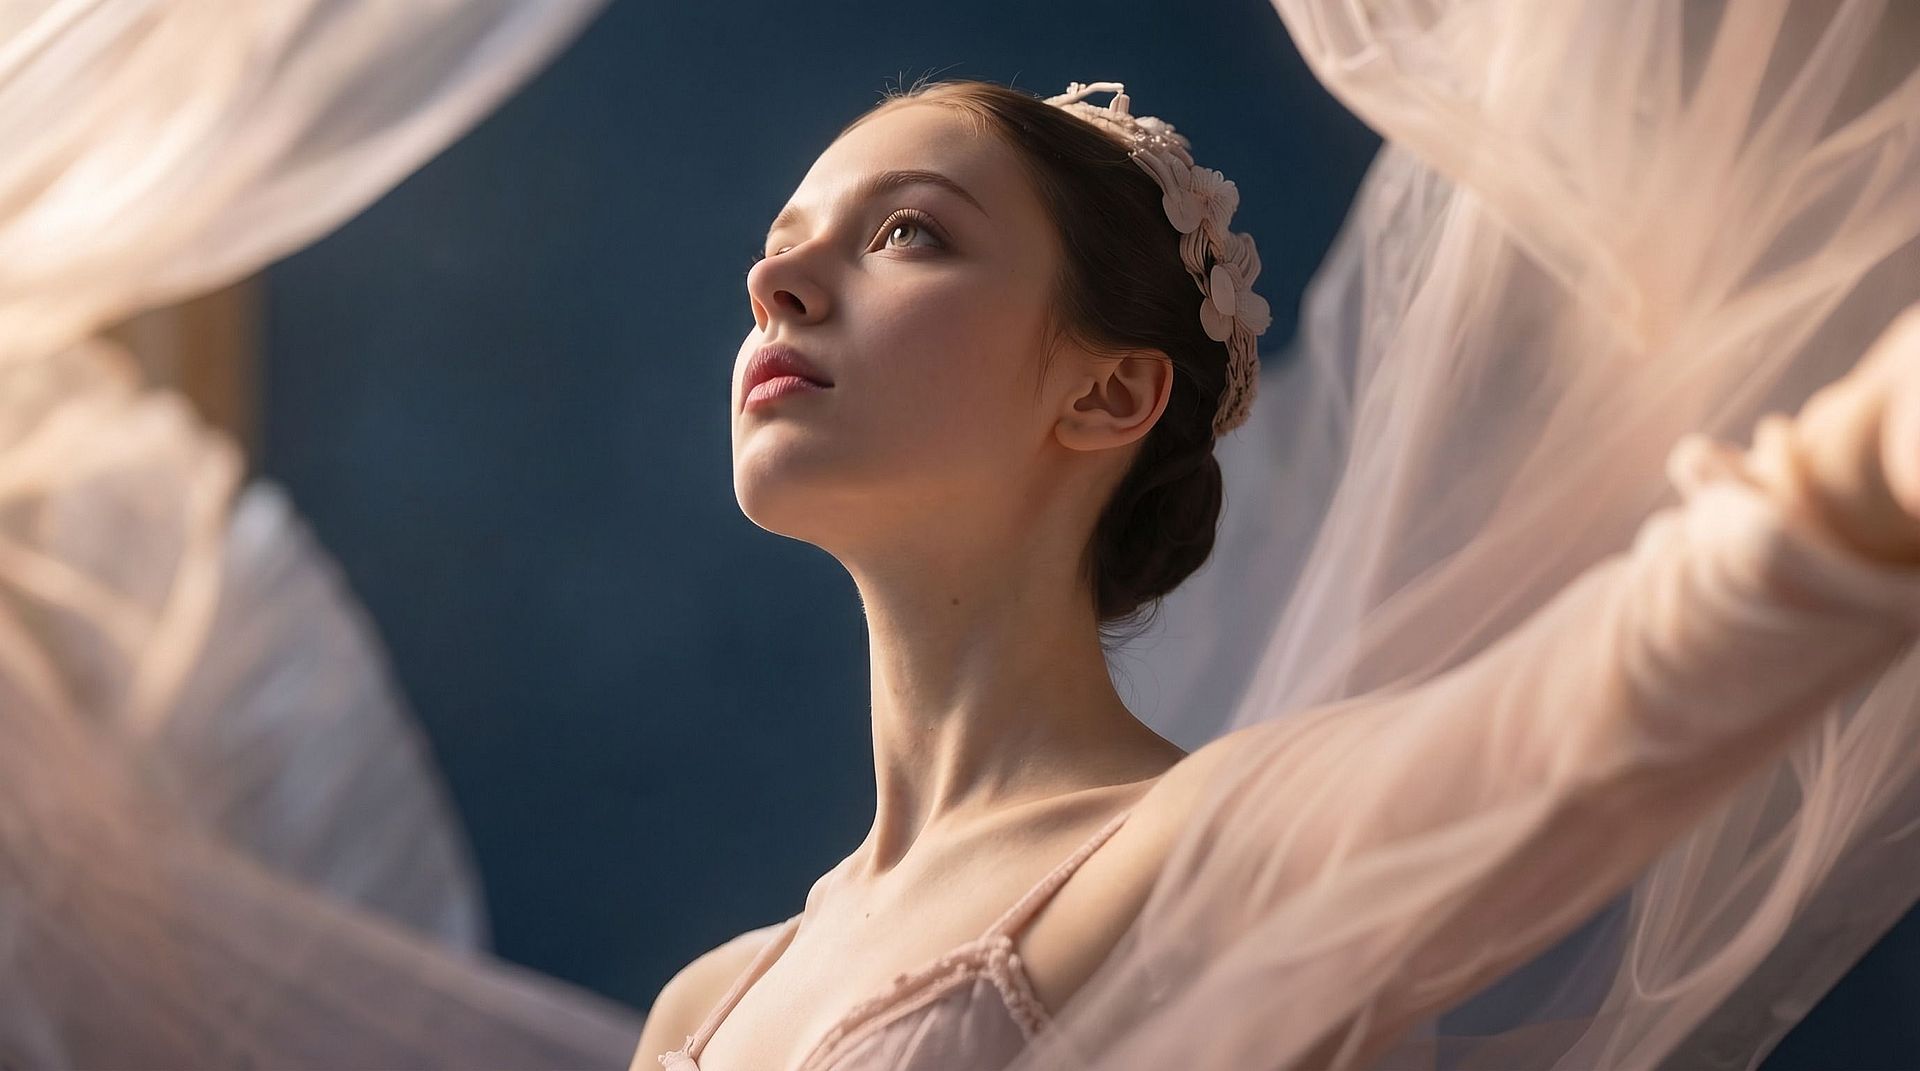
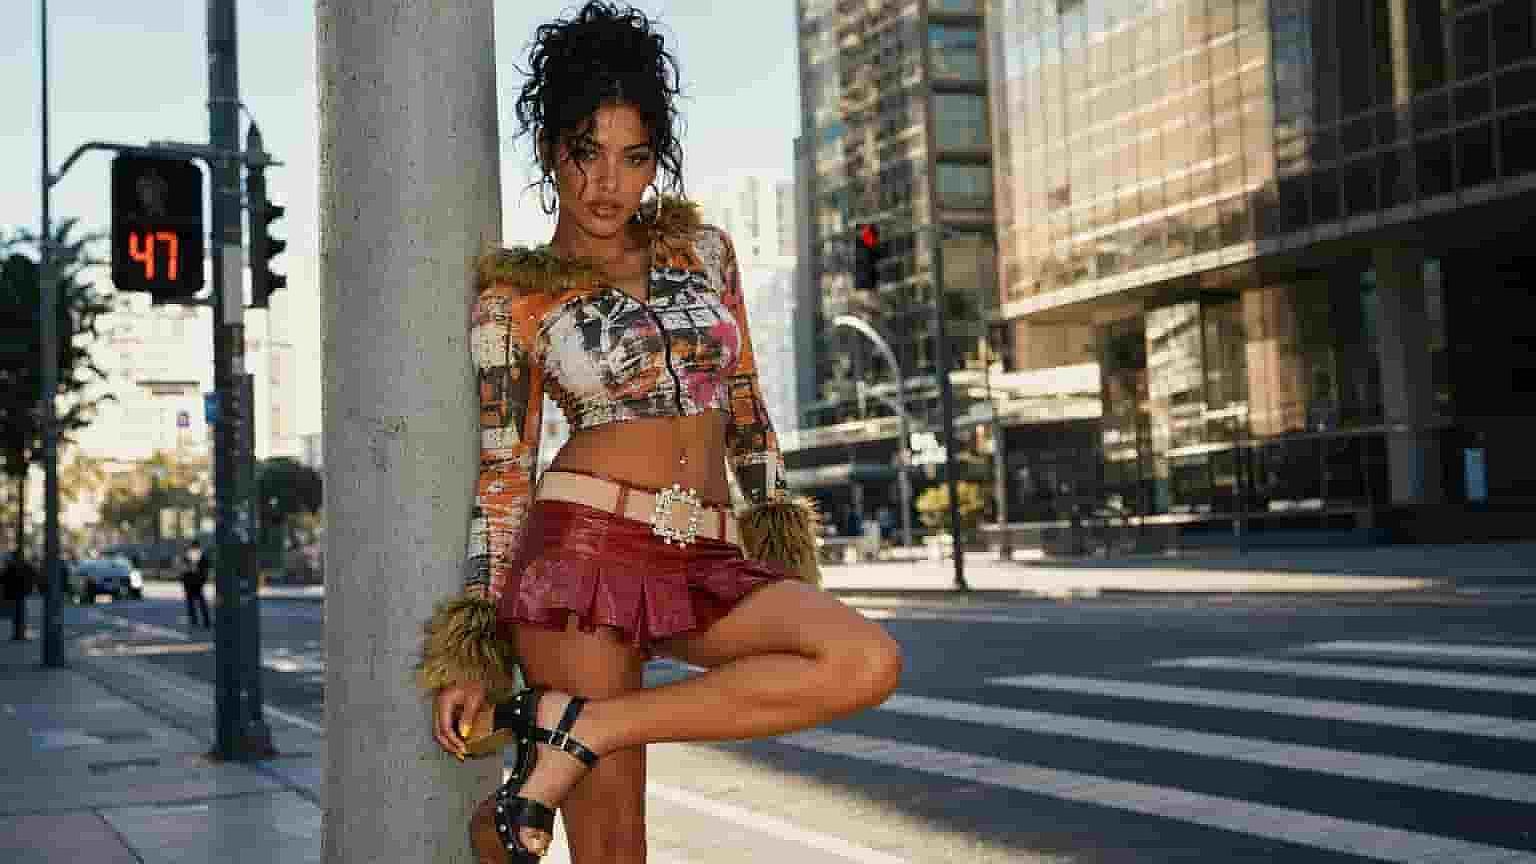
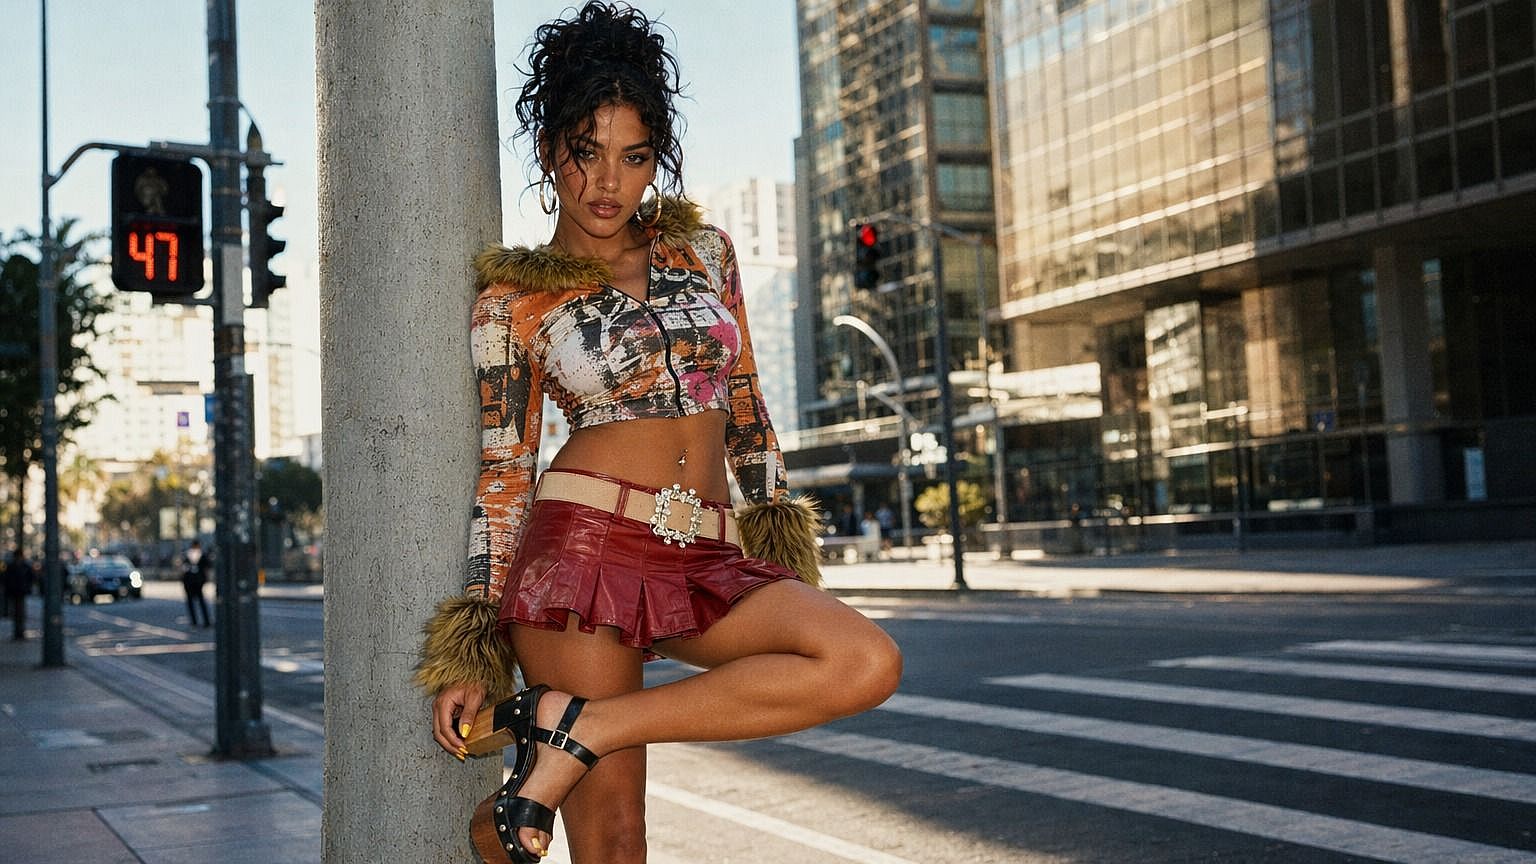
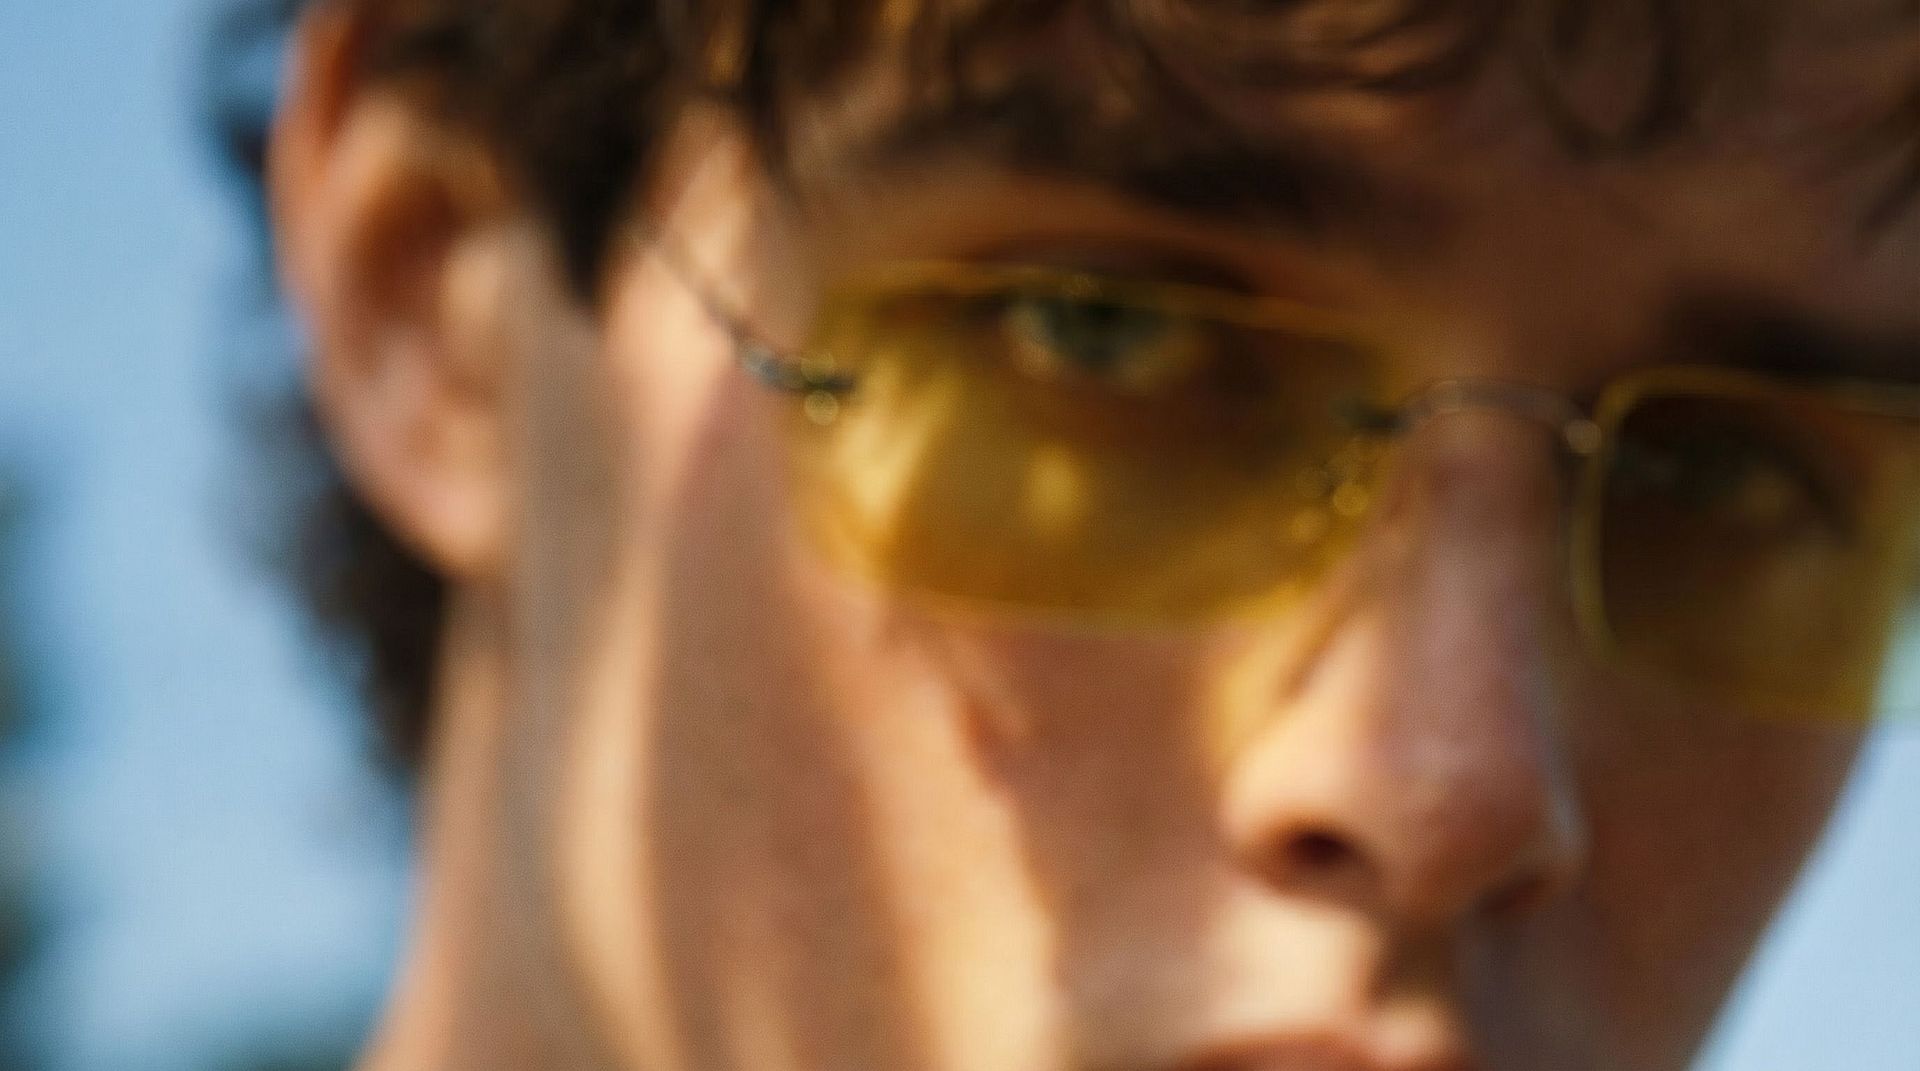
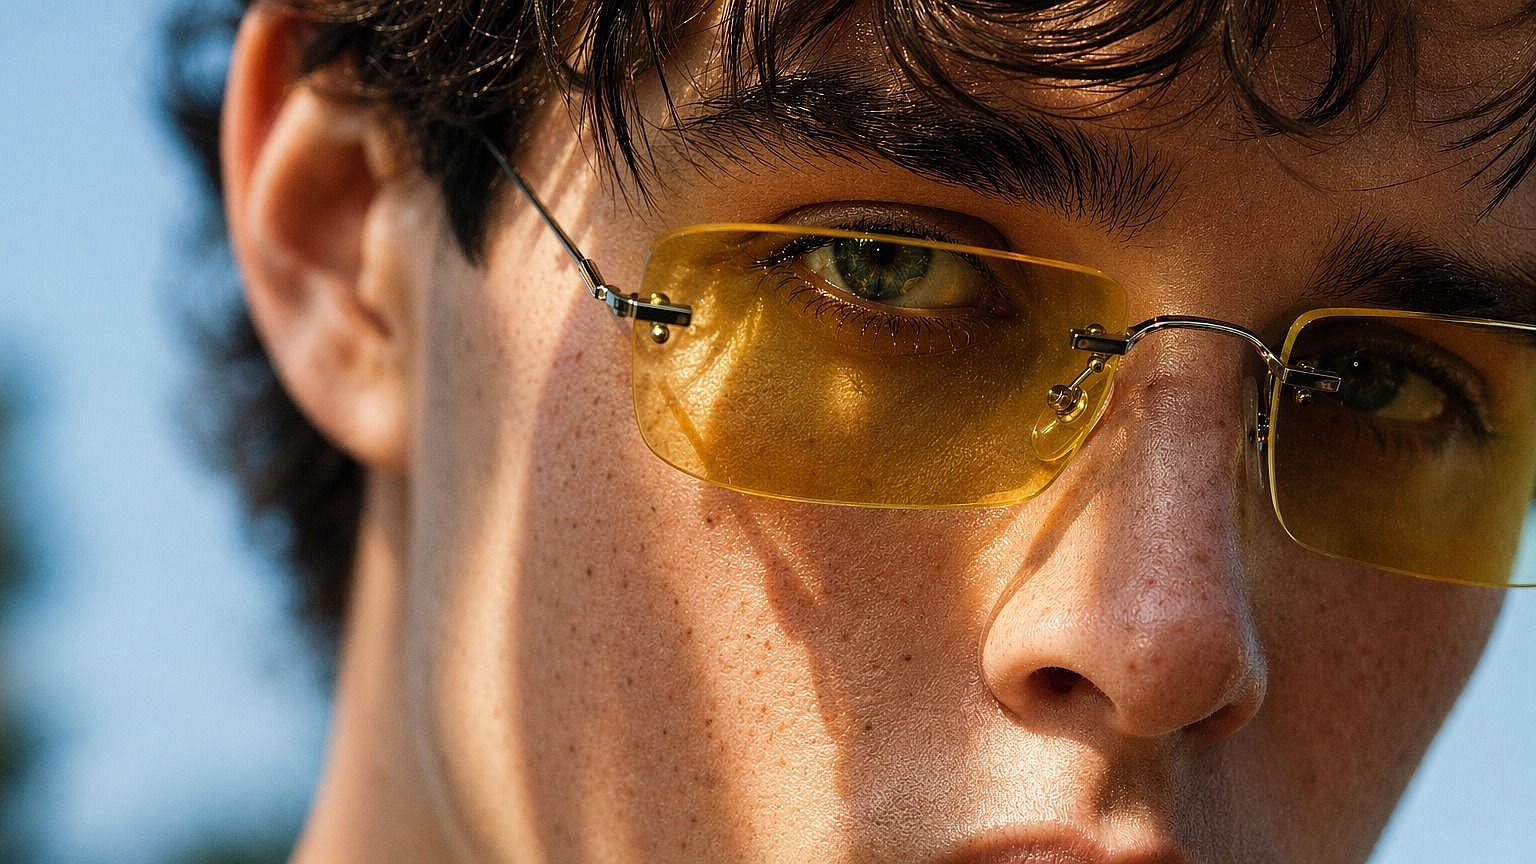
Before
After
ビフォー 編集後

リアルな解像感を追加

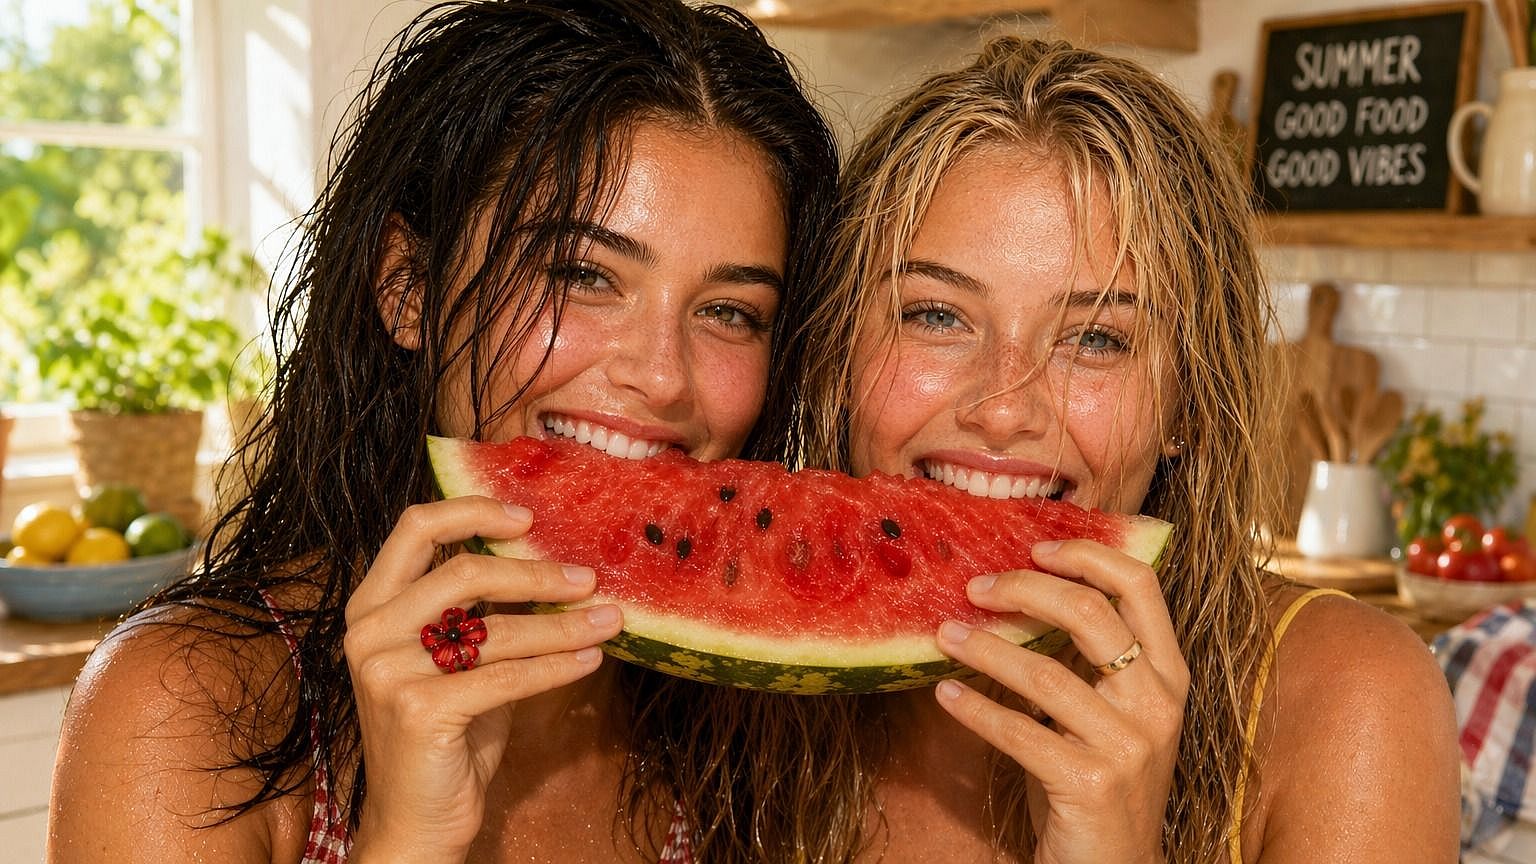
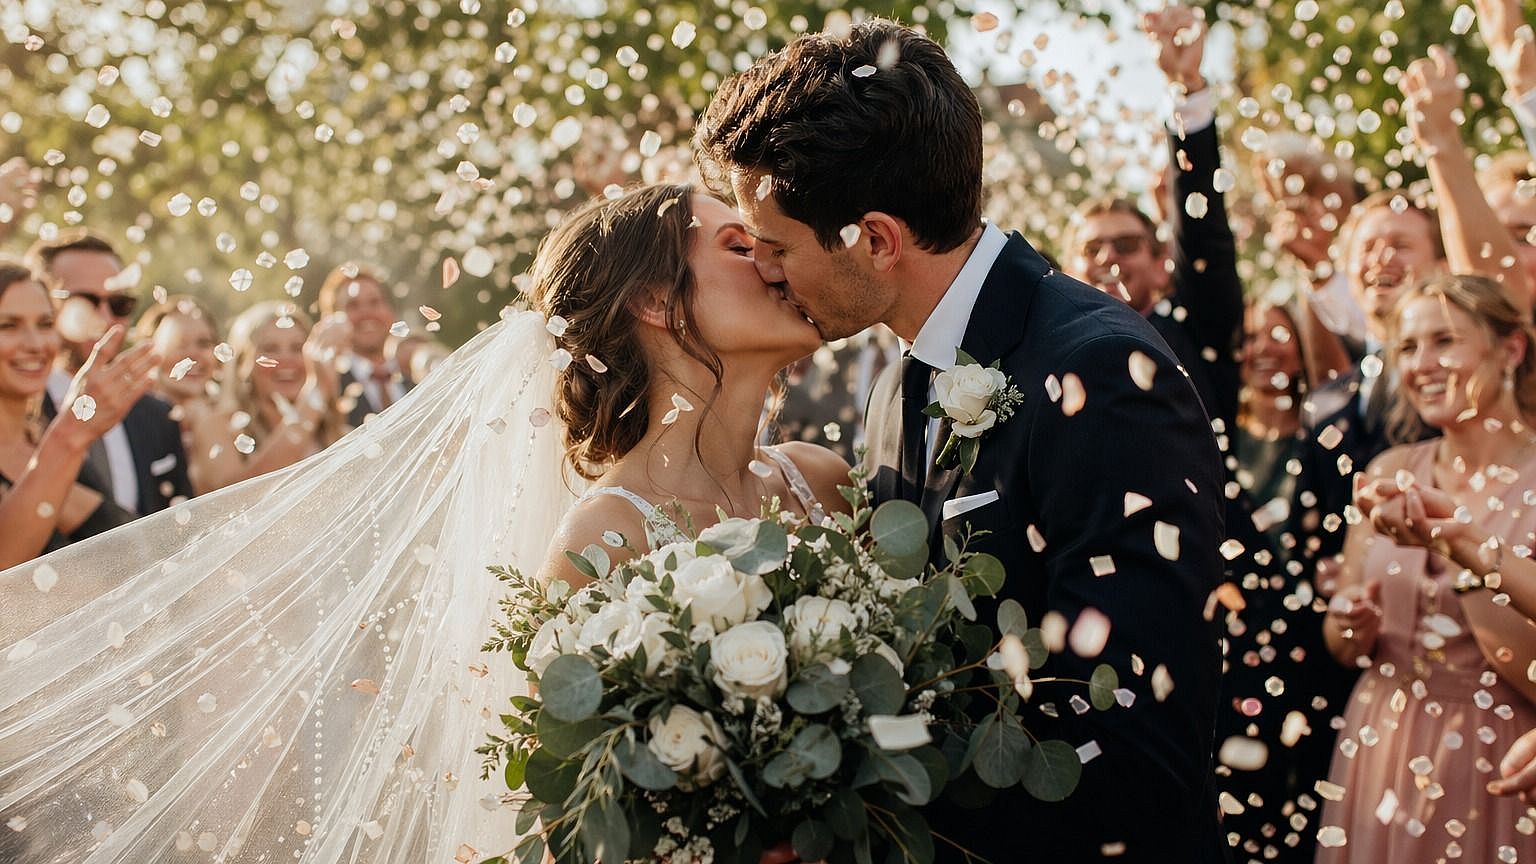
画像をアップロードするだけで、AIがより高解像度に再構築します。エッジ、テクスチャ、細部までディテールを補完するので、ズームしても大きく印刷しても美しく仕上がります。

Before
After
ビフォー 編集後

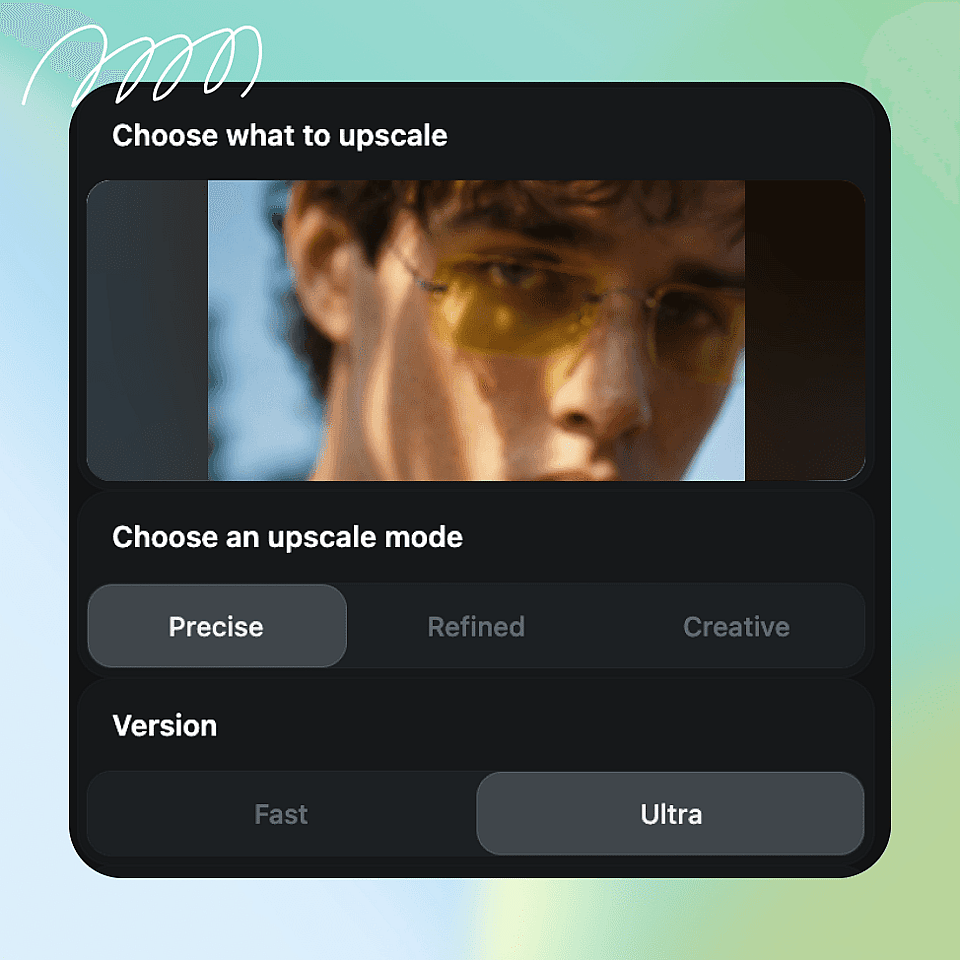
アップスケールモードを選択

Pick Precise to stay faithful to the original, Refined for a cleaner balanced result, or Creative when you want the AI to add more detail. The mode decides how much the image can change as it scales up.

Before
After
ビフォー 編集後

出力品質を設定

Run it in Fast when you want a quick result, or Ultra when you want the highest quality output. You decide the trade-off between speed and finish on every image.

Before
After
ビフォー 編集後

ワンパスで肌を美しく

肌補正をオンにすると、アップスケールしながら顔をきれいに整えます。肌はプラスチックのようにならず、自然でディテールのある仕上がりを保つので、ポートレートはシャープでリアルに仕上がります。

AI画像アップスケーラーの使い方

画像のアップスケールは3ステップで完了します。
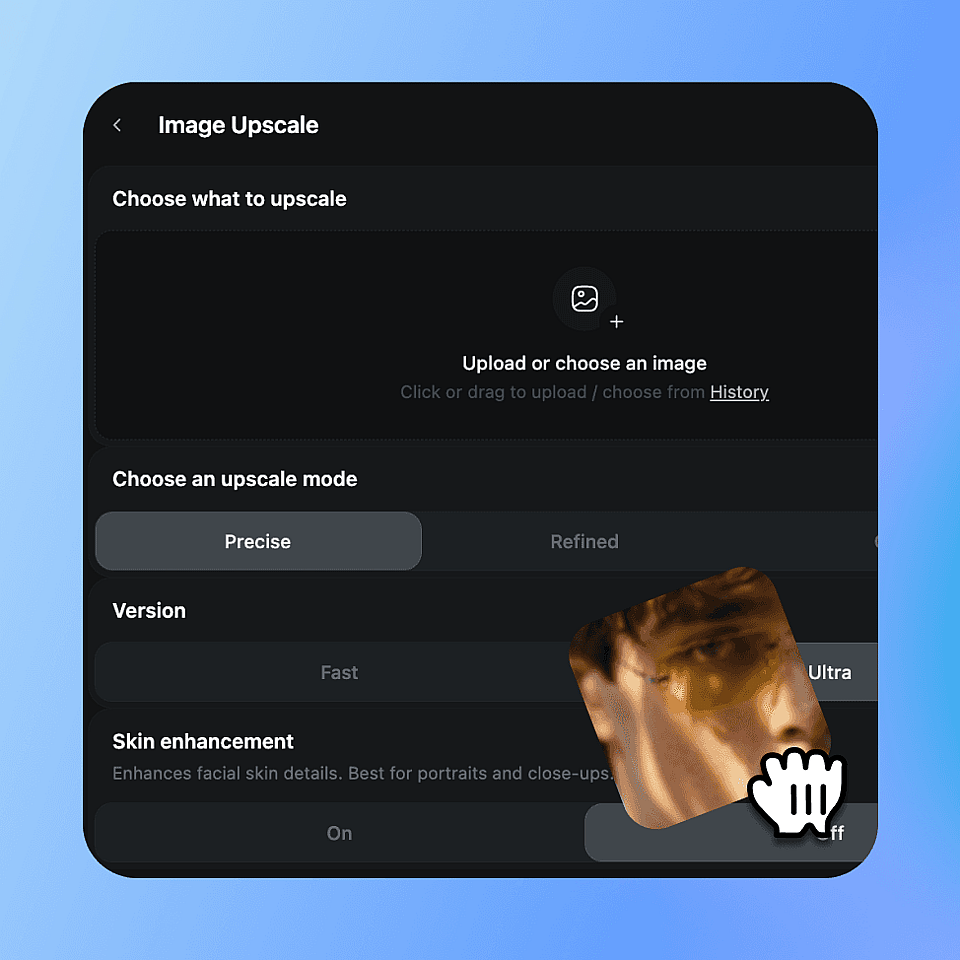
Upload your image
ステップ01

画像をアップロード

アップスケールしたい画像を選んでドロップします。

Choose your settings
ステップ02

Choose your settings

アップスケールモードを選び、FastまたはUltraの品質を設定し、必要に応じて肌補正を切り替えます。

Upscale and download
ステップ03

Upscale and download

Run it, review the result, and download your higher-resolution image.

The AI Image Upscaler Works For Anyone Who Needs Higher-Quality Images

Wherever your image is too small or too soft, the upscaler brings it up to a usable quality.

Before
After
ビフォー 編集後

写真家と編集者

Bring older or low-res shots up to a size you can crop, print, or deliver. The upscaler adds detail while keeping the photo looking real, so you spend less time reshooting or rescuing files.

今すぐ試す
Before
After
ビフォー 編集後

Online Sellers And Print

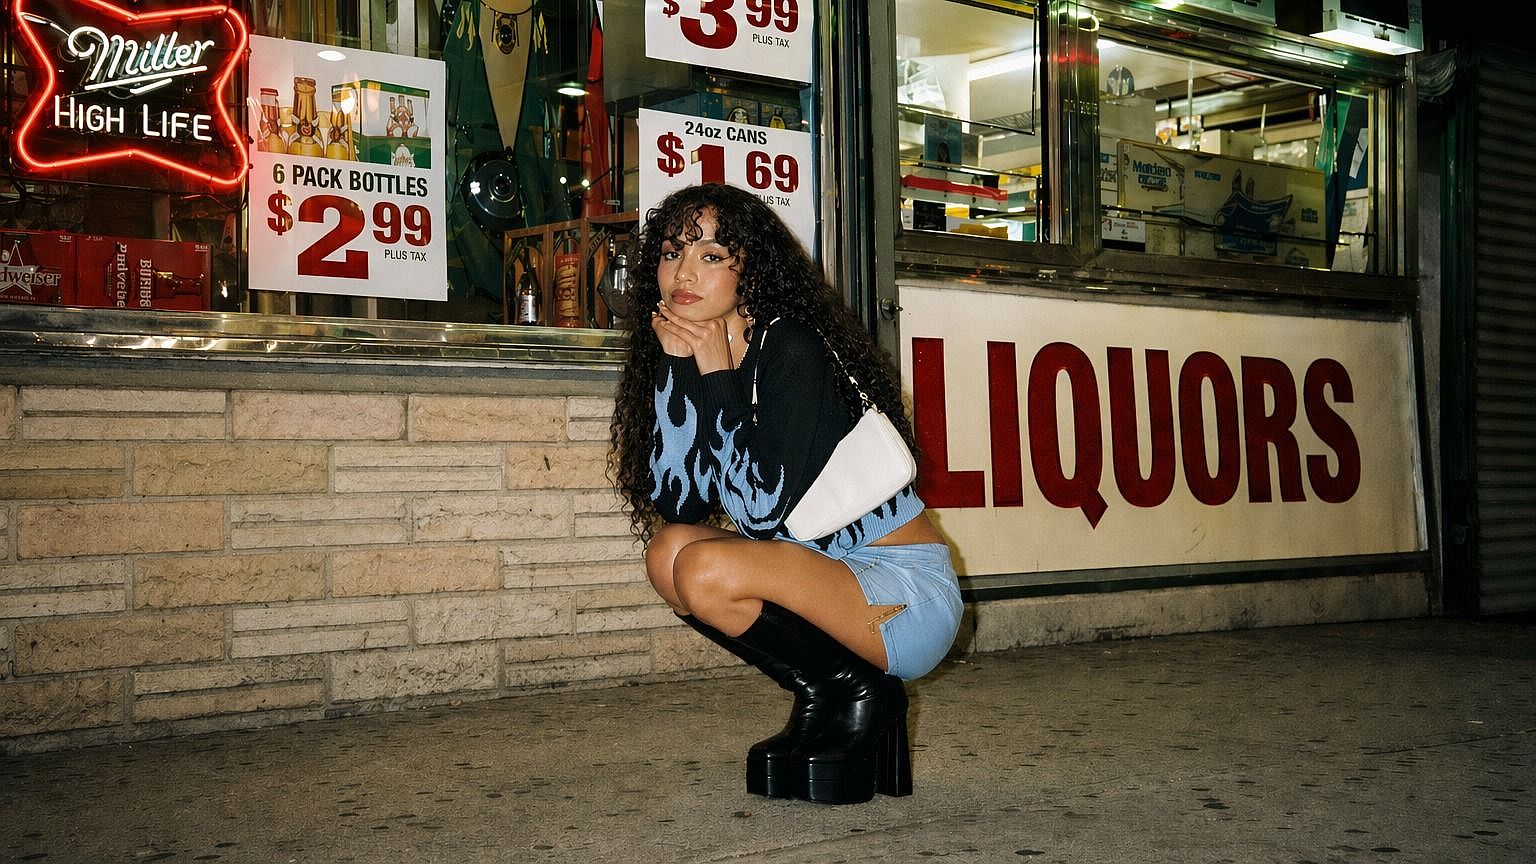
商品写真やグラフィックは、出品ページ、バナー、印刷用にもっと大きく鮮明にする必要があることがよくあります。どんなサイズでもプロ品質に見える、クリーンな高解像度版にアップスケールしましょう。

今すぐ試す
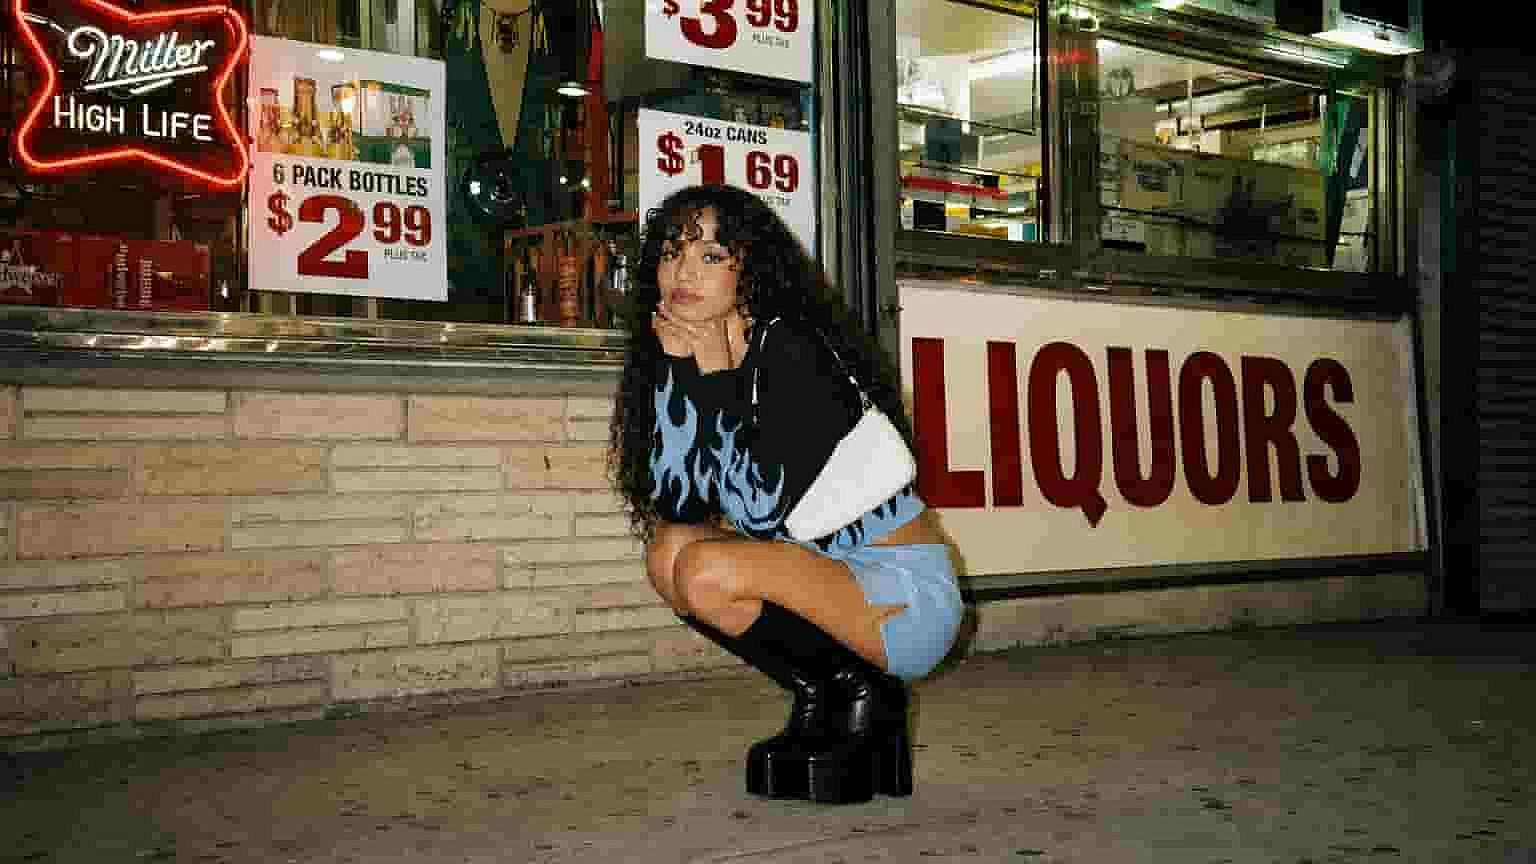
Before
After
ビフォー 編集後

デザイナー・エージェンシー向け

クライアントのアセットは、ちょうどいい解像度で届くことはめったにありません。ロゴ、写真、参照画像をアップスケールすれば、レイアウトやモックアップ、大判の制作物でもぼやけることなく、しっかり見栄えします。

今すぐ試す
Before
After
ビフォー 編集後

ソーシャル&コンテンツクリエイター

Thumbnails, posts, and reposted images can come out blurry. Upscale them to a crisp version that looks sharp on every screen and stands out in the feed.

今すぐ試す

よくある質問 よくある質問

It's an OpenArt tool that increases the resolution of any image using AI. It adds real detail as it scales up, so your image gets larger and sharper at the same time.
「Precise」は元画像に最も忠実に、「Refined」はクリーンでバランスの取れた仕上がりに、「Creative」はAIがより多くのディテールを加えます。どれだけ変化させたいかで選びましょう。
はい。肌補正をオンにすると、アップスケーラーが肌をプラスチックのように滑らかにせず、ディテールとリアルさを保ちます。
写真、商品画像、グラフィック、AI生成画像をアップスケールできます。小さすぎる、またはぼやけた画像ならどれでも最適です。
You can take small or low-res images up to a much higher resolution suitable for cropping, print, and large displays. The exact output depends on the model and quality setting you choose.
They set your output quality. Fast gives you a quick result, and Ultra gives you the highest-quality output when you have time to wait.
On Precise it stays very faithful to the original. On Refined and Creative the AI has more room to add detail, so the result can look slightly different as it sharpens.
はい、生成結果を商用利用できます。詳細はお使いのOpenArtプランでご確認ください。

エキスパートブログで知見を得る

必要なヒントをここで。専門家が実践的なテクニックを紹介し、話題のトピックを解説。制作・最適化・スケールに役立つ必須のハウツーガイドをお届けします。

もっと見る

制限なく、思いのままに

OpenArtを使う何千人ものクリエイターの仲間入りを。魅力的な画像や動画などを、すべてひとつのプラットフォームで生成できます。

無料で始める →