
お気に入りのモデルがすべてここに。生成は無制限。

期間限定・最大27%OFF! ›
動画ガイド

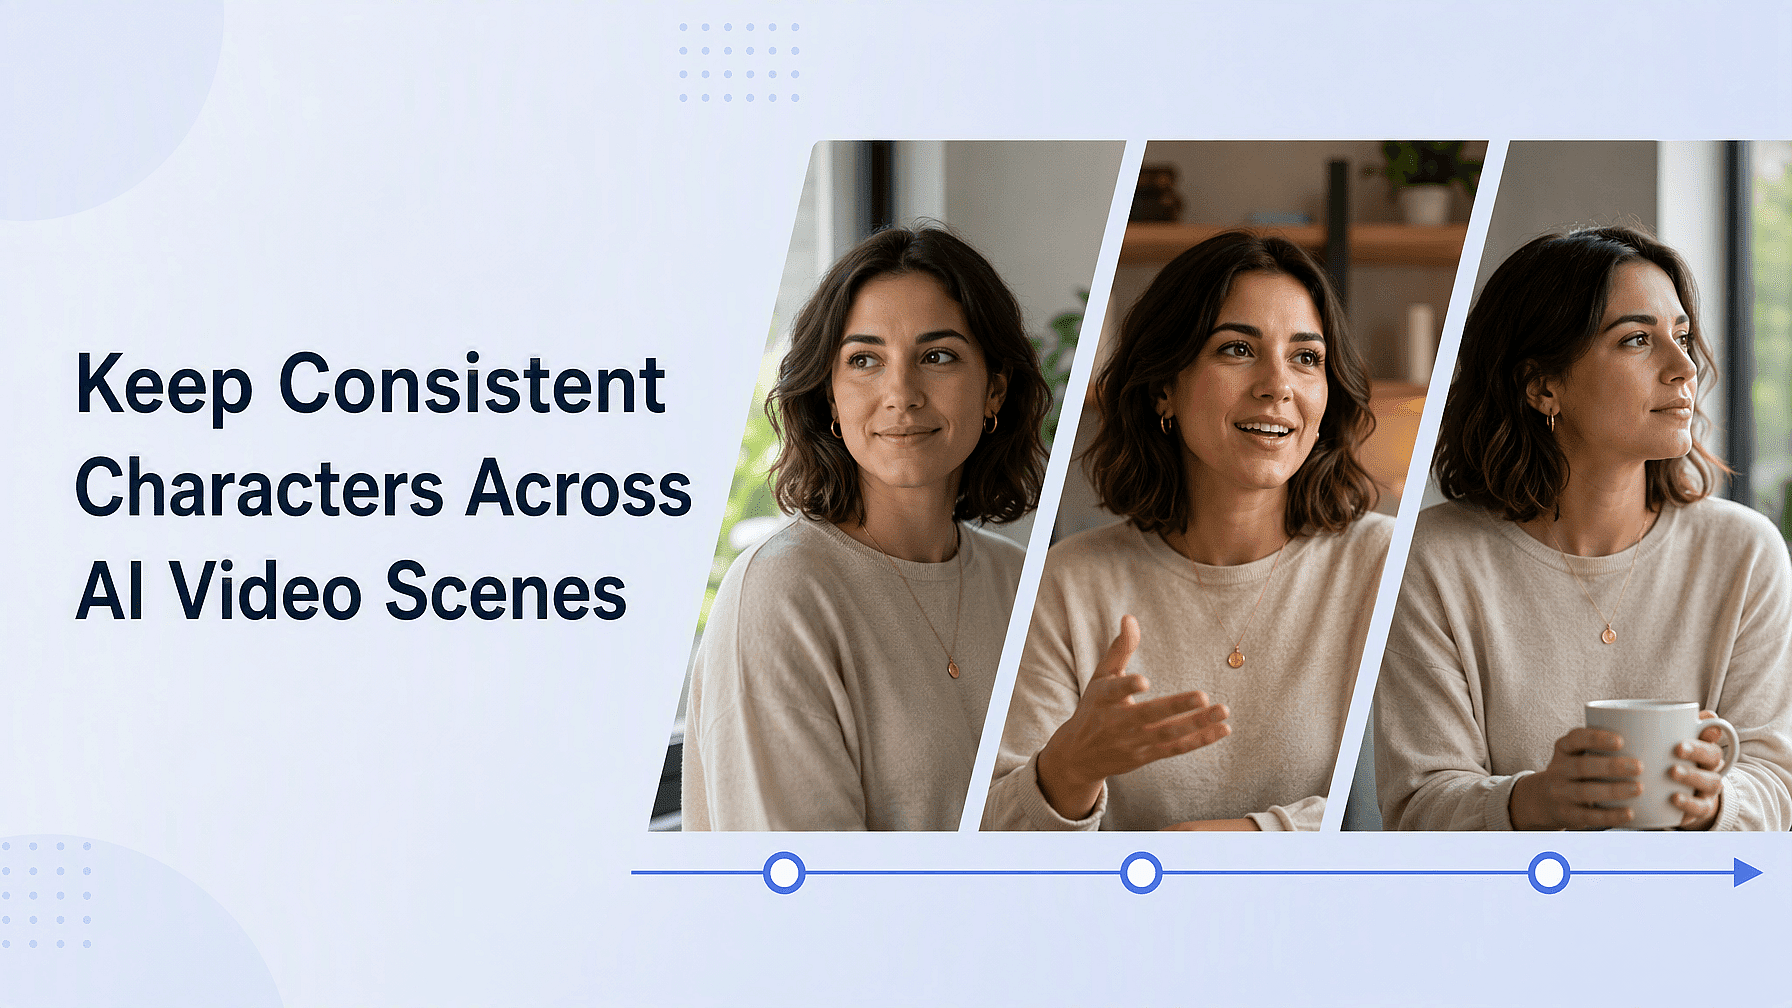
AI動画のシーンをまたいでキャラクターの一貫性を保つ方法

O
OpenArt Team
2026年8月7日 · 読了時間7分
Keeping Consistent Characters Across AI Video Scenes

主人公はシーン1では完璧なのに、シーン2では別人が返ってくる。丸みを帯びた顔、新しい生え際、指示していないコートに変わったジャケット。クリエイターはこの失敗をキャラクタードリフトと呼び、これは連続ものの物語やブランドキャンペーンを台無しにします。さらに、1クリップを超えるあらゆる動画も破綻させてしまうのです。

Consistency comes from a repeatable workflow. Build the character once, lock the definition into a canonical image set, anchor every scene with image-to-video, chain frames between shots, and correct the stragglers.

AIキャラクターがクリップごとに変わってしまう理由

Video models don't remember your character between generations. Each clip starts from random noise, so text-to-video has no identity anchor: the model invents a face each time it denoises, and that invented face can drift from clip to clip.

Drift shows up in two distinct places, and they need different fixes:

  • Within-clip drift: 1回の生成の中でフレームが進むにつれて顔が劣化していきます。研究者らが明らかにしたのは identity progressively degrades as errors propagate from frame to frame, which is why a longer single clip is harder to hold together than a short one.
  • Scene-to-scene drift: Each new clip regenerates the character from scratch, so identity resets with every generation.

シーンごとのブレは難しい課題であり、このワークフローが狙う核心です。Kling自身の製品資料でも、顔を安定して保つ確実な方法はprompt調整ではなく参照画像だと示されており、以下のワークフローも同じ考え方に沿っています。

What you need before you start

このワークフローには、生成ツールと動画エディターが必要です。それぞれ別々に用意しても、1つのプラットフォームでまとめても構いません:

  • 生成ツール include an image generator for your canonical character reference set and a video generator with image-to-video, so each clip can start from your reference rather than text alone. On OpenArt, image models include GPT Image 2, Seedream 5.0 Pro, Nano Banana Pro, and Recraft V4. Its video lineup includes Seedance 2.5, Veo 3.1, Kling Omni, Wan 2.7、そして LTX-2.3.
  • A video editor クリップをつなぎ、色調を整えて映像に統一感を持たせます。

The all-in-one path runs the whole pipeline in one workspace: OpenArt's キャラクタービルダー はキャラクターを永続ライブラリに保存し、あらゆる画像・動画生成で再利用できます。 OpenArt Director reuses the saved character across マルチシーン動画 without manual stitching, though identity can still drift in video. Paid plans start at $14 per month; check the OpenArt料金ページ for current plan names and credit amounts.

How to keep a character consistent across scenes: step by step

ワンパスのワークフローはこうです。キャラクターを文章で定義し、標準となる参照画像セットを生成し、その説明を使い回せるプロンプトブロックに固定します。各シーンは標準フレームを起点に画像から動画で生成し、各クリップの最後のフレームを次のクリップにつなぎ、最後にエディターで結合します。各ステップがブレの原因を1つずつ取り除くので、どれか1つでも省くとブレが再び生じてしまいます。

Step 1: Build a character bible

Write down every visual fact about your character before generating anything. Cover face shape, hair color and length, eye color, skin tone, build, specific garments with colors and materials, and the rendering style (photorealistic, anime, cinematic).

Then add one unique identifier, such as a scar or distinctive accessory. It anchors identity even when other details wobble.

OpenArtなら、毎回入力し直す必要はなく、一度設定するだけ。Character Builderで見た目、雰囲気、性別、人種、年齢層のプリセットを設定できます。フォトリアルな見た目に限らず、スタイライズされたキャラクターやファンタジーキャラクターにも対応。人間以外を含むあらゆるキャラクターに使えます。 OpenArt Characters は1枚の参照画像、テキストプロンプト、またはプリセットから始められ、Nano Banana Pro、Seedream 4.0、Kling Omniなど複数のモデルで動作します。

Saved characters live in your library. Tag a saved character in any generation, and the system carries the full identity definition into that prompt for you.

Step 2: Create and prepare reference images

Generate a canonical set of stills from your character bible, then treat those images as the single source of truth for every scene. A common practitioner starting point is 4 to 8 strong stills covering multiple angles and lighting conditions. More images can help, but only if each one is genuinely different: near-duplicate shots just teach the model to memorize one photo instead of learning the character.

A working eight-image character sheet covers:

  • Front view, three-quarter left, three-quarter right, and side profile
  • One head-and-shoulders close-up and one neutral full-body shot
  • At least two expressions beyond neutral, such as a subtle smile and a serious look

Shoot for even, neutral lighting on a plain background. Runway recommends a neutral expression as a blank starting point for reference images, and harsh shadows can carry into results as if they were facial features. Close-up and half-body images tend to hold facial detail better than full-body shots, so weight your set toward those.

Step 3: Write a prompt that locks facial features and wardrobe

キャラクターと衣装を説明する1〜3文のコンテキストブロックを書き、そのうえで照明を定義しましょう。それを各クリップのプロンプトの冒頭にそのまま貼り付けます。「そのまま」が重要です。クリップごとに言い換えると、モデルに再解釈の余地を与えてしまいます。

Be ruthlessly specific. "Navy crewneck" beats "a navy or dark sweater"; "shoulder-length brown waves" beats "medium-length brown hair." Lock your lighting keywords the same way, for example "golden hour, warm key, soft fill, no green cast," and reuse them across every scene in the same location.

各ショットごとにコピーして入力し直せる、4行のブロック:

Character: [saved character or full description]
Wardrobe: [garment, color, material]
Lighting: [key light, fill, color cast]
Motion + scene: [what the character does, where]

Kling's official prompt formula is a useful skeleton: Subject (Subject Description) + Subject Movement + Scene (Scene Description) + (Camera Language + Lighting + Atmosphere).

On OpenArt, tagging your saved character does the repetition for you. The saved character carries the face and hair definition into every prompt, along with the wardrobe. Your per-clip prompt only needs to describe motion and scene.

Step 4: Generate each scene with image-to-video

Start every clip from a canonical image rather than from text. Image-to-video uses your reference as the literal first frame, so the character enters the clip exactly as designed. The generation modes trade off differently:

  • Text-to-video: No visual anchor at all. The model invents the face each time, which is why it's the primary cause of scene-to-scene drift.
  • Image-to-video: Strong first-frame anchor with drift risk later in the clip. Keep your prompt focused on motion, not on re-describing the subject, and keep motion strength moderate. Set it too high and the model invents motion that requires inventing new geometry, at which point identity collapses.

Video-to-video anchors motion and structure from an existing clip. Use it for post-generation correction. Runway notes that for its Aleph editing model, keeping subjects and objects consistent works best when you include them directly in the input footage rather than relying on a text description alone.

Most current models also accept extra reference images alongside the start frame. Veo 3.1 takes up to 3 reference images, Kling's Elements feature accepts 2 to 4, and Seedance 2.5 on OpenArt supports up to 50 tagged reference assets in a single generation.

You can assign the face from image one while video one controls the camera movement. Audio one can drive lip sync.

Step 5: Chain frames scene to scene

連続したショットには、クリップNの最終フレームを書き出し、クリップN+1の最初のフレームとして使いましょう。そのフレームがカット地点でのキャラクターの見た目を正確に保ちます。ライティングや位置も引き継ぐので、モデルが何かを作り変える余地が大幅に減ります。

Veo 3.1は最初と最後のフレーム生成をネイティブにサポートし、KlingのStart & Endフレームモードでは用意した2枚の静止画の間のトランジションを生成します。

クリップは短く保ちましょう。1回の生成につき3〜5秒にすれば、蓄積するドリフトを抑えられます。フレームチェーンを使っても、チェーンが長く続くほどドリフトは積み重なります。そこで数クリップごとにチェーンをリフレッシュする習慣をつけましょう。チェーンを勢いのまま無限に走らせず、元のリファレンスパックを最も良い直近フレームと一緒に再投入するのです。

Advanced ComfyUI users add a checkpoint here: run a face-similarity comparison on the extracted frame against your reference set, and if it looks off, inpaint the face region 低いデノイズ強度で処理してから、次のクリップに送り込みます。

Step 6: Stitch clips into the final video

エディターでクリップをまとめ、似たライティングやカメラアングルのショットをバッチ処理しましょう。背景が一致するもの同士を隣に並べれば、わずかな違いもエラーではなく連続性として見えます。すべてのクリップに最終カラーグレーディングをかければ、生成間に残ったトーンの違いも統一できます。

With Director you skip this step. OpenArt Director builds multi-scene videos up to 5 minutes from a chat conversation, with use cases spanning short films, music videos, UGC ads, and product ads.

You describe the idea and refine the script or characters with the built-in assistant Ori. Then you review the storyboard scene by scene. OpenArt designed Director to develop the story and build the characters while keeping faces, voices, environments, and products consistent across scenes, though generated video can still show identity drift.

Advanced techniques for stubborn drift

リファレンス画像やロックしたプロンプトでも足りないとき、これらの方法でモデルレベルでアイデンティティを固定できます。

LoRAトレーニング

LoRA (Low-Rank Adaptation) teaches a model your specific character by training a small adapter file on your reference images, without retraining the base model.

OpenArt lets you train a custom model through its interface without ML expertise, with a Character Training option built for one recurring character. Check OpenArt's own guidance for current image-count minimums and training times, since these details can change as the feature evolves.

In the open-source world:

  • HunyuanVideoが登場 official LoRA training scripts、musubi-tunerなどの人気コミュニティツールと並んで。
  • Wan 2.2 trains via DiffSynth-Studio.
  • Lightricks' LTX-2.3 offers an IC-LoRA キャラクター、小道具、ロケーションをまとめた1枚のリファレンスシートを基に生成を制御します。
  • Mochi 1は公式のLoRAファインチューニングに対応しています。

IP-Adapter

The IP-Adapterアーキテクチャ lets you use an image as a prompt. A frozen encoder converts your reference into embeddings and injects them into the model through separate cross-attention layers, steering generation toward that face while your text prompt still controls the scene.

The FaceID variants swap in face-recognition embeddings for stronger identity control. The license restricts those variants to research use rather than commercial use. The widely used cubiq/ComfyUI_IPAdapter_plus repository has been in maintenance-only status since April 2025.

A common ComfyUI identity-conditioning workflow locks the face first with IP-Adapter FaceID, applies a character LoRA for style and body on top, and controls the pose separately with ControlNet.

Seed locking

A seed fixes the starting noise for a generation, so reusing it under unchanged generation settings tends to generate similar output. Runway Gen-4 exposes a fixed-seed toggle that yields generations with similar style and movement, Google Veo accepts a seed value on Vertex AI, and Kling recommends saving seeds and settings once you find a baseline look. Seeds stabilize output, but reproducibility can vary 同じシードでも、ハードウェアやプラットフォームの更新をまたぐと変わります。

Troubleshooting character drift

A clip can look 90% right even when one detail fails. Regenerating it may cost more than repairing it.

最終手段としての顔スワップとキャラクタースワップ

Face-swap tools replace a drifted face in a clip with your canonical one. Character-swap tools go further by replacing the whole character while preserving the background, lighting, motion, and camera work. Reach for these tools at cleanup stage: face swapping can create unnatural blending artifacts around extreme head angles or strong lighting, so treat it as a fix for a mostly-right clip, not a first resort.

Fast motion creates the same problem.

Get consent from every real person you depict in a face-swap workflow. Congress enacted the TAKE IT DOWN Act on May 19, 2025 to target nonconsensual intimate imagery, and EU AI Act Article 50 開示義務は 2026年8月2日から適用されます。

Multiple characters in one scene

Multi-character scenes drift faster because the model juggles several identities at once. Seedance 2.5 on OpenArt supports up to 50 tagged reference assets in a single generation, and its @-tagging lets you assign roles explicitly: image one as the left dancer and image two as the right dancer, so identities don't blend.

Third-party testing adds a fair caveat: Seedance 2.5 reduces drift when you approach it methodically, but it doesn't eliminate drift outright.

Voice and lip sync

Visual consistency means little if your character sounds different in every episode. On OpenArt, clone a voice once from a reference sample and reuse it across every clip, with voiceover available in 30+ languages. Audio plus your character image drives lip sync.

A reference performance can preserve physical continuity by transferring a dance or sports action onto your character. The same process works for a walk, so performance style stays recognizable across episodes.

よくある質問

How many reference images do I need for a consistent character?

OpenArt Charactersは1枚のリファレンス画像から始められます。リファレンスのみを使う動画ワークフローでは、正面と斜め45度のアングルに加えて横顔をカバーする4〜8枚の静止画を使用します。

Custom model training on OpenArt accepts a wider range of images, and a common starting point for training-free consistency is 10 to 15 diverse images. More images help only if they're varied, since near-duplicates cause the model to memorize one photo instead of learning the character.

What's the best tool combo for consistent characters in 2026?

No single model has a permanent edge for consistent AI video characters as of 2026, so the right stack depends on your pipeline. OpenArt covers the full loop: a character library plus image-to-video across Seedance 2.5, Veo 3.1, Kling Omni, Wan 2.7, and LTX-2.3. Director handles the multi-scene assembly.

Can I fix character drift after the model generates a clip?

Face-swap tools replace a drifted face with your canonical one, while targeted video editing can fix a specific region like wardrobe without regenerating the clip. Character-swap tools replace the whole character while preserving the background and motion. On Runway's platform, Aleph makes targeted edits across single shots or multi-shot sequences and accepts a reference image to guide characters.

How do I keep continuity when stitching separately generated clips?

  • Chain the last frame of each clip into the next one's start frame
  • キャラクター説明のブロックを、すべてのプロンプトの先頭にそのまま貼り付けます
  • Save and reuse seeds where the platform exposes them
  • 見た目の似たショットをまとめて生成し、カット全体に1つのカラーグレードを適用しましょう

Directorなら、マルチシーンの動画を一つのつながったプロジェクトとして作れるので、つなぎ合わせる手間はありません。

制限なく、思いのままに

OpenArtで画像・動画・キャラクター・ストーリーを生成する、数百万人のクリエイターに仲間入りしましょう。すべてが1つのプラットフォームに。

無料で始める →