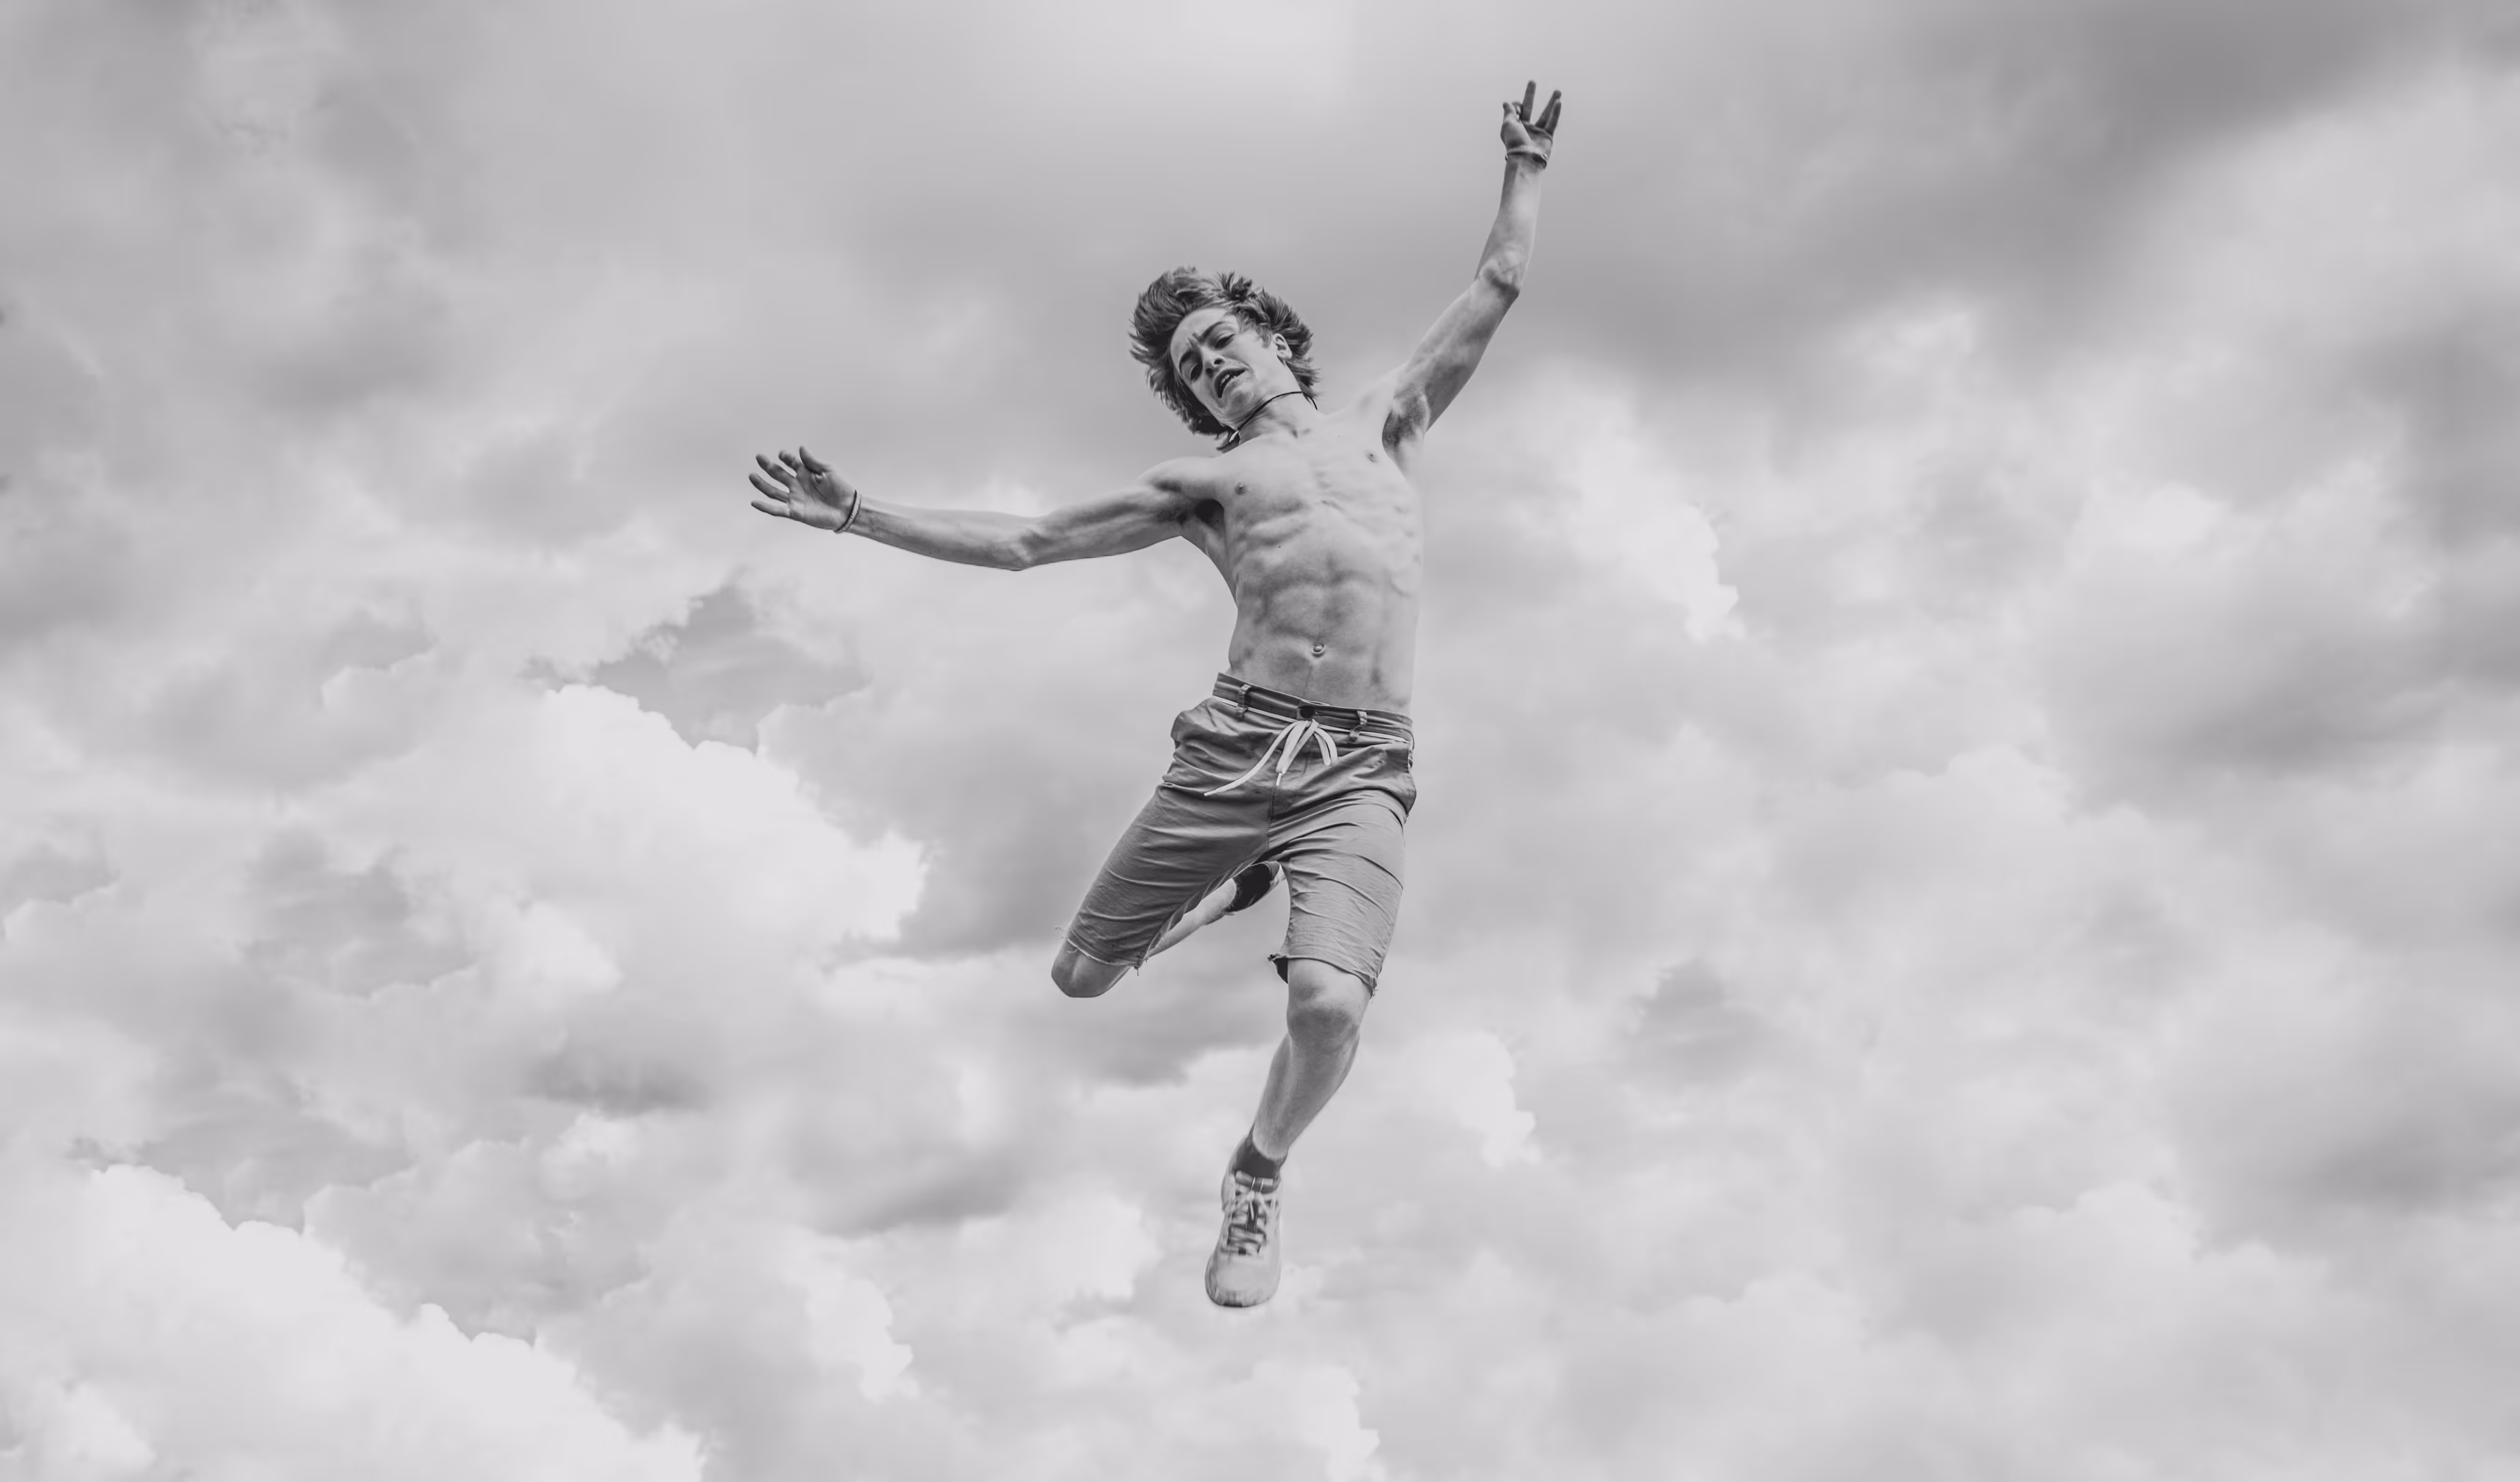
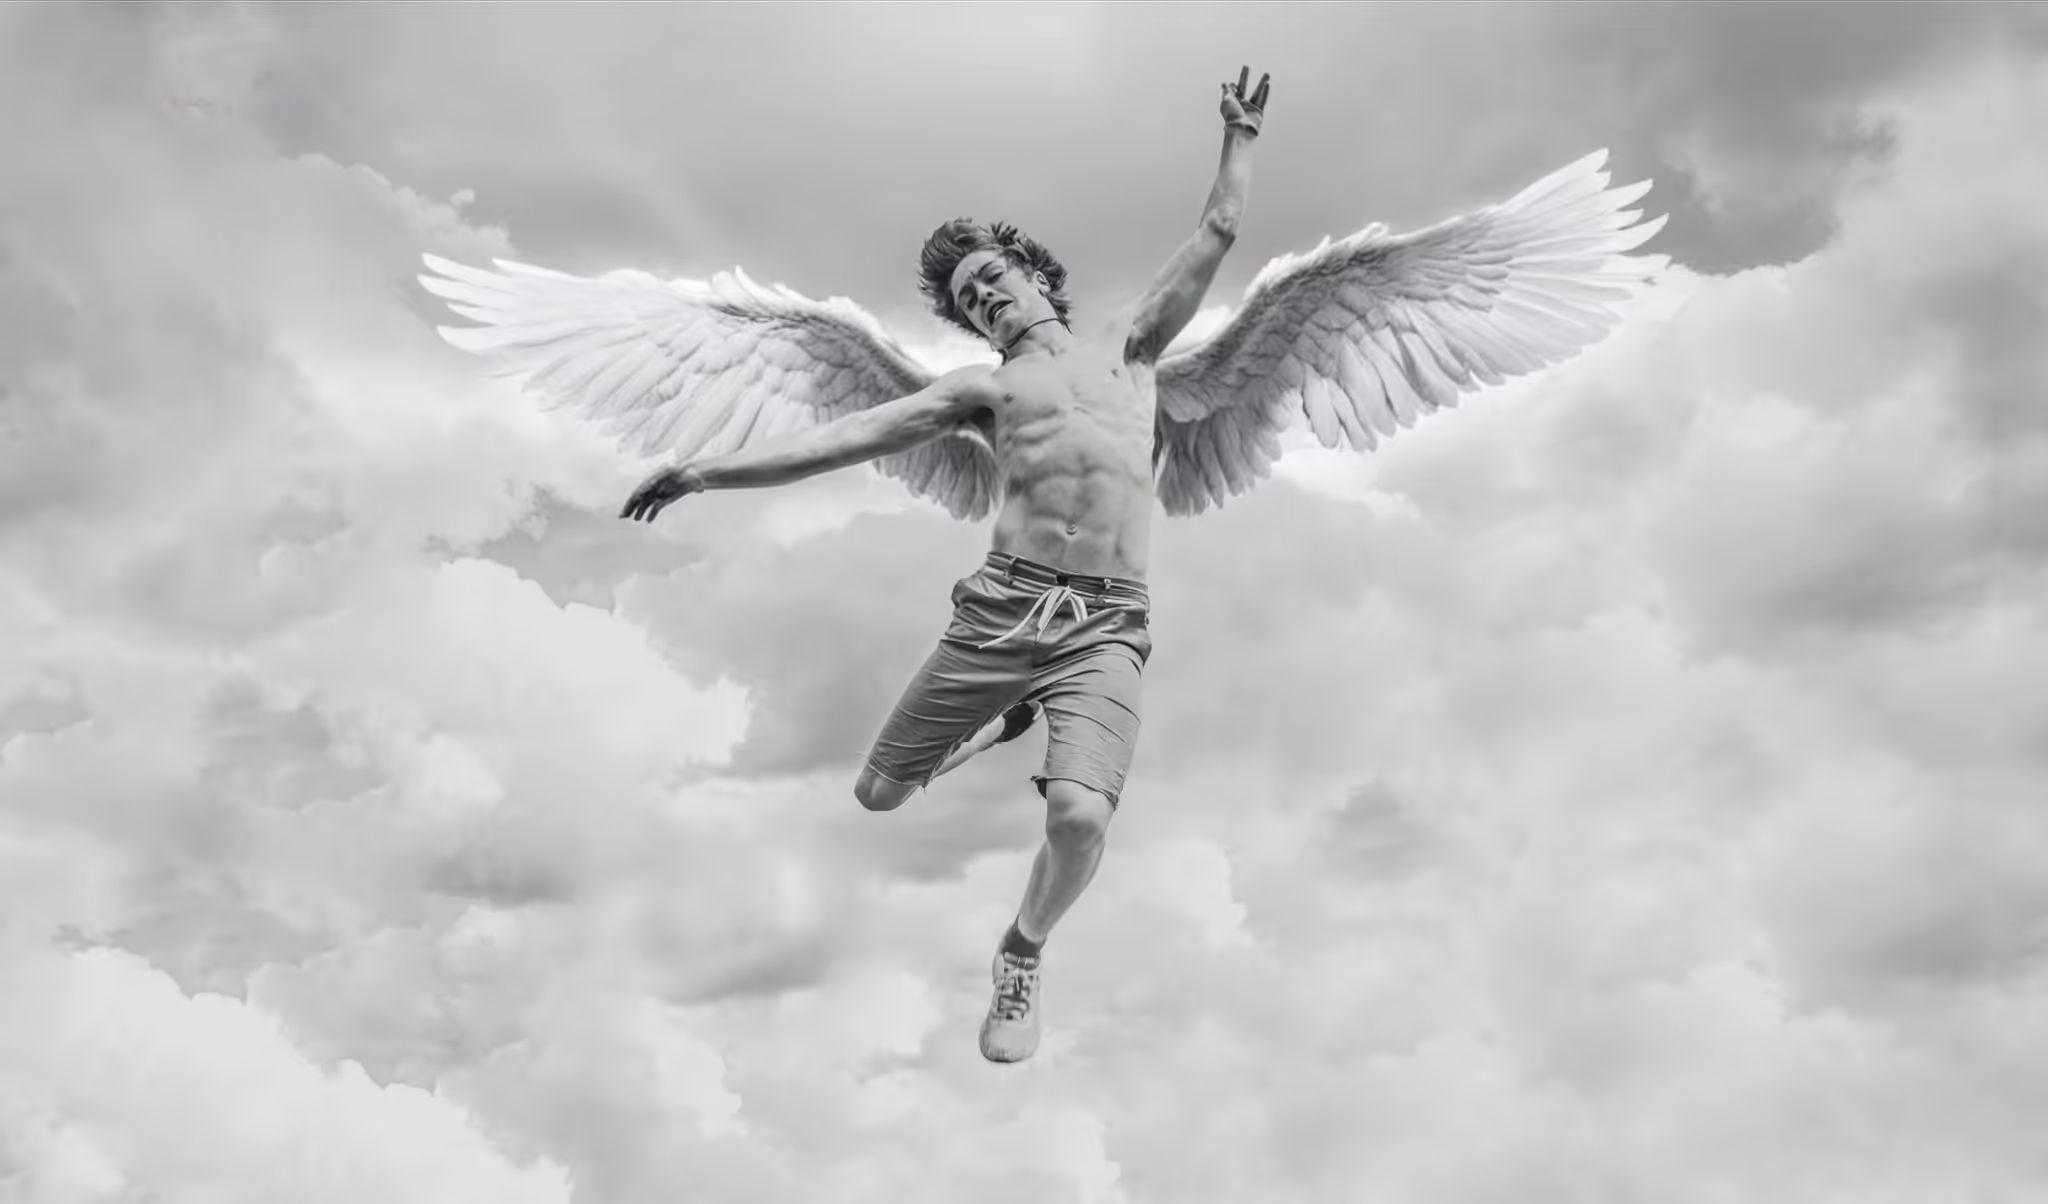
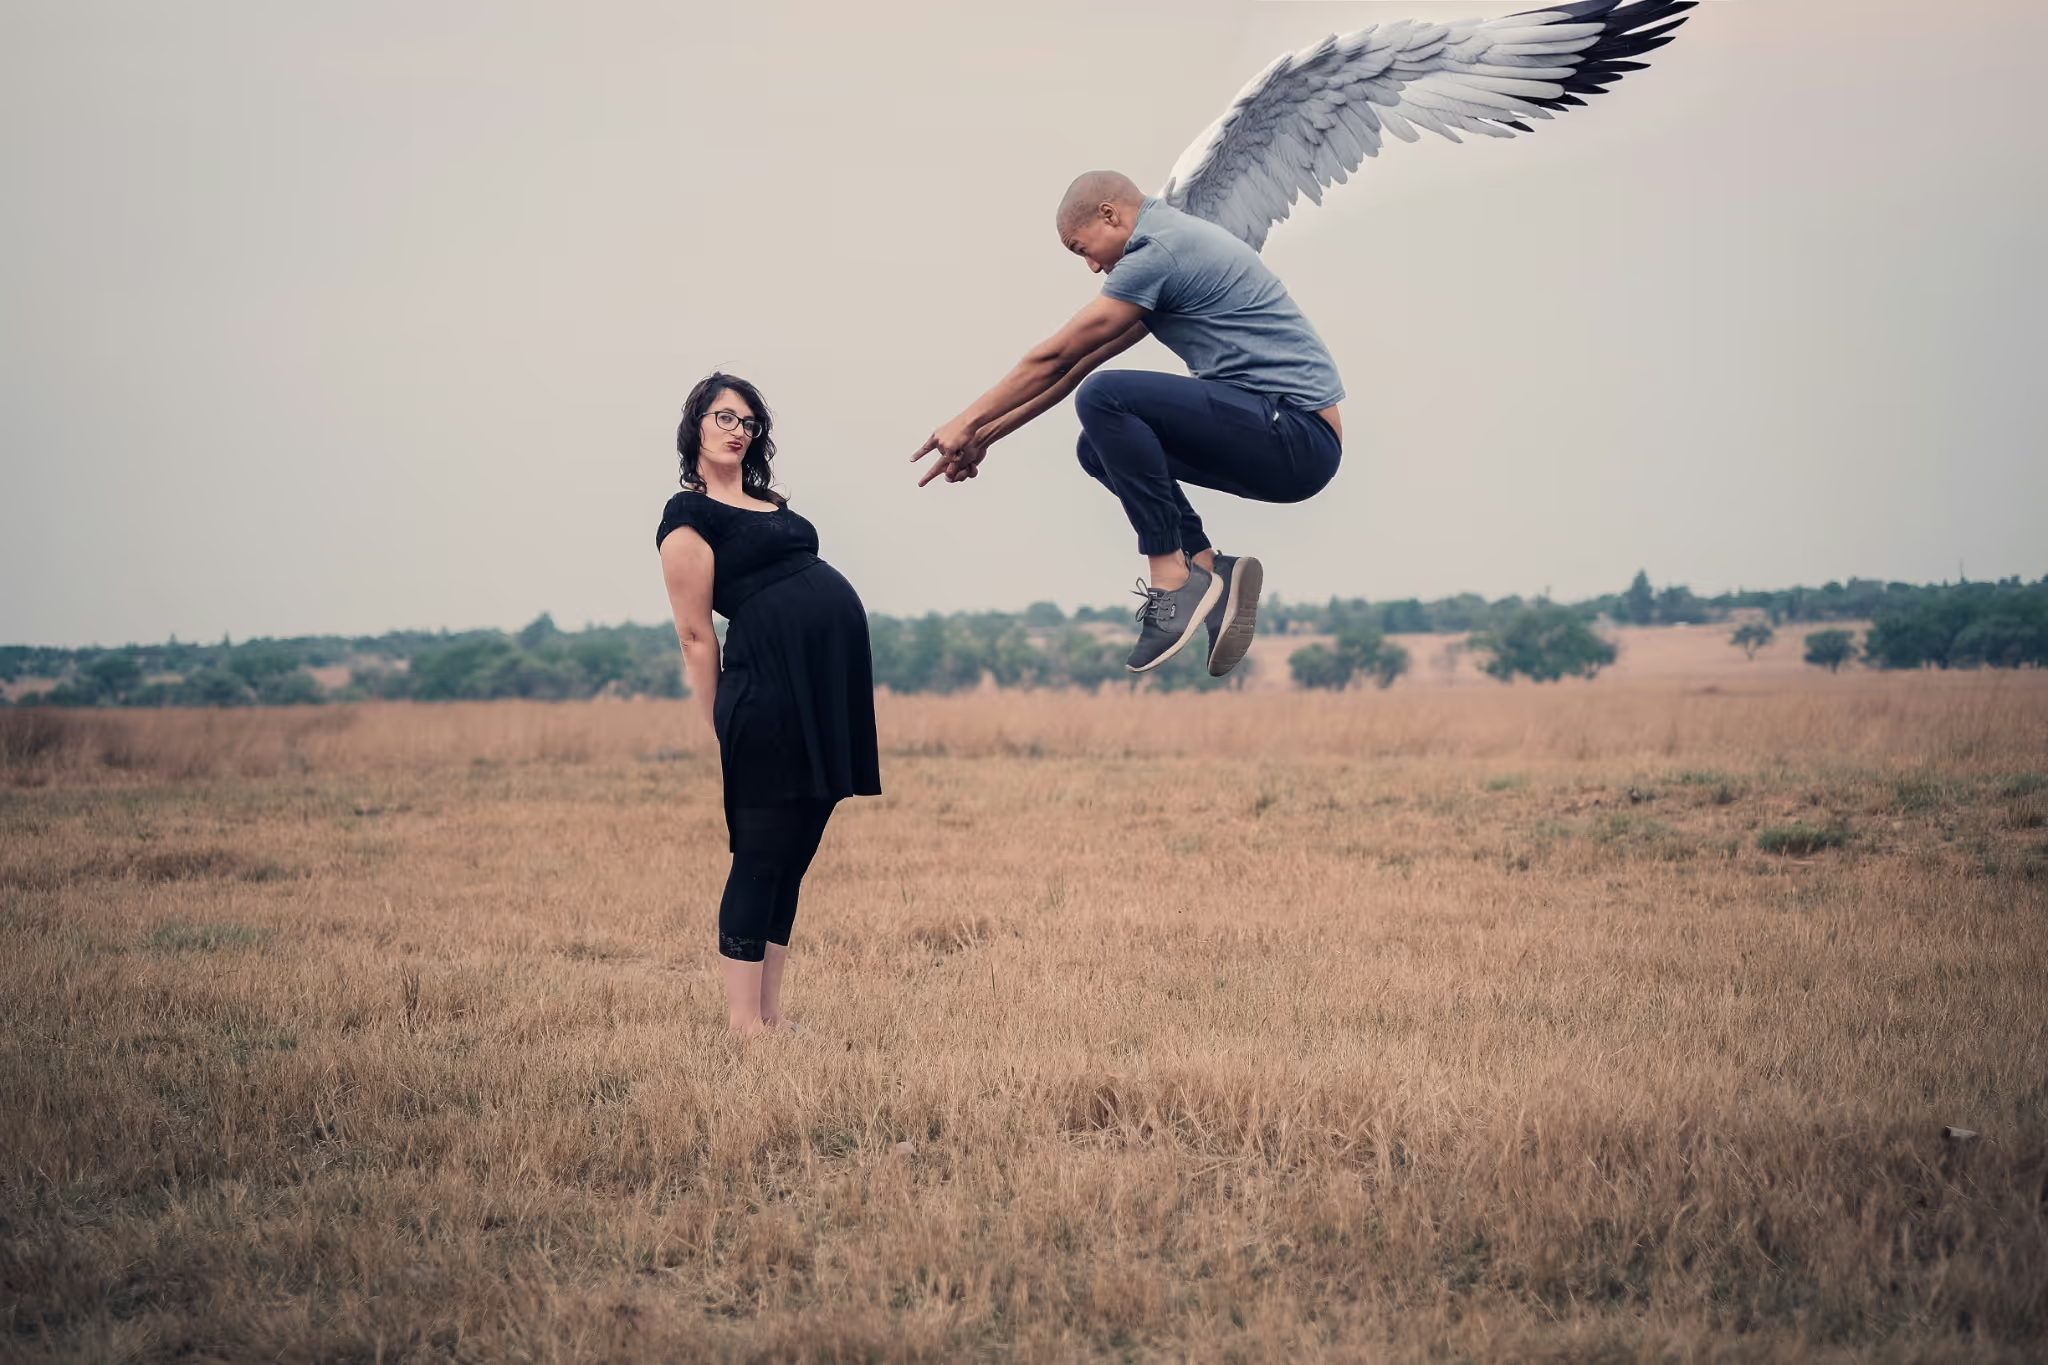
Why Would I Add Angel Wings To Photo?
Enhance your photos with a touch of fantasy by adding angel wings using OpenArt's Inpainting tool.
- Social Media Content: Create eye-catching and unique posts that stand out in crowded social feeds.
- Personal Projects: Add a whimsical element to personal photos for scrapbooks or digital albums.
- Marketing Campaigns: Use angel wings to add a creative twist to promotional materials and advertisements.
- Event Invitations: Design memorable invitations for themed parties or special events with a celestial touch.
- Artistic Expression: Experiment with adding angel wings to explore new artistic styles and concepts.
How To Add Angel Wings To Photo?
Transform your photos by adding angel wings with OpenArt's Inpainting tool.
- Drop your file: Begin by dragging and dropping your image into the designated area labeled "Drop your files here." This will initiate the upload process.
- Wait for the file to load: Once the file is uploaded, you'll be automatically redirected to a new page where you can start editing.
- Select the Area to Edit: Use the Smart Select tool or brush to highlight the specific area of the photo you want to modify. Carefully select the region where you want to add the angel wings. It's usually recommended to highlight larger areas to give AI more space to create.
- Choose your model and settings: Pick the model you want to use for generating the angel wings. Specify the number of generations to refine the output.
- Create and finalize: Click on "Create" and wait a few seconds. Your edited image with angel wings will be ready shortly.
How to Get Good Results Adding Angel Wings To Photo?
Achieving stunning results with the Add Angel Wings To Photo feature on OpenArt's Inpainting tool requires a few key practices.
- High-Quality Images: Start with a clear, high-resolution photo. The better the quality of the original image, the more realistic and detailed the final result will be.
- Accurate Selection: Use the Smart Select tool or brush to precisely highlight the area where you want to add the wings. A careful selection ensures that the wings blend seamlessly with the rest of the image.
- Experiment with Models: Try different models and settings to find the best match for your photo. Each model offers unique styles and effects, so don't hesitate to explore various options.
- Refine and Adjust: After generating the wings, use the editing tools to make any necessary adjustments. Tweaking the size, position, and opacity can significantly enhance the overall look.
- Review and Save: Take a moment to review the final image before saving. Ensure that the wings look natural and complement the original photo, making any last-minute edits if needed.


.avif)

