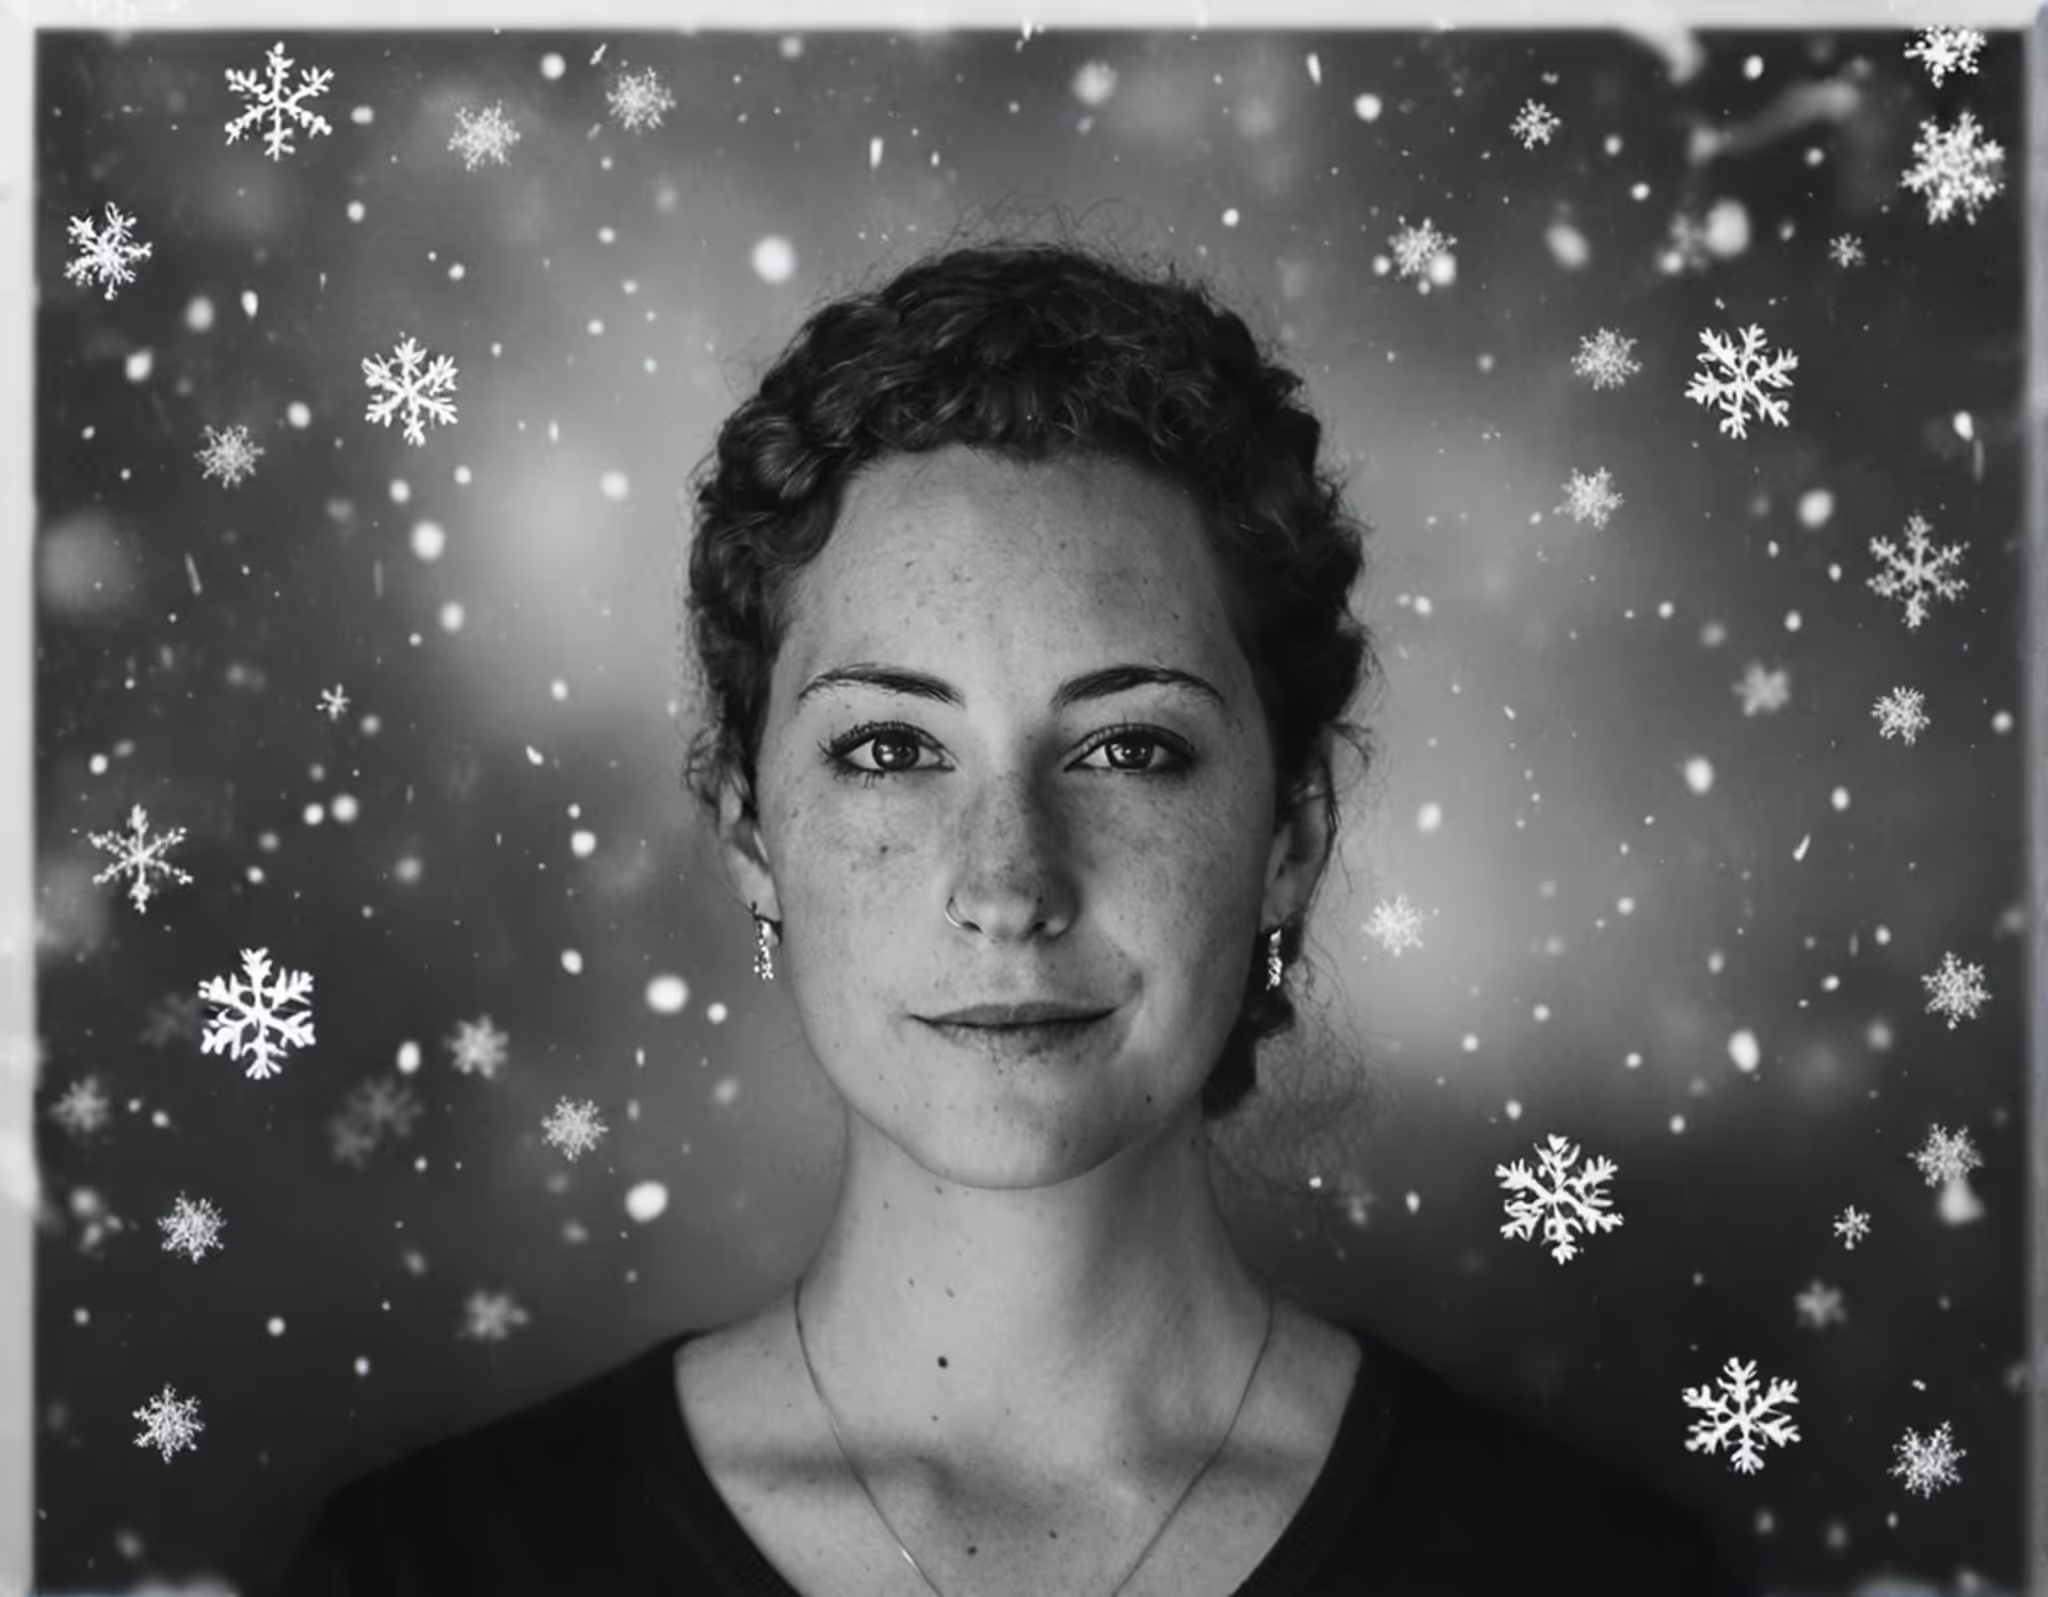
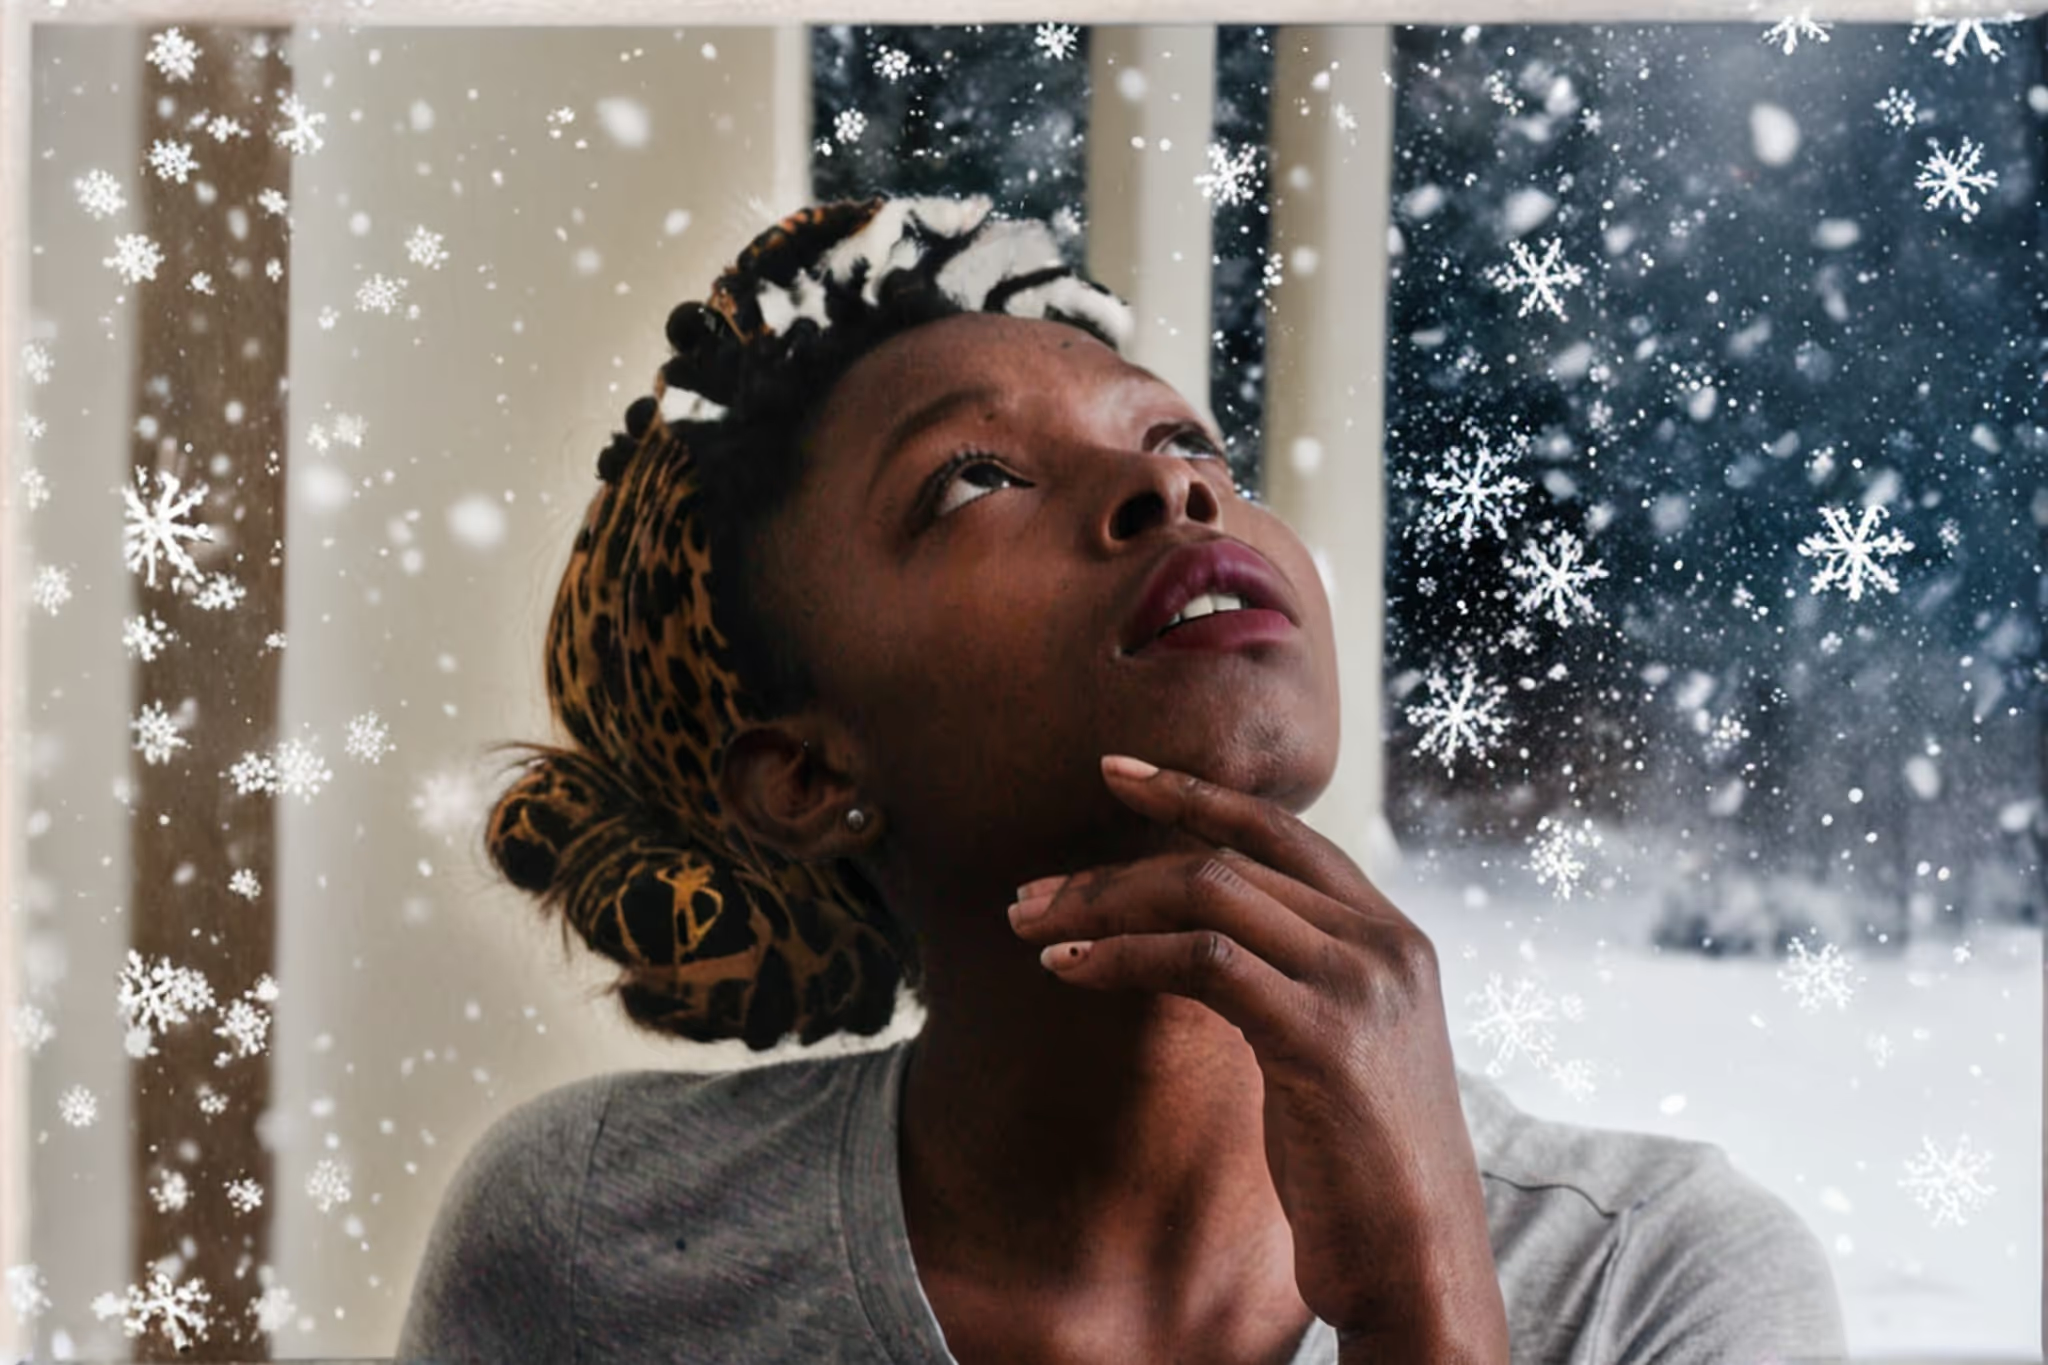
Why Would I Add Snow To Photo?
Transform your photos into winter wonderlands with OpenArt's Add Snow To Photo feature.
- Holiday Cards: Create festive holiday cards by adding a snowy touch to your family photos.
- Marketing Campaigns: Enhance your winter-themed marketing materials with realistic snow effects to captivate your audience.
- Social Media Posts: Make your social media posts stand out by adding a seasonal snow effect to your images.
- Art Projects: Use the snow effect to add a unique element to your digital art projects and illustrations.
- Event Invitations: Design eye-catching invitations for winter events by incorporating a snowy background into your photos.
How To Add Snow To Photo?
Effortlessly add a snowy touch to your photos with OpenArt's intuitive tool.
- Drop Your File: Simply drag and drop your image into the designated area labeled "Drop your files here." This will initiate the upload process.
- Wait for Upload: Once the file is uploaded, you'll be automatically redirected to a new page. This page will allow you to start editing.
- Select Area to Edit: Use the Smart Select tool or brush to highlight the area you want to modify. Carefully select the parts of the image where you want to add snow. It's usually recommended to highlight larger areas to give AI more space to create.
- Choose Model and Generations: Pick the model you prefer for the snow effect and specify the number of generations. This will determine the quality and style of the snow added.
- Create and Finalize: Click on "Create" and wait a few seconds. Your edited image with the added snow effect will be ready for download.
How to Get Good Results Adding Snow To Photo?
Achieving stunning results with OpenArt's Add Snow To Photo feature requires a few key practices when using the Inpainting tool.
- High-Quality Images: Start with high-resolution photos to ensure the snow effect looks crisp and realistic. Low-quality images may result in blurry or pixelated snow.
- Accurate Selection: Use the Smart Select tool to precisely highlight the areas where you want to add snow. This ensures the snow effect blends seamlessly with the rest of the image.
- Adjust Snow Density: Experiment with different snow densities to find the perfect balance. Too much snow can overwhelm the image, while too little may not be noticeable.
- Lighting and Shadows: Pay attention to the existing lighting and shadows in your photo. Adjust the snow effect to match these elements for a more natural look.
- Review and Refine: After applying the snow effect, review the image and make any necessary refinements. Small adjustments can significantly enhance the final result.


