
 ChatGPT
 Perplexity
 Claude
 Gemini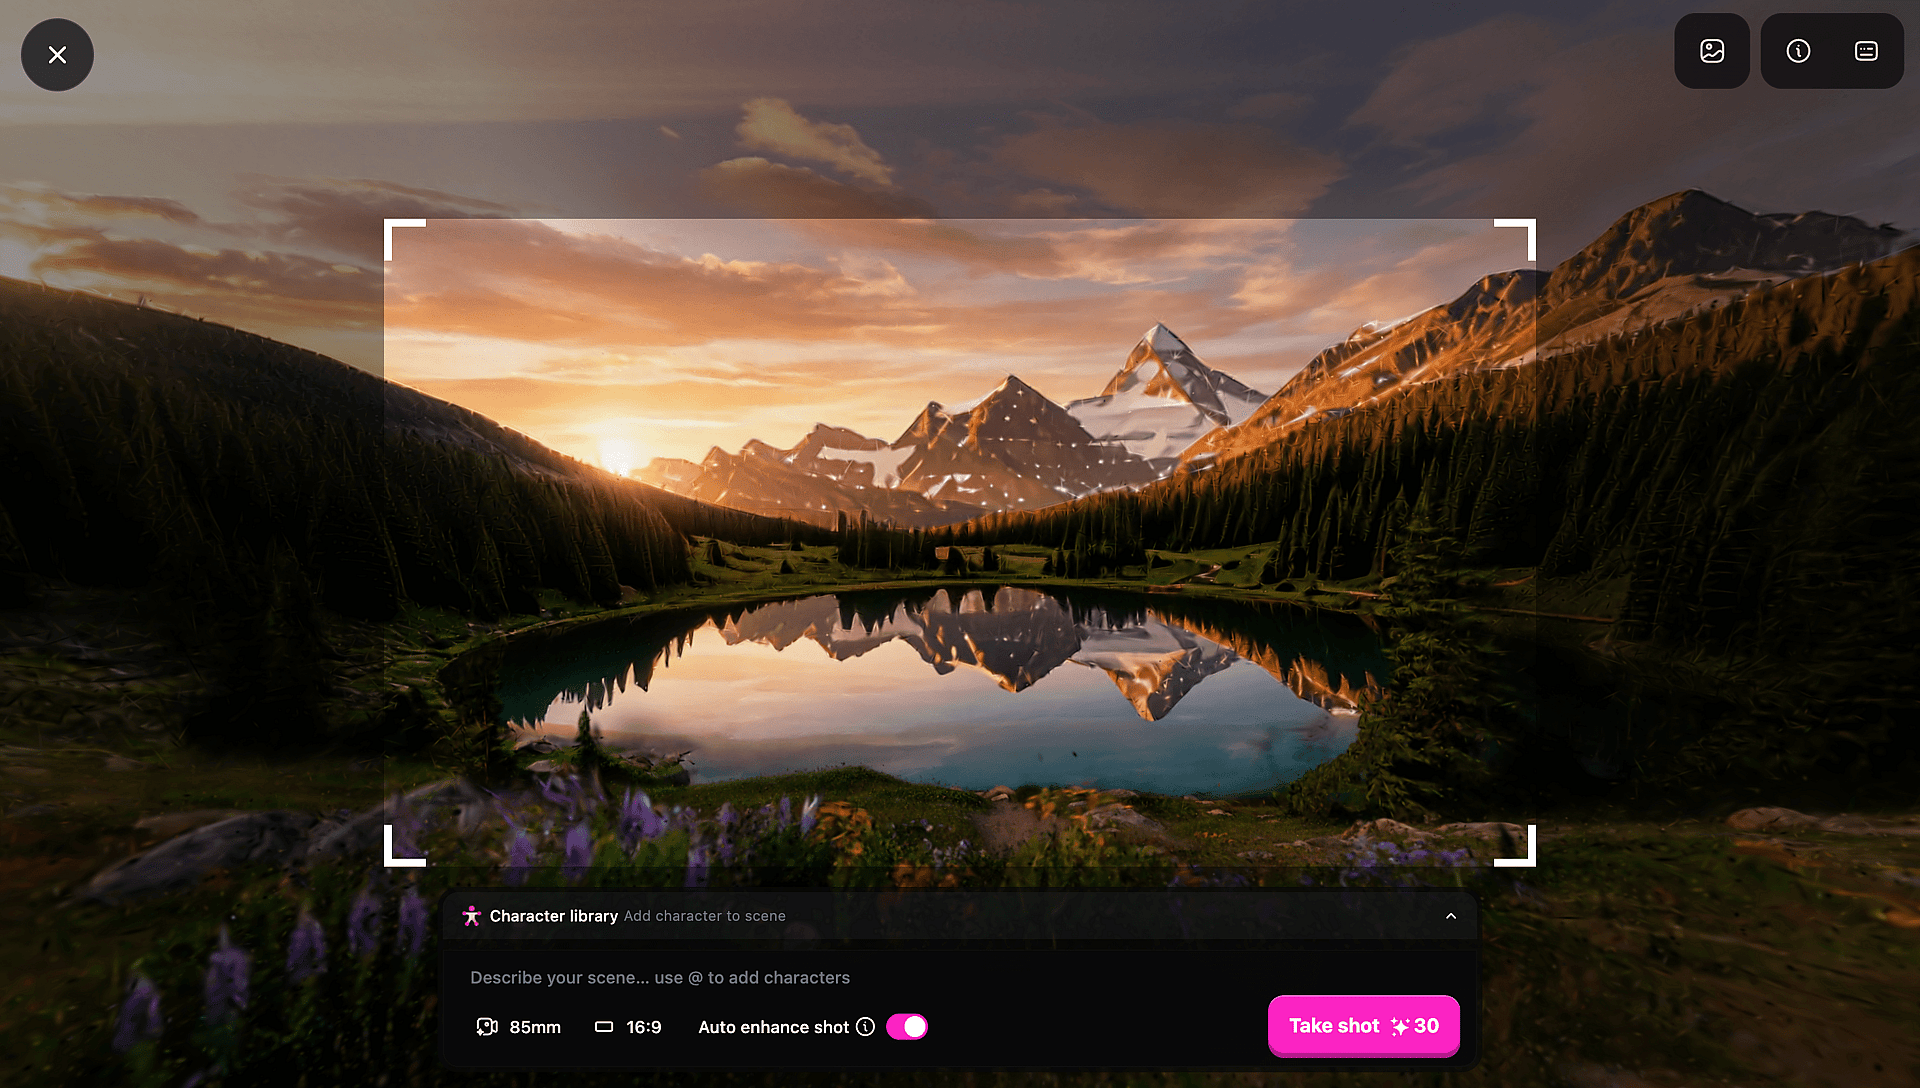
La nueva función Worlds hace algo que antes requería software 3D, experiencia técnica y mucha paciencia: convierte tus imágenes en un entorno 3D navegable por el que puedes caminar, encuadrar y filmar. Sin Blender. Sin modelado. Solo imágenes, y luego un mundo.
Esta guía se basa en dos videos tutoriales a fondo para darte todo lo que vale la pena saber: cómo construir tu mundo, cómo moverte por él y cómo sacar una toma lista para producción del otro lado. Mírala en paralelo o úsala como tu referencia independiente.
Qué es OpenArt Worlds
Worlds es una función dentro de OpenArt Suite, basada en la IA espacial de World Labs, que convierte de una a cuatro imágenes en un entorno 3D persistente y navegable. Te mueves por él, encuadras tomas desde cualquier ángulo, agregas personajes y capturas imágenes, o usas esas capturas como fotogramas clave para video.
La palabra clave es persistente. En la generación de imágenes con IA estándar, cada resultado es una nueva tirada de dados: la iluminación cambia, la habitación se reconfigura, la continuidad se rompe. Worlds soluciona esto a nivel del entorno. Una vez construido, tu espacio queda fijo. La esquina de la habitación siempre es esa esquina. Estás trabajando dentro de un set, no volviéndolo a generar con prompts cada vez.
Crea tu mundo
Paso 1: Sube tus imágenes (1–4)
Ve a openart.ai/suite/world y sube entre una y cuatro imágenes. La lógica espacial importa aquí, como explica el video en el minuto 9:05:
- Primera imagen → frente de tu espacio
- Segunda imagen → volver
- Tercera imagen → izquierda
- Cuarta imagen → derecha (opcional)
Una sola imagen funciona bien. La IA extrapola el resto del entorno a partir de esa única entrada. Dos o tres imágenes le dan más referencia espacial y tienden a producir resultados más coherentes, y no necesitas las cuatro para lograr algo sólido.
Modo de imagen única: Escribe un prompt de texto para guiar el estilo, el ambiente y el contenido de tu mundo.
Modo multiimagen: El campo del prompt se desactiva automáticamente, y es a propósito. Cuando proporcionas varias referencias espaciales, las imágenes son la instrucción. Ve esto explicado en el minuto 10:16.
Paso 2: Generar
Presiona generar. Mientras procesa, verás una vista previa panorámica del espacio antes de que se complete la generación total. Esto es útil para detectar si la lógica espacial se ve correcta antes de comprometerte.
Paso 3: Navega la cámara del mundo 3D
Esta es la parte que confunde a todos la primera vez. Se cubre en el minuto 3:00 del tutorial. Una vez que tu mundo esté construido, lo navegas como en un juego en primera persona:
- WASD para avanzar, retroceder, ir a la izquierda y a la derecha
- Mouse para mirar alrededor y cambiar tu ángulo
- Desplázate para ajustar la velocidad del movimiento
Tómate tu tiempo aquí. Recorre el espacio y encuentra ángulos inesperados. El valor de Worlds está en la exploración: tú diriges activamente hacia dónde va la cámara, no solo aceptas una vista predeterminada.
Lograr la toma
Una vez que estés ubicado donde quieres, así es como capturas. Mira el flujo de composición a partir del minuto 4:32.
Imagen estática: Encuadra tu toma y captura. El resultado se escala automáticamente, así que la textura fina y la profundidad se mantienen impecables en la imagen final. También puedes capturar un imagen panorámica desde cualquier posición, lo cual es útil para tomas amplias de establecimiento o referencia de entorno.
Agregar un personaje: En el modo de composición, coloca un personaje en el espacio 3D, ubícalo respecto al entorno e indica en el prompt qué está haciendo. Como el entorno queda fijado espacialmente, el personaje hereda la iluminación, la perspectiva y el fondo correctos de forma automática. Míralo en acción en el minuto 6:00. Vale la pena señalar: la imagen compuesta puede necesitar algo de pulido en posproducción, así que úsala como un resultado casi final o como una referencia limpia de producción según tu tolerancia a los ajustes.
Fotograma inicial y final
Esta es la función más cinematográfica de Worlds y probablemente la menos intuitiva. Bob lo explica en detalle en el minuto 6:45:
- Ve a tu posición inicial de la cámara y define tu fotograma inicial
- Ve a tu posición final de la cámara y define tu fotograma final
- Genera, y la herramienta crea un movimiento de cámara fluido entre los dos puntos
Lo que obtienes es un clip: un movimiento de cámara controlado a través de tu mundo que funciona como segmento de video, referencia de fotograma clave o base para más generación de video. Combínalo con la composición de personajes y podrás crear tomas con interacción de personajes y una cámara en movimiento, para luego unir los clips en una secuencia. Esto es lo que hace que Worlds sirva para flujos de trabajo reales de cine, no solo para producir imágenes.
Consejos pro
Consejo 1: Haz que tus imágenes iniciales sean más cinematográficas antes de empezar. En el minuto 9:13 del segundo video, Bob comparte un prompt que puedes capturar en pantalla y reutilizar. La idea es pasar tus imágenes de origen por un prompt con estilo cinematográfico antes de subirlas a Worlds, porque mejores imágenes de entrada construyen mejores mundos. Piensa en gran angular, luz natural y narrativa a través del entorno. El modelo responde al lenguaje de la fotografía real.
Consejo 2: Usa el modo Blueprint después de generar. Se explica en el minuto 11:10 del primer video. Blueprint te da una vista aérea del diseño espacial, útil para entender la geometría de lo que se construyó, reposicionarte y hacer ediciones. Si te desorientas espacialmente en la cámara 3D, y le pasa a todos, Blueprint es tu reset.
Consejo 3: Tres imágenes suele ser el punto ideal. El cuarto espacio es opcional, y en la práctica tres buenas imágenes de referencia suelen dar resultados excelentes. La IA cubre el resto. No fuerces una cuarta si solo tienes tres buenas.
Consejo 4: Piensa en términos espaciales al seleccionar las imágenes de origen. La IA construye un modelo 3D a partir de imágenes planas, así que mientras más claras sean las relaciones espaciales en tus entradas —esta es la pared frontal, esta es la vista desde la entrada—, más coherente será el mundo resultante. Para entornos ficticios o de diseño tienes mayor libertad creativa.
Lo que esto realmente cambia
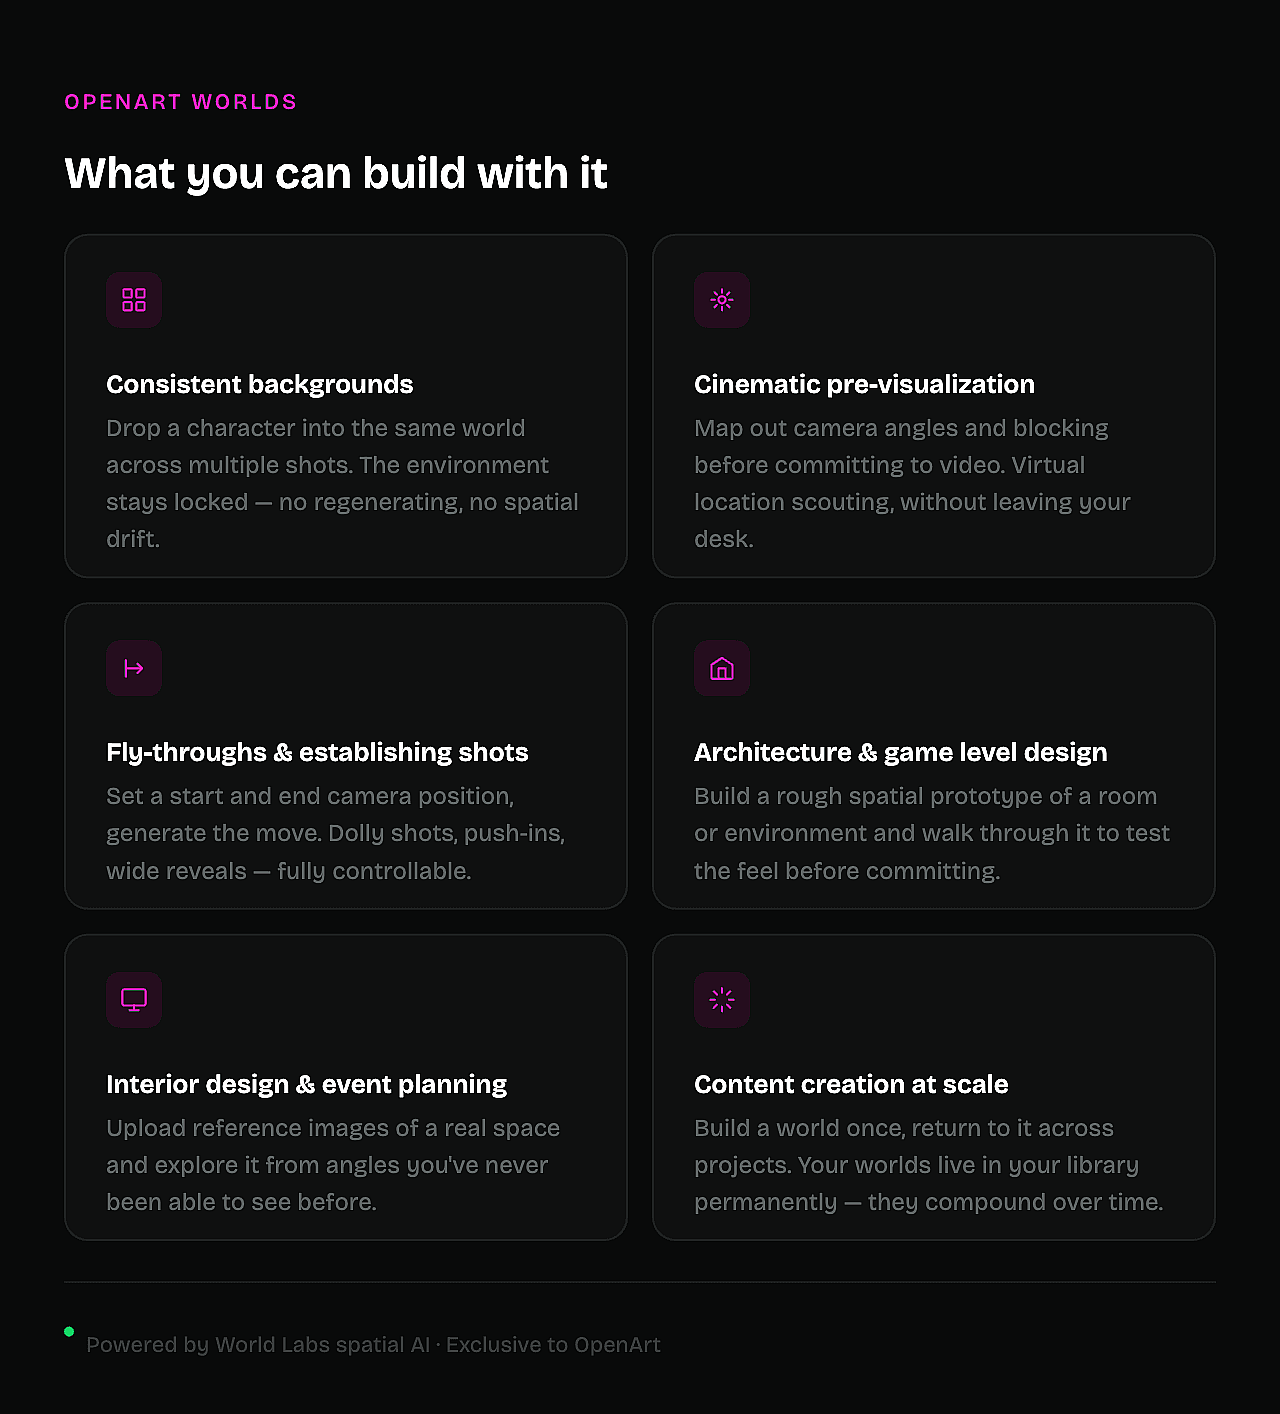
La descripción técnica, "entorno 3D navegable y persistente", es precisa pero se queda corta. La mejor forma de verlo es esta: por primera vez en la creación con IA, tienes un conjunto. No un fondo generado. No una imagen de referencia. Un entorno real que se mantiene en cada toma, cada sesión y cada proyecto al que regreses.
Eso es lo que siempre han tenido las producciones de cine. Eso es lo que los motores de juegos les dan a los desarrolladores. Worlds lo pone a tu alcance partiendo de unas pocas fotos y una idea creativa, y el techo, según lo que la gente ya está construyendo en apenas una semana, es genuinamente alto.
Pruébalo: openart.ai/feature/openart-worlds
¿Preguntas? Encuéntranos en Discord.