What would you like
to create today?
Image
Video
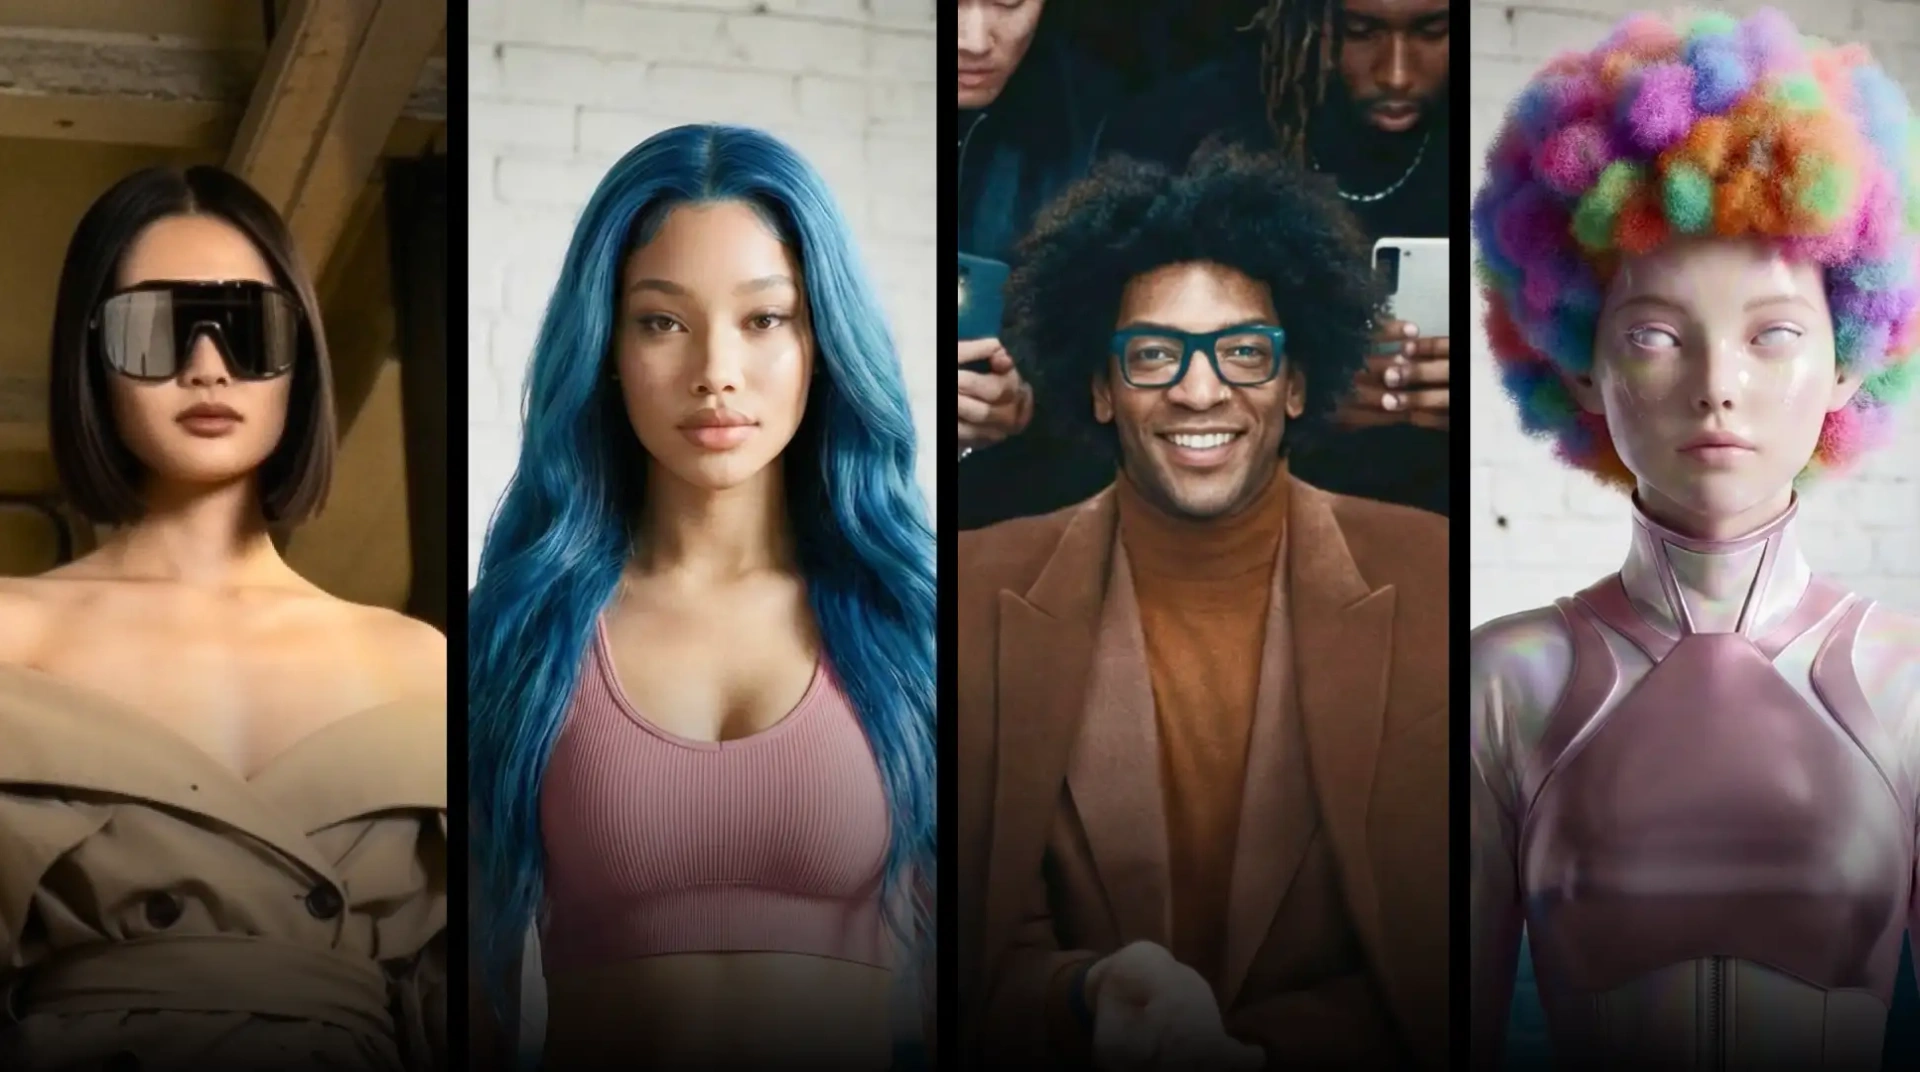
Character
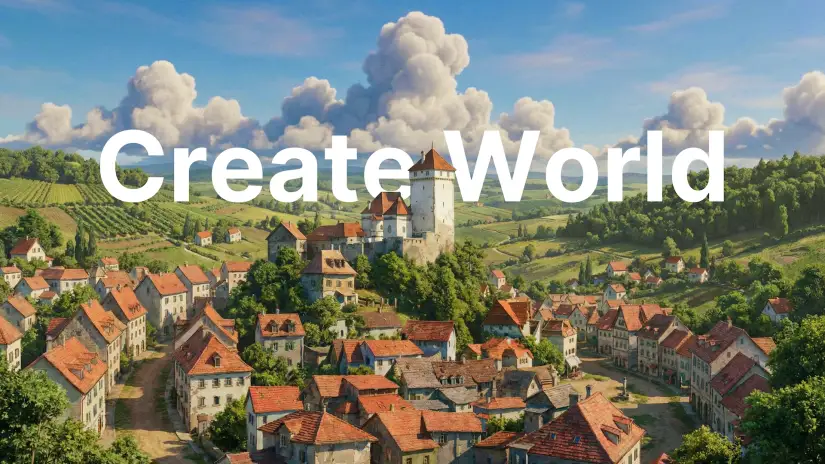
World
Audio
Story
OpenArt Suite
Text to VideoText to Video
Frame to VideoFrame to Video
Motion SyncMotion Sync
Lip-SyncLip-Sync
Edit VideoEdit Video
Create ImageCreate Image
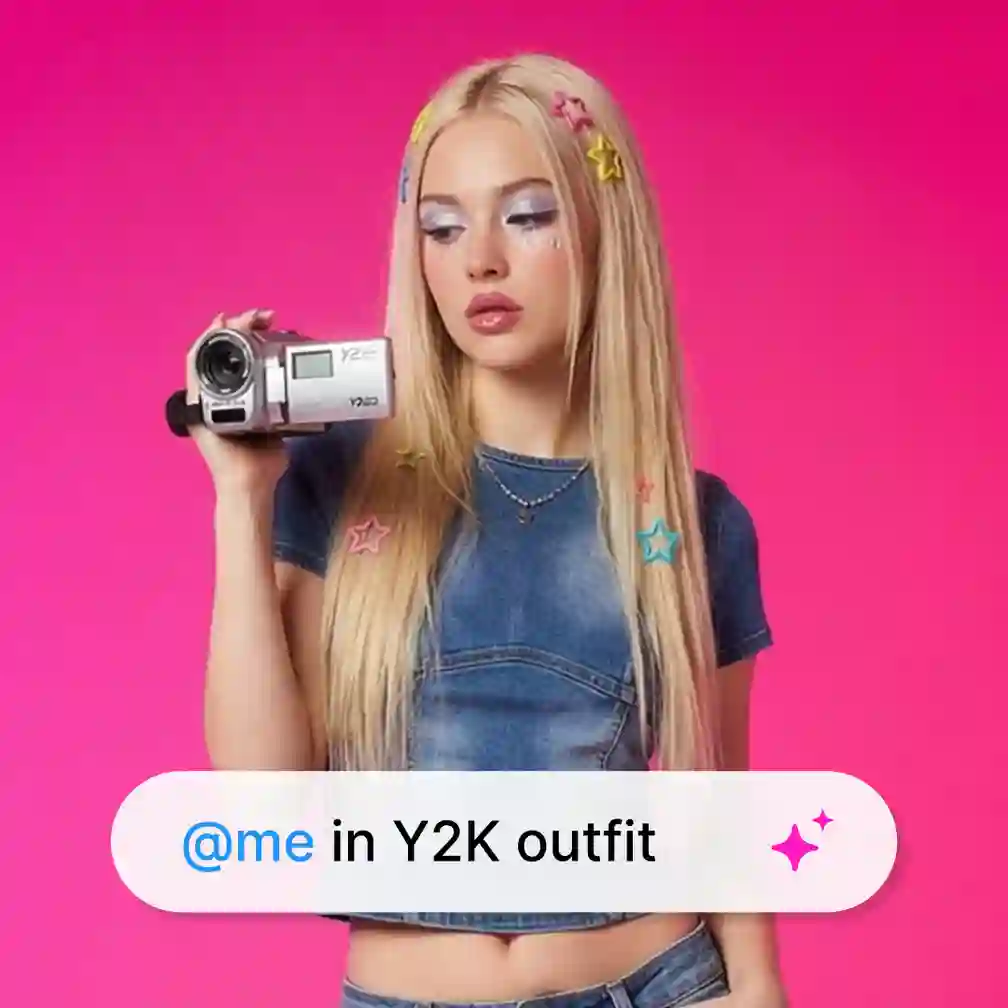
Edit ImageEdit Image
Image UpscaleImage Upscale
Text to VideoText to Video
Frame to VideoFrame to Video
Motion SyncMotion Sync
Lip-SyncLip-Sync
Edit VideoEdit Video
Create ImageCreate Image
Edit ImageEdit Image
Image UpscaleImage Upscale
Camera Angle ControlCamera Angle Control
Create voice-overCreate voice-over
Latest AI Models
Seedance 2.0Seedance 2.0
Qwen Image 2Qwen Image 2
Nano Banana ProNano Banana Pro
Kling 3.0 OmniKling 3.0 Omni
Seedance 2.0Seedance 2.0
Qwen Image 2Qwen Image 2
Nano Banana ProNano Banana Pro