Apply Signature/Watermark
5.0
0 reviewsDescription

I want to write this message in a clear manner to present my workflow. The purpose of this workflow is to apply a signature, watermark, or logo to an image. The workflow does not utilize heavy processing like KSampler or other intensive operations, so it can also work on computers with low VRAM graphics cards, and it applies the signature in 0.5 seconds (of course). First, let's discuss the initial setup. If you are using a black signature or logo on a white background, you can skip the initial setup.
The setup involves adjusting brightness, contrast, gamma, etc., to have a precise crop of the signature or watermark for a high-quality application on the image. The workflow works best with large black signatures or watermarks on a white background
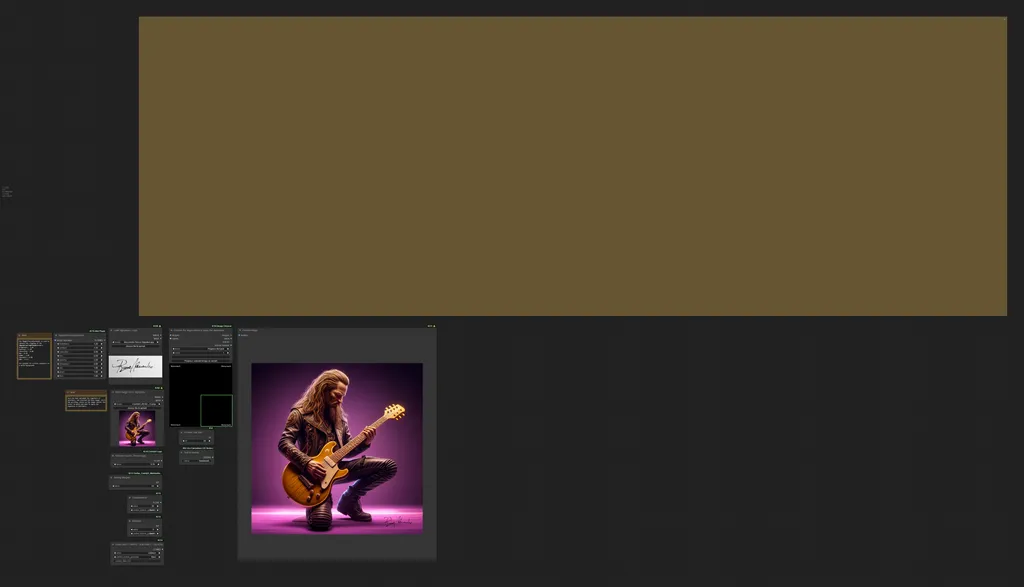
The operation is simple. You insert the signature image and the base image onto which you want to apply the signature or watermark.
Then adjust the various options listed below:
Rescale factor: This is used to resize the signature or watermark as a percentage of the base image size. For example, consider the default value of 0.10. This means the signature or watermark will be 10% of the base image size. If you want a larger signature or watermark, simply increase the value (between 0.01 and 1, which respectively equate to 1% and 100%).
Setting Margins: This sets the minimum margins to leave at the edges between the signature/watermark and the extreme edge of the image (measured in pixels).
Transparency: This adjusts the transparency of the signature/watermark to apply. A higher number means a more transparent signature/watermark applied to the base image. Values range from 0.01 to 1. The closer the value is to 1, the more transparent the watermark.
Rotation: This rotates the signature/watermark in degrees, useful for positioning it in different areas of the base image. I recommend increasing the margins to avoid cutting off the watermark at the edges of the image.
Color setting of the signature/watermark: Black, white, and difference. This changes the color of the watermark. With ADD, the color will be white; with SUBTRACT, it will be black; with DIFFERENCE, the color will adapt to the colors of the base image (not highly recommended).
At this point, start the workflow, then select which corner the signature/watermark should be applied to. Done! On the right, you'll find our image with the signature/watermark applied.
important Notes:
To enable the workflow to choose the corner on which to apply the signature/watermark, I had to modify a custom node. The node in question is the "Preview Chooser" of "Image Chooser". So, after installing the custom node, if you don't already have it, you should download the modified custom node that I provide in the resources here., or you can use the simplified workflow you can find Here
I had to add the JPG extension to the file because it wasn't allowing me to upload it otherwise. Once downloaded, rename it by removing the .JPG extension, leaving it with the .py extension. At this point, you can proceed with copy it into the `Comfyui/Custom_nodes/cg-image-picker` folder, overwriting the original "image_chooser_preview.py". There's no need to worry; the functionality of the node remains unchanged; I've simply added the output index.
I apologize for this inconvenience. Surely, many may hesitate to overwrite the original node, but if you know someone skilled in programming, they can open the file in a text editor to check that there is nothing harmful.
As I said before, The custom node has been modified to return the index of the chosen image, allowing it to be passed to the "IF" node and thereby selecting the coordinates to apply the signature/watermark.
|
Tip: If you activate the extra options on the comfyui manager, then check the Auto Queue option and then Change, and start the workflow, you can make the workflow run without needing to press Queue Prompt each time. This can be useful if you need to apply signatures or watermarks to multiple images, and it also allows you to try various settings more easily.
|
Disclaimers:
- The modified custom node was not created by me, I only modified it to allow me to receive the image choice index. The original repository is located at https://github.com/chrisgoringe/cg-image-picker
- I can guarantee that there is no malware or anything like that in the modified node.
- The base image used in this demostration was created by me with another workflow of my own creation, so I have full usage rights.
Discussion
(No comments yet)
Loading...
Resources (1)
Reviews
No reviews yet
Versions (1)
- latest (2 years ago)
Node Details
Primitive Nodes (26)
Image scale to side (1)
Integer (1)
Note (2)
Note Plus (mtb) (1)
Primitive integer [Crystools] (1)
PrimitiveNode (3)
Reroute (8)
Simple String (9)
Custom Nodes (80)
- ImageEffectsAdjustment (1)
- CM_IntToNumber (1)
- CR Integer To String (7)
- CR Text Replace (2)
- CR Text Operation (1)
- CR Split String (1)
- CR Intertwine Lists (4)
- CR Draw Text (4)
ComfyUI
- ImageBatch (3)
- LoadImage (2)
- InvertMask (1)
- ImageInvert (1)
- ImageToMask (1)
- PreviewImage (1)
- StringToInt (2)
- DisplayText_Zho (1)
- Compare (4)
- If ANY execute A else B (4)
- Float (1)
- Integer Variable [n-suite] (4)
- String Variable [n-suite] (5)
- ArithmeticBlend (1)
- Image Overlay (1)
- Preview Chooser (1)
- Int to String (1)
- ShowText|pysssss (10)
- MathExpression|pysssss (3)
- GetImageSize (6)
- Text Concatenate (2)
- Number Operation (1)
- Text to Number (1)
- Number to String (1)
- Image Remove Background (Alpha) (1)
Model Details
Checkpoints (0)
LoRAs (0)
