
OpenArt Suite
Smart ShotSmart Shot

Ad RemakeAd Remake
VFXVFX
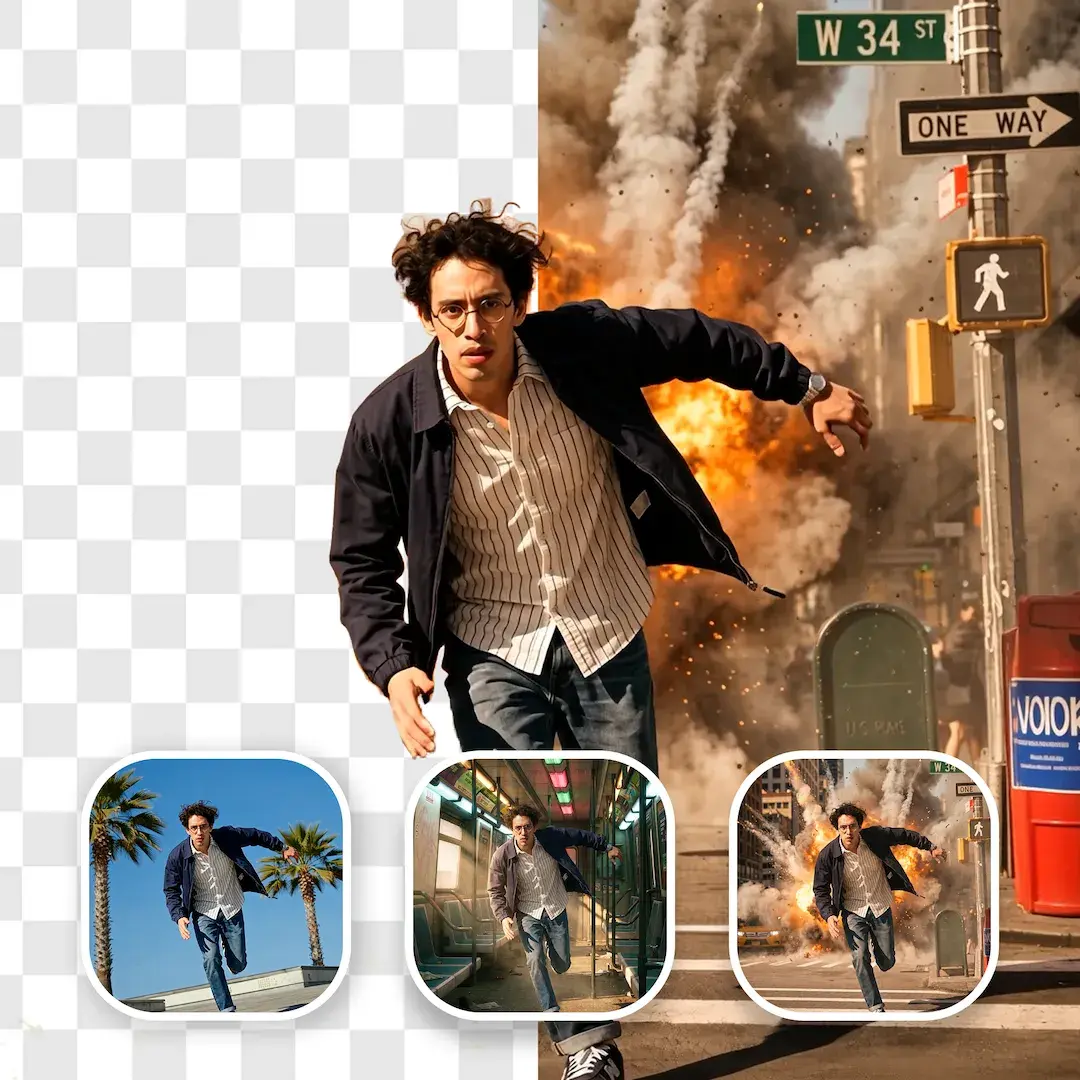
Replace BackgroundReplace Background

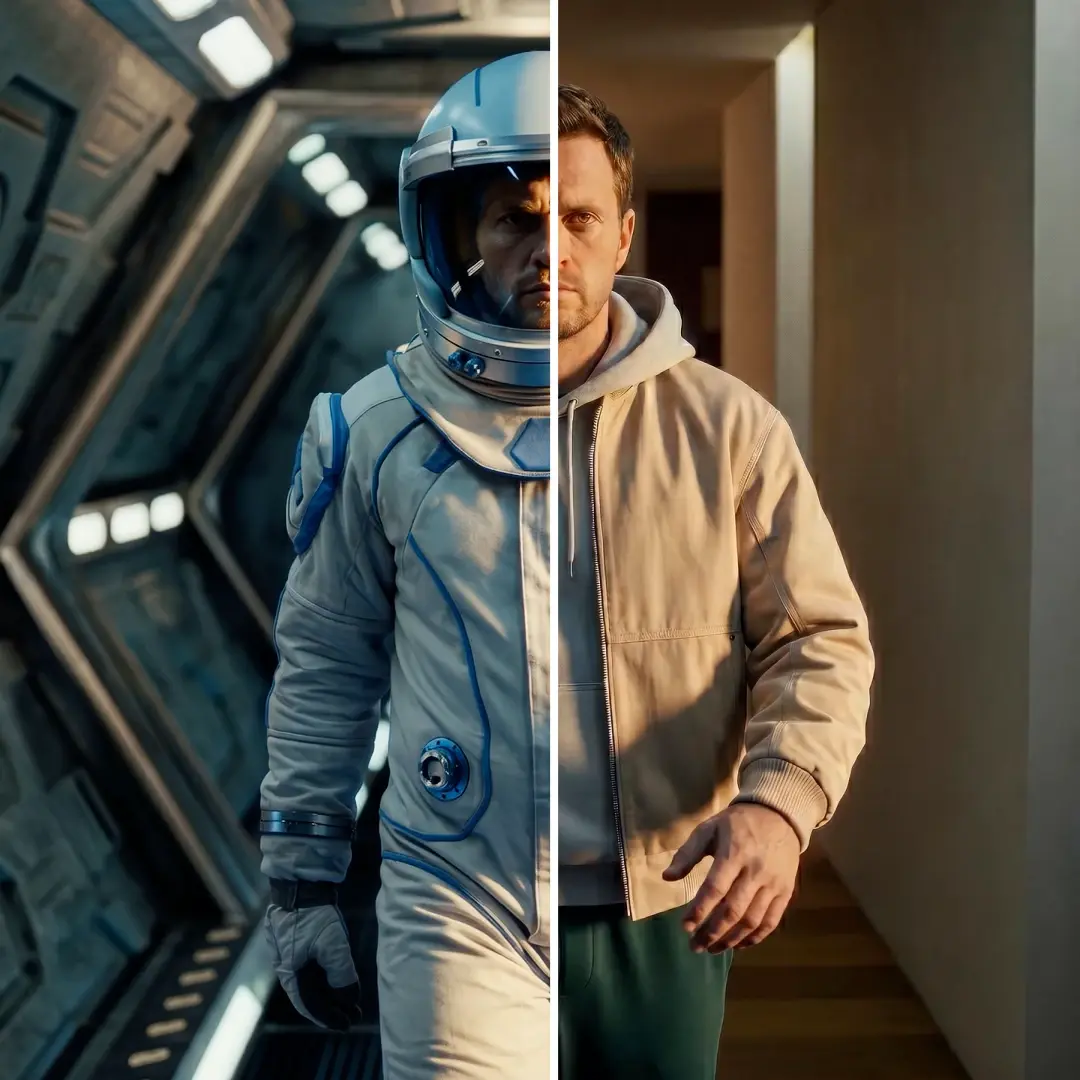
Relight VideoRelight Video
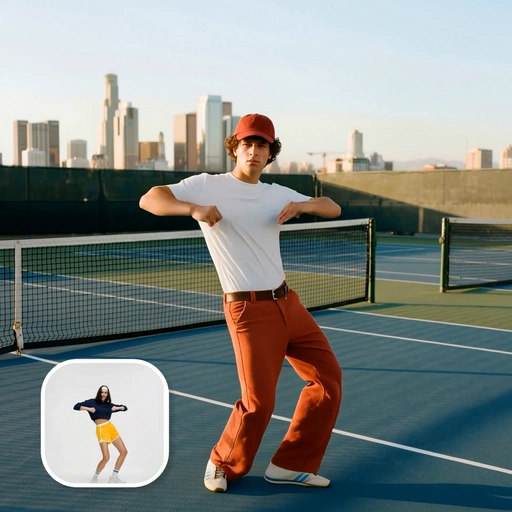
Motion SyncMotion Sync
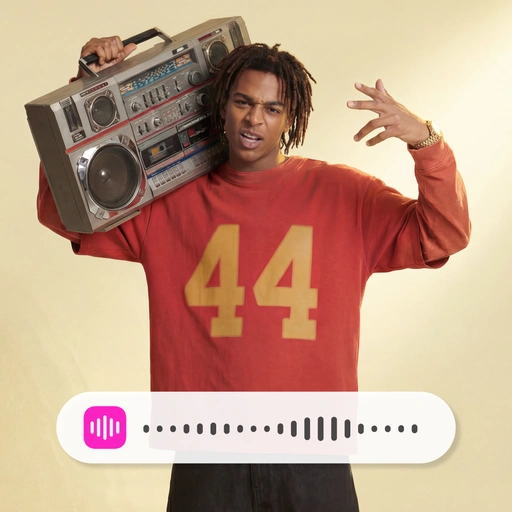
Lip-SyncLip-Sync
Edit VideoEdit Video
Smart ShotSmart Shot
Ad RemakeAd Remake
VFXVFX
Replace BackgroundReplace Background
Relight VideoRelight Video
Motion SyncMotion Sync
Lip-SyncLip-Sync
Edit VideoEdit Video
Edit ImageEdit Image

Image UpscaleImage Upscale
Frame to VideoFrame to Video
Text to VideoText to Video
Create ImageCreate Image
Create MusicCreate Music

Create voice-overCreate voice-over

Multi ViewMulti View
Camera Angle ControlCamera Angle Control
Latest AI Models
Seedream 5.0 ProSeedream 5.0 Pro
Nano Banana 2 LiteNano Banana 2 Lite

Gemini Omni FlashGemini Omni Flash
Seedance 2.0 MiniSeedance 2.0 Mini
Seedream 5.0 ProSeedream 5.0 Pro
Nano Banana 2 LiteNano Banana 2 Lite
Gemini Omni FlashGemini Omni Flash