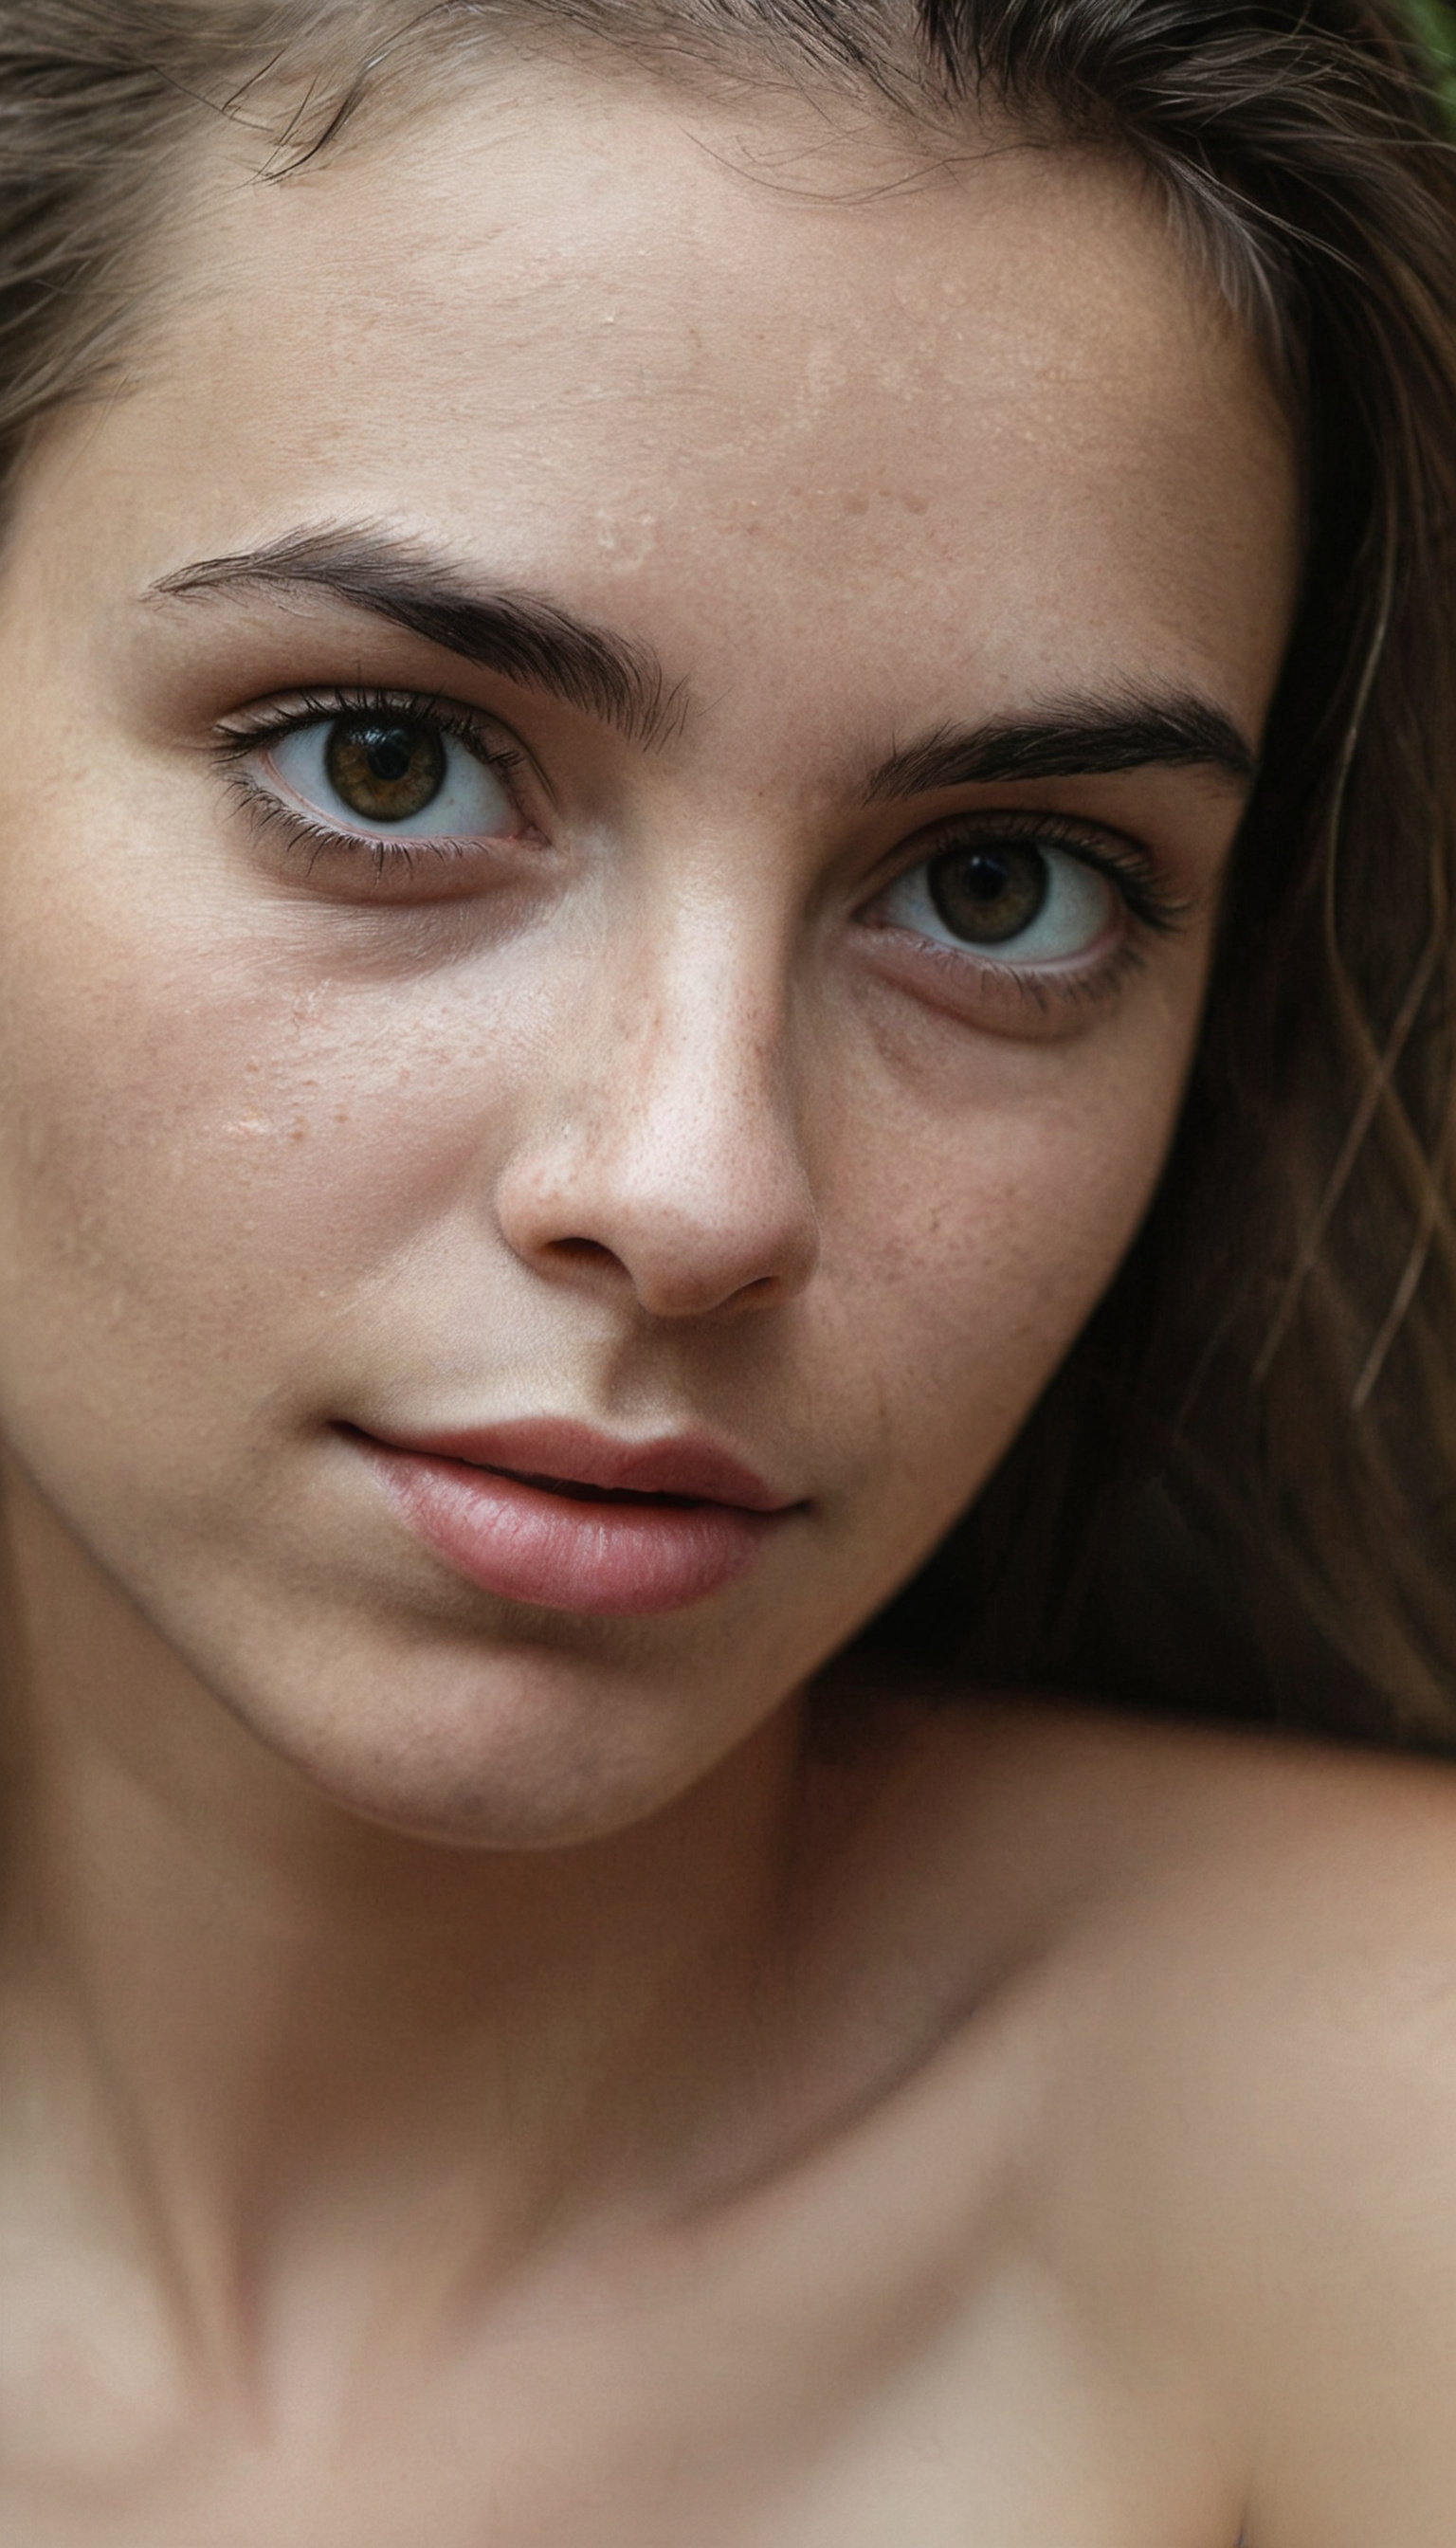
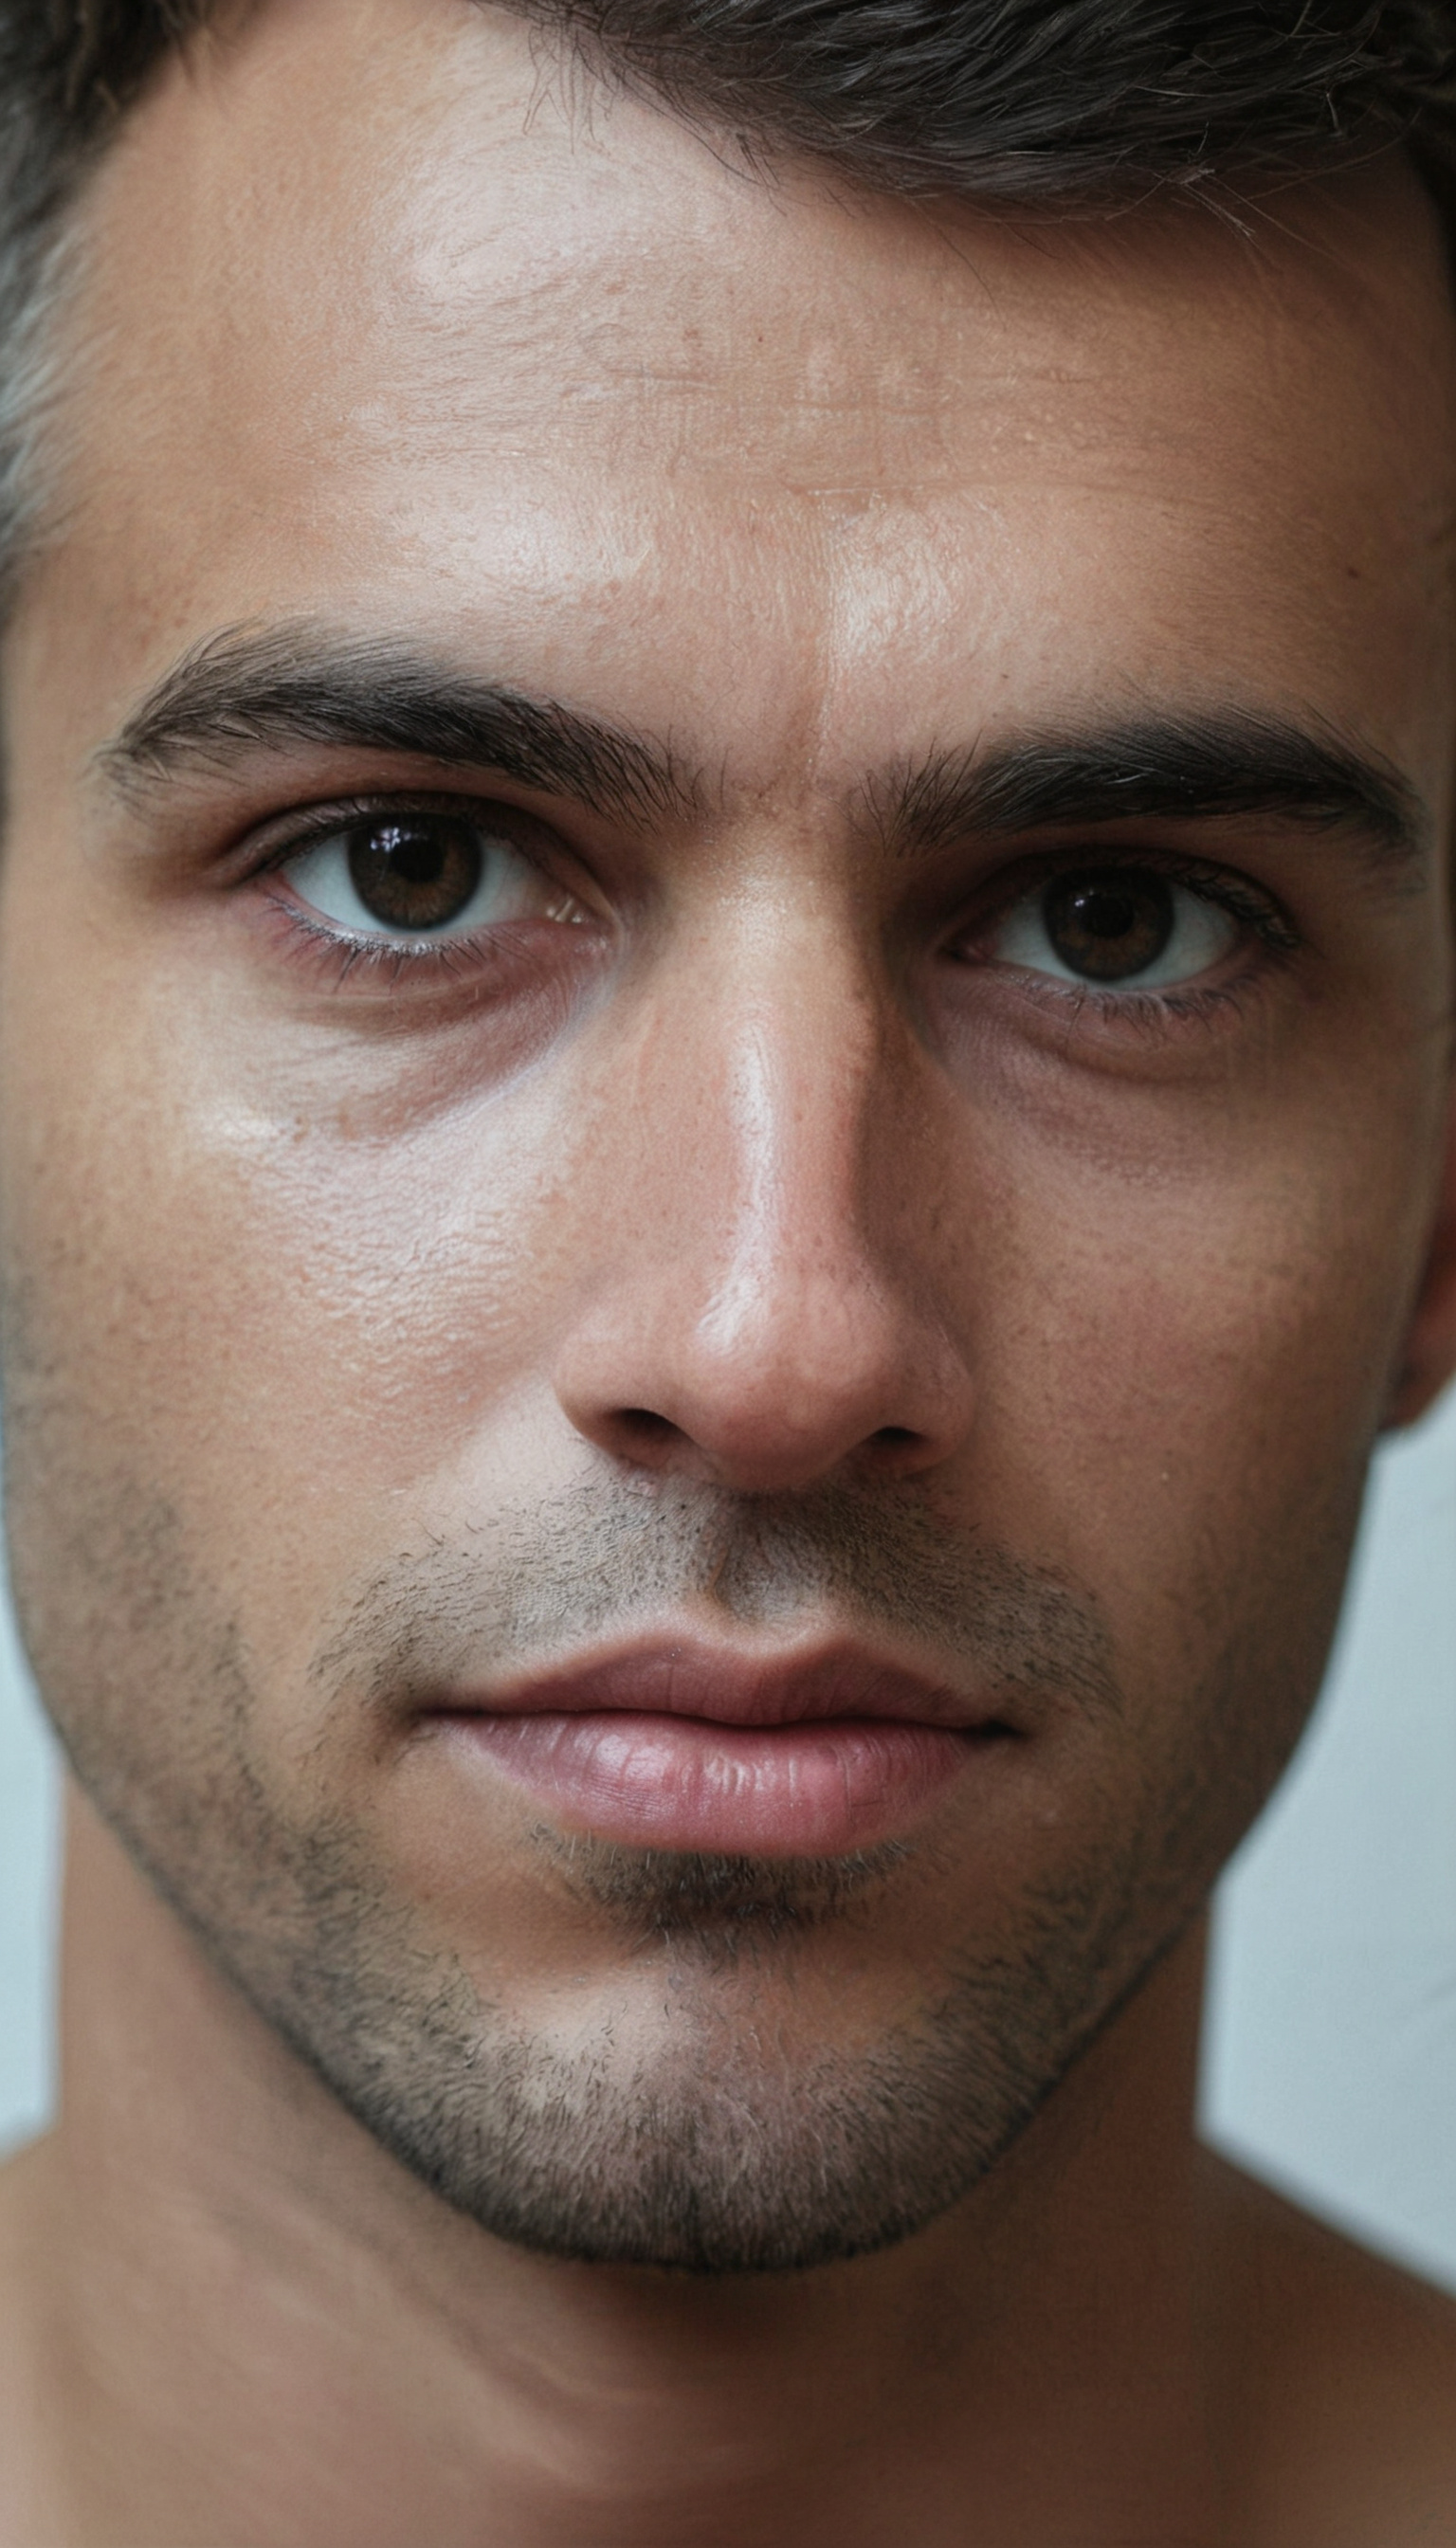
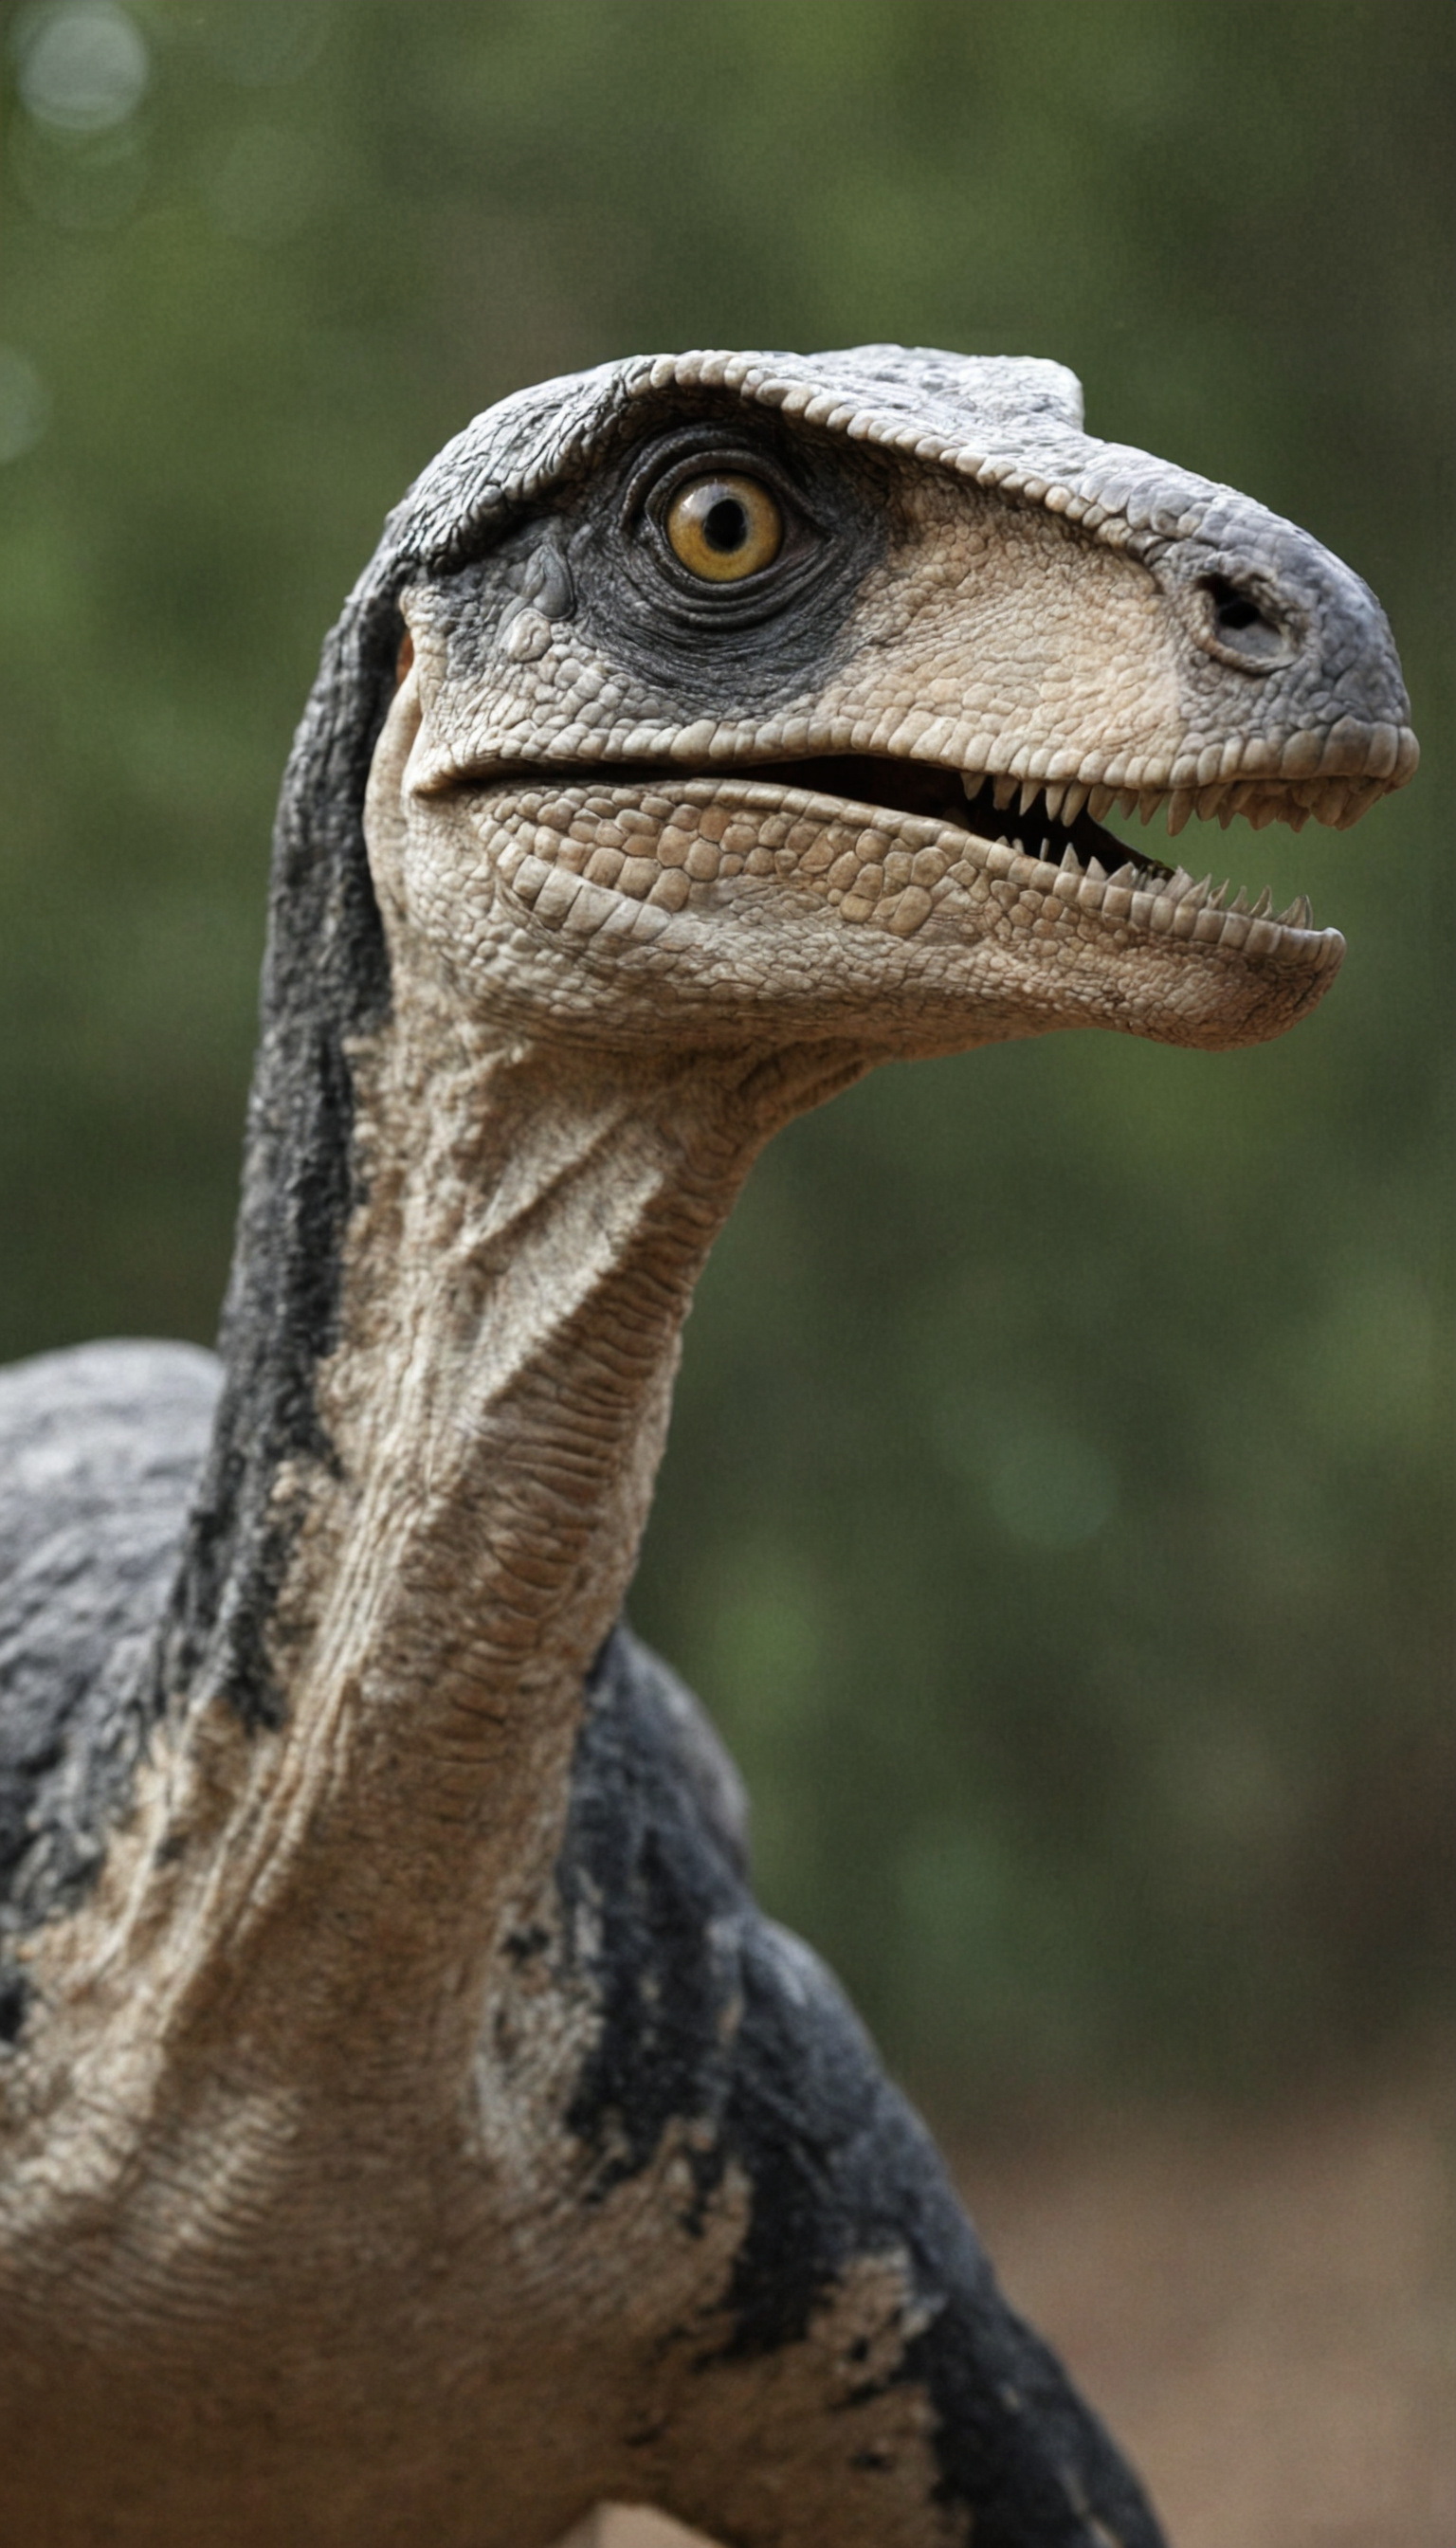
Base Generation + Upscale (SDXL)
5.0
0 reviewsDescription
Workflow for generating high-quality SDXL images using 99% EasyUse custom nodes.
EasyGlobalSeed = Sets same seed for all nodes
EasyLoraStack = Applies loras
EasyLoader (full) = Use for model loading & prompting; for SDXL leave clip_skip on -2
PreSampling (NoiseIn) = Generate latent. "cfg" - Use CFG as recommended by whatever model you're using; 4.5 seems to be a sweet spot for me; lower CFG = more creative / lower prompt adherence; higher CFG = less creative / higher prompt adherence. Feel free to experiment for whatever works for you. Use recommended sampler_name and scheduler as per whatever model you're using - if you're not sure which to use my go to is "dpmpp_3m_sde" with "karras", it's a little slower but subjectively consistently produces best results.
- "factor" = How much additional noise is injected into the latent. More noise = more more details; too much noise and you'll start getting artifacts. I leave mine on 0.10 by default and adjust lower or higher depending on how the generation turns out, most of the time 0.10 works well for additional details, without overwhelming the output with random artifacts.
Styles Selector = Uses styles selector from Fooocus. Choose as many or as few as you depending on the direction you want your generation to take. I have left the negative node disconnected intentionally, as I only use negatives after initial image generation to remove any unwated features rather than leaving it on all the time. My subjective experience is using negatives too early makes the images all look similar. If you do want use negaives for the Styles Selector thought copy and paste: "CLIP text encode" and "conditioning concat" nodes and connect them in the same way as the positive from EasyLoader through to "Pipe In".
EasyKSampler = Preview of your image
Blocker = Blocks further upscaling.
- Leave the blocker in state "continue" "false" until you're happy with the image and seed combination.
- Once you're happy with the image go back to "EastGlobalSeed" switch "action" from "randomize" to "fixed" and hit generate again.
- That will use the exact image you generated and upscale it.
UPSCALING
Path 1
Ultimate SD Upscale
Upsacles your image using tiles.
Two CLIP Text Encode for positive and negative - I leave these blank unless there are very specific things I want the upscaler to use. It applies the prompt to each individual tile so you should not copy your original prompt in there otherwise it will apply to each tile making a mess of your generation.
upscale_by = how much larger do you want your image to be. 2.00 makes it twice as big - choose whatever you want, just be mindful huge images will take a long time.
Steps - 10 works well for adding details. I feel you get diminishing returns for anything higher, but feel free to experiement.
cfg, scheduler, sampler_name - use same as "PerSampling" for consistency, but feel free to experiement.
denoise = how much changes are made to your image; lower = less changes, higher = more changes. 0.15 is the sweet spot for me by default, but if not enough detail is added to your liking increase by increments of 0.05 to 0.10 until you get what you want.
Load Upscale Model = Upscaler model you wish to use. For realism I use 1x-ITF-SkinDiffDetail-Lite-v1.pth
Other useful upscalers are:
- 4x_NickelbackFS_72000_G.pth
- 4x_NMKD-Siax_200k.pth
- 4x-UltraSharp.pth
Experiment with whatever works for you.
Path 2
Upscaler (SEGS)
UltralyticsDetectorProvider = Select the segmentation model. By default I use the yolo12l.pt
Load Upscale Model = Same as Path 1
rescale_factor = How much bigger you want the image to be
steps = I leave on 20 by default, but if you want more detail feel free to bump it up, it'll just take longer.
denoise = I leave on .25 for slight changes. More denoise = more changes.
Image Comparer
Compares the upscaled output from Path 1 to Path 2.
Most of the time SEGS is subjectively better, but I've had a few generations where I preferred Ultimate SD.
LayerUtility: SaveImage Plus
How your iamge is saved.
- If you prefer SEGS leave it as is.
- If you prefer Ultimate SD Upsacle connect that "image" output to LayerUtility and run the generation again - it'll be instant because nothing else has changed, it'll just save Ultimate SD Upsacle output rather than SEGS.
Discussion
(No comments yet)
Loading...
Reviews
No reviews yet
Versions (1)
- latest (5 months ago)
Node Details
Primitive Nodes (4)
Image Comparer (rgthree) (2)
easy blocker (2)
Custom Nodes (19)
ComfyUI
- CLIPTextEncode (3)
- ConditioningConcat (1)
- UpscaleModelLoader (2)
- CheckpointLoaderSimple (1)
- easy preSamplingNoiseIn (1)
- easy stylesSelector (1)
- easy kSampler (1)
- easy pipeIn (1)
- easy fullLoader (1)
- easy loraStack (1)
- easy globalSeed (1)
- BboxDetectorSEGS (1)
- UltralyticsDetectorProvider (1)
- SEGSUpscaler (1)
- LayerUtility: SaveImagePlus (1)
- UltimateSDUpscale (1)
Model Details
Checkpoints (1)
pornmaster_proSDXLV7.safetensors
LoRAs (4)
Touch_of_Realism_SDXL_V2.safetensors
ill_may_AI_SLOP.safetensors
realcumv6.55.safetensors


