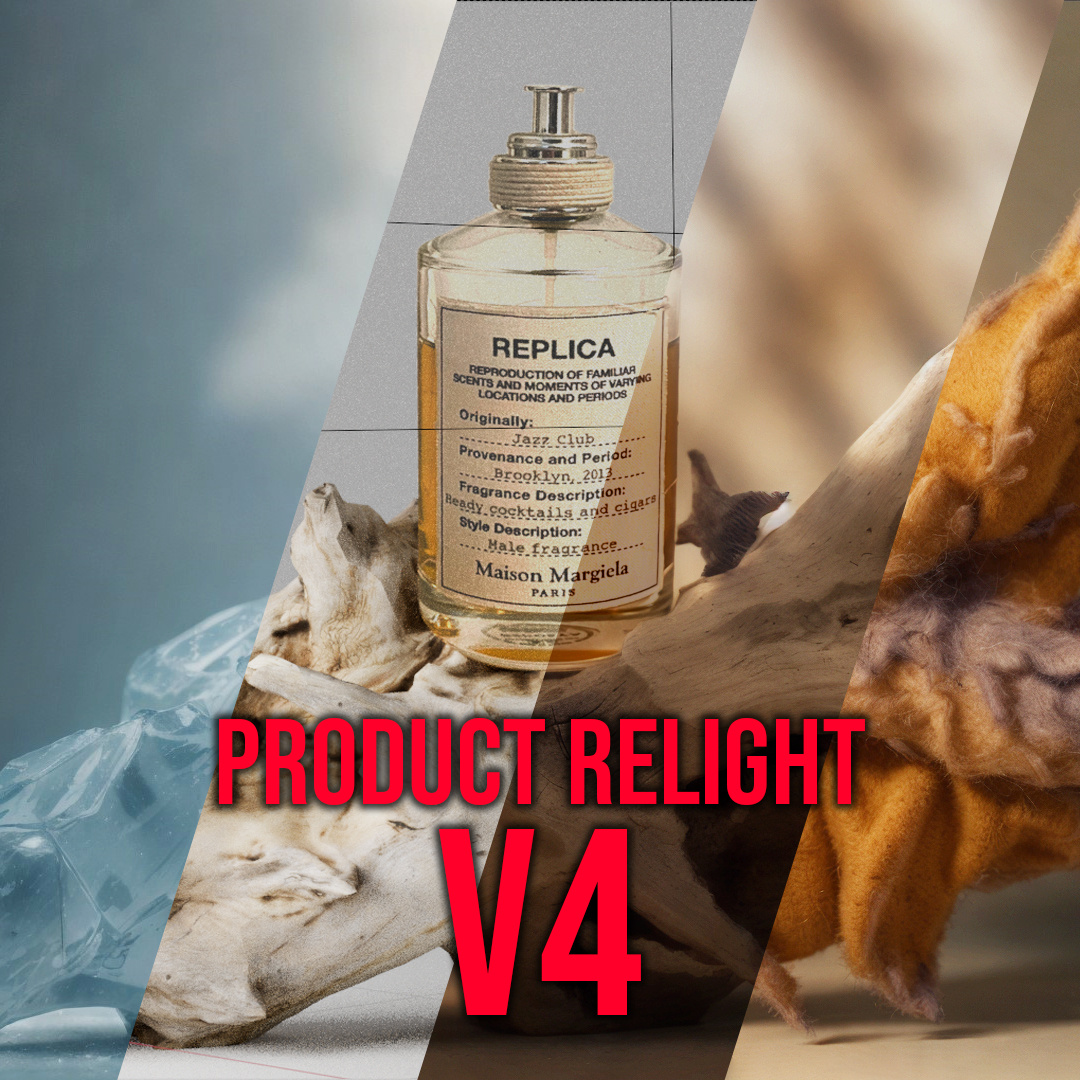
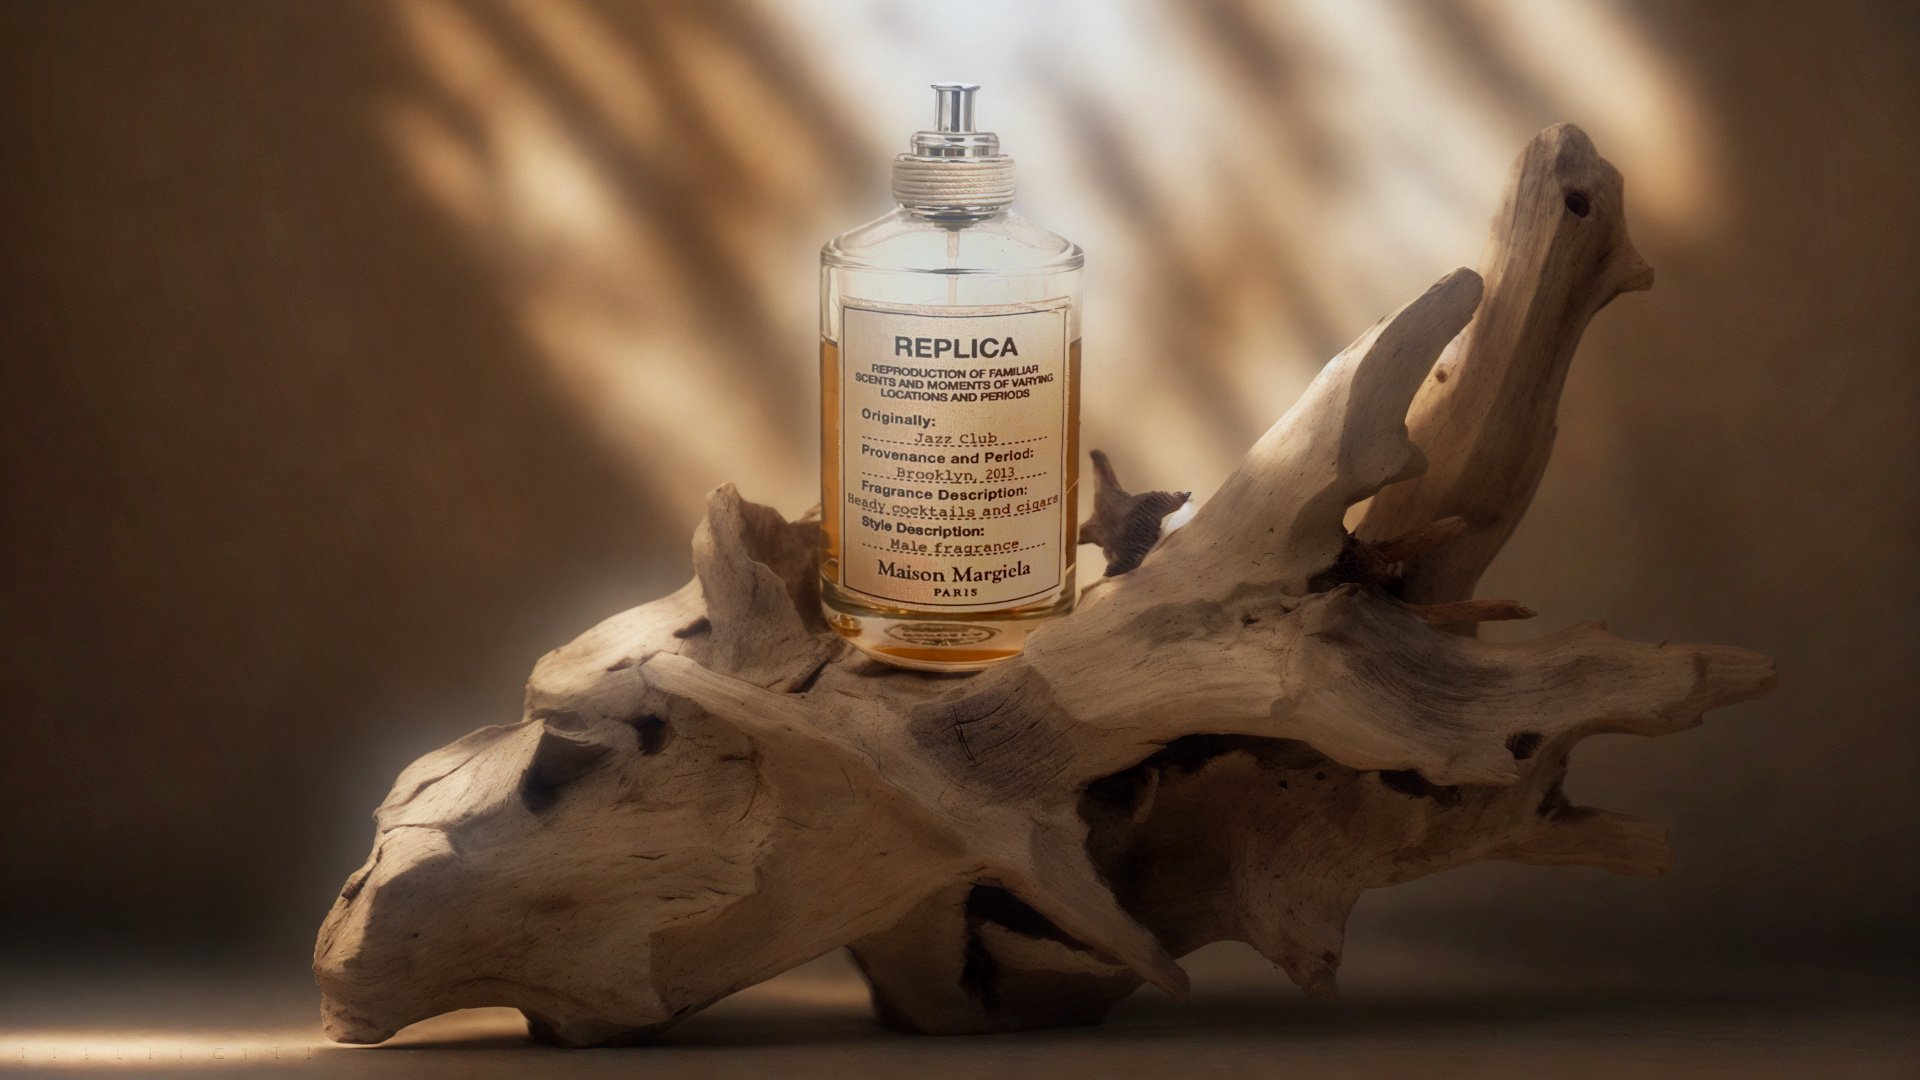
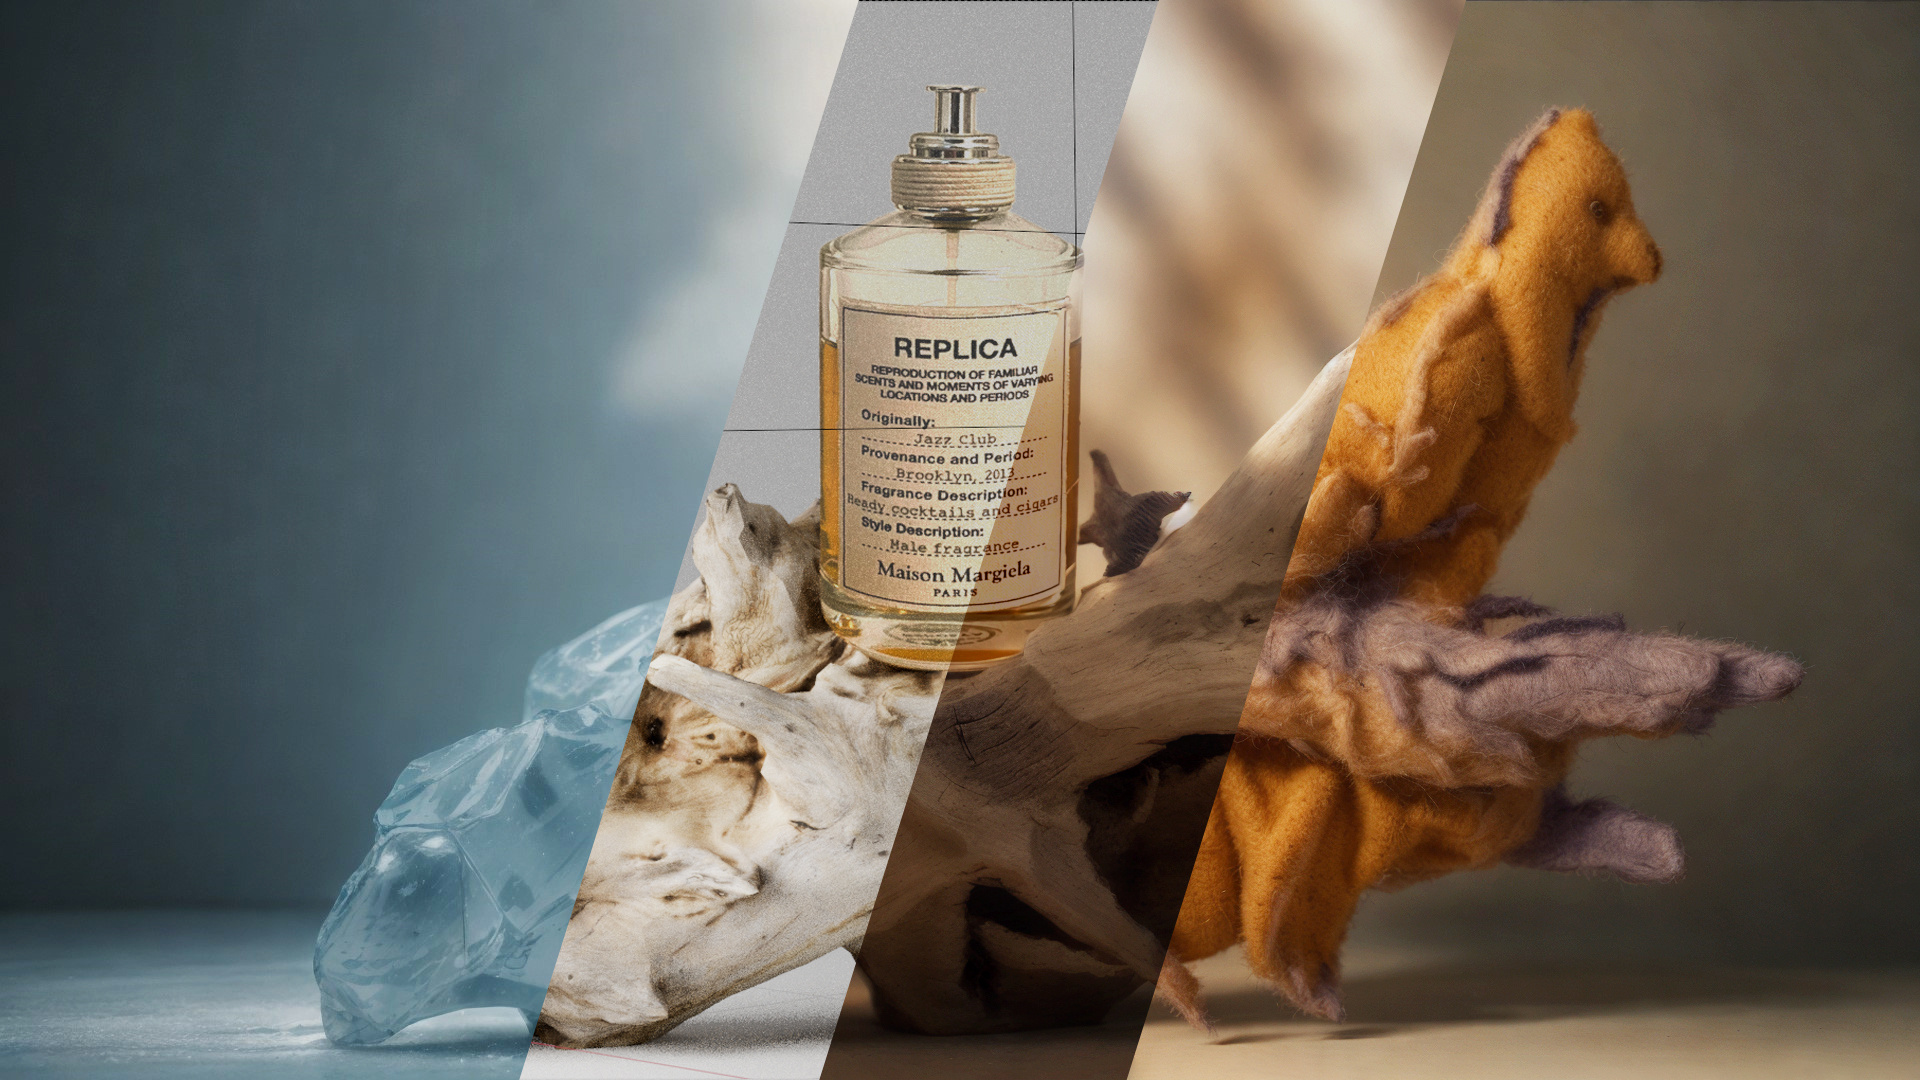
Product Photo Relight v4 - From Photo to Advertising, preserve details, color, upscale, and more

4.3

4 reviews
292
43.8K
14.5K
39
Description

You asked, so you shall receive.


This is a full, 1-click pipeline for generating advertising ready pictures starting from bad product shots. Of course, it works even better with good studio shots, but that's beside the point.


This is an iteration of my previous v3 workflow. Since a ton of you asked about implementing IPAdapters, Multi-SAM, Color Matching, PAG and upscaling, I integrated all of that. The core is still the same, but it's got a ton of optional modes now.


Video tutorial and changes overview here:  https://youtu.be/_1YfjczBuxQ


In the video, I explore the possibility of starting from a bad photo, compositing a virtual set in Blender, and using a render as a base for further Stable Diffusion relighting and reworking with selective material changes.


You can find the full asset folder here (1.6GB):  https://we.tl/t-3csFQs2saw


There's three color matching options groups, pick your favorite.


Everything is modular, and can be expanded upon in order to make it yours, as long as you read the notes and understand what's going on.


Want to support me? You can buy me a coffee here: https://ko-fi.com/risunobushi

Cheers!

Andrea


Node Diagram
Discussion
B
Benjamin D10 months ago

Thanks for your work ! :) Do you think if it's possible to " place " the product on an existing image instead of a generated background ? Let's said a chair on a living room picture with the possibility to resize the element for fit to the coherence of the image. Again thanks for your amazing job

(Edited)
a
andrea baioni10 months ago

Thanks! That's the only thing I have decided to not include in this workflow, because if you want to add a custom background, both the background and the subject need to be coherent as far as perspective / dimensions / positioning go. I don't know of any custom nodes that does automatic alignment and perspective control, so it's better done inside of Photoshop or any other tool than comfyUI.

👍1
B
Benjamin D10 months ago

Thanks for your infos, so no way to integrate an object to an existing image on comfyUI alright, I will try to do some researchs for be sure, if I find something I will let you know :) Thanks again

a
andrea baioni10 months ago

No, I mean there is, you would just need to use the segmented subject and blend it on top of the existing background. But in order to blend it seamlessly, you'd need to:

- have the same perspective;

- adjust the relative dimensions;

- postion the subject through X/Y trial and error via a repositioning node.

So at the end of the day it's just a lot easier to do it in 30 seconds in PS.

If there is a automatic align and perspective control node then I'm very interested, as I've got a workflow that's on hold because I can't find a node like that.

👍1
B
Benjamin D10 months ago

Alright thanks :) Will do some researchs for that :)

B
Benjamin D10 months ago

find this :  https://www.youtube.com/watch?v=kbPM4YnZOoA

a
andrea baioni10 months ago

yes, exactly, it's done like I was saying - segmenting, resizing, x/y re-positioning by trial and error - which is not automated.

don't get me wrong, it's a fine way to do it, it's just not in the scope of a one-click workflow as it's not possible to automate that part of the process.

(Edited)
👍2
B
Benjamin D10 months ago

ok thanks you ! :)

k
kinglifer8 months ago

Hi. This is actually VERY VERY easy to do. You can target where you want it to go by putting a mask dot on the background:  https://github.com/chflame163/ComfyUI_LayerStyle?tab=readme-ov-file#maskboxdetect

You can make the mask coherent to dimensions:  https://github.com/chflame163/ComfyUI_LayerStyle?tab=readme-ov-file#imagemaskscaleas

And soooo much more. I was actually refered to you because I did a background swap workflow but MY issue was keeping details of the background after upscaling. (Building / Street signs). I would LOVE to talk more with you. It can be done EASY and I think you did 90% already.

We are all busy but please if you have time hit me up. @kinglifer on IG

a
andrea baioni7 months ago

Hi! That's very interesting, thank you. Can you please drop me a email at andrea@andreabaioni.com ?

a
andrea baioni(OP)10 months ago

Agh! There was a tiny error in the Color Match Option 2 when using the upscaler, I fixed it and updated the file. Sorry about that!

画画的baby10 months ago

Error occurred when executing DepthAnythingPreprocessor: An error happened while trying to locate the file on the Hub and we cannot find the requested files in the local cache. Please check your connection and try again or make sure your Internet connection is on.

a
andrea baioni10 months ago

Depth Anything is part of the Auxiliary ControlNet Preprocessor custom nodes suite:  https://github.com/Fannovel16/comfyui_controlnet_aux  

If you can't use it after installing the repo, you can use any other Depth preprocessor, they might result in different or less accurate depth maps but it's all the same as long as you've got a preprocessor.

张dc10 months ago

Error occurred when executing IPAdapterUnifiedLoader: ClipVision model not found. File "/root/ComfyUI/execution.py", line 151, in recursive_execute output_data, output_ui = get_output_data(obj, input_data_all) File "/root/ComfyUI/execution.py", line 81, in get_output_data return_values = map_node_over_list(obj, input_data_all, obj.FUNCTION, allow_interrupt=True) File "/root/ComfyUI/execution.py", line 74, in map_node_over_list results.append(getattr(obj, func)(**slice_dict(input_data_all, i))) File "/root/ComfyUI/custom_nodes/ComfyUI_IPAdapter_plus/IPAdapterPlus.py", line 501, in load_models raise Exception("ClipVision model not found.")

a
andrea baioni10 months ago

Refer to the IPAdapter Plus documentation, you're missing a CLIPVision model

S
Sab Kz10 months ago

hello andrea , please contact me on discord for workflow job

discord id  : shodanz

a
andrea baioni10 months ago

Hey, thanks for reaching out. I don't do Discord much, but you can send me an email at andrea@andreabaioni.com

S
Sab Kz9 months ago

hello andrea i try to contact you but not get a respond in email can you check

a
andrea baioni9 months ago

Hi! Sorry, what email address did you send it from? I can't seem to find it

D
Dennis10 months ago

I swapped Grounding Dino for Bria, which makes significantly cleaner masks but has the problem that it can't be used for commercial projects due to the license. However, V4 of the workflow is not commercially usable anyway, as SupIR also doesn't have a commercial license. Additionally, the sampler that generates the backgrounds produces better images when you use two advanced control nets and let them run only the first 80-90%. Still, great work, thanks for the awesome workflow.

a
andrea baioni10 months ago

Yeah, if I had to keep track of commercial licences as well when implementing features my viewers ask of me, it'd start to be a full time job. I placed a SupIR upscaler there because that's what I had laying around, but I say in the notes it's swappable for any upscaling workflow.

Thanks for the feedback!

D
Dennis10 months ago

Another idea, if you want reflections, for example, on a water surface of the product, it's important that the product is generated in the correct color in the first background sampler. This is done with the prompt, and you can automate the prompt, either with Ollama (LLAVA) or Moondream2 LLM.

刘songlin10 months ago

I have to admit that it is a very feasible idea to use 3D design software to model and create actions to generate key frames. Looking forward to the follow-up

양극모9 months ago

Hi, I learn a lot from your workflow.

I just started learning comfyUI. But I am getting this error while I'm testing it. Please help

'comfyui-art-venture, Various ComfyUI Nodes by Type'

Two nodes cannot be installed

I keep trying to install, but (IMPORT FAILED) appears.

a
andrea baioni9 months ago

Hi!

Can you try uninstalling them and installing them directly from the terminal and see if that works?

To uninstall them, simply uninstall them via the Manager.

To install them, locate the comfyui -> custom_nodes folder,

go to this github page:  https://github.com/sipherxyz/comfyui-art-venture

click on the green button, copy github link

in the custom_nodes folder, right click, open in terminal

inside of the terminal write

"git clone " and paste the github link you copied from the green github page button

click enter

in the terminal, write

"pip install -r requirements.txt"

it should be installed


양극모9 months ago

Thank you!

This works very well. Thanks to you, I can study hard again.

h
huayue83959 months ago

Andrew, why did I end up generating my images with low quality and two sizes in one image

a
andrea baioni9 months ago

Did you follow the instructions on the workflow? Did you draw a custom Light Mask in the Open in Mask Editor step?

Did you change anything from the stock settings?

I'd need a bit more infos in order to pinpoint the issue

s
stripealipe7 months ago

The Image Level nodes throw an error if using your current values. 87 white, 1 grey and 180 black doesn't work and it seems that node now needs values between 0 and 255, with gray being somewhere inbetween?!

a
andrea baioni7 months ago

The node may have been updated, I'll try updating these workflows when I'll have the time to, sorry!

s
stripealipe7 months ago

Nope, no apologies, it's all cool. And yes, i was coming back here to say exactly that. I think it was updated a week or so back with a change to make the Levels 'midtone' actually work! And so now, your midtone level simply needs to be changed to between the 0-255. Not sure how you got to your existing figures for 'black' and 'white' but i'm using 127 for midtone and it looks pretty good. Thanks!

W
Wei7 months ago

I also checked the imagelevel node's code, here is the commit that break things, so the midtone value must be a value greater than min_level's value(in the workflow the min_level is 81.7, so the midtone should be greater)

(Edited)
A
Achi Davitadze4 months ago

Hi,thank you for amazing workflows.

I have error missing ImageGaussianBlur

i have downloaded and installed it maybe 10 times but still missing??


T
Toxic AI4 months ago

Facing the same issue. Getting an 'Import Error' for comfyui-art-venture. Tried the following:

- Disabling other nodes to see if import issue got fixed

- Installed omegaconf and segment-anything inside custom_nodes based on suggested fixes by other users on reddit

- Updated all packages

- Updated comfyui with python dependencies

- Installed and restarted multiple times

Nothing worked. Any ideas on how to fix this?

A
Achi Davitadze4 months ago

Try to use other custom-done which done the same job.so just replace image gaussian blur with another gaussian blur node.i hope it works.i try every workflow of how to change product background without loosing product details,i mean to restore it,but nothing works.great workflows are on patreon,so u have to pay to get workflow+feedback from author.good luck ))

Author

33
123.2K
1.9K
365.4K

Reviews

E

Erfan

10 months ago

D

Dennis

10 months ago

Some very good Ideas in this workflow ! Thank you ^^

K

Ksatria Web

10 months ago

This workflow is not user-friendly; it's too messy and the frequency group is confusing. I tried different settings but did not get a satisfying result. There is another workflow that is simpler and yields better results. Additionally, Grounding Dino sometimes fails to pick up all the black colors on products like shoes, so I need to change it to Rembg to get better mask, 16 minute video tutorial only for one bottle sample not help at all.

o

ori linus

10 months ago

Versions (4)

  • - latest (10 months ago)

  • - v20240527-155115

  • - v20240527-095035

  • - v20240527-084522

Primitive Nodes (39)

Image Comparer (rgthree) (1)

Note (37)

Reroute (1)

Custom Nodes (136)

ComfyUI

  • - CLIPTextEncode (6)

  • - PreviewImage (22)

  • - VAEEncode (3)

  • - VAEDecode (3)

  • - ImageInvert (4)

  • - SplitImageWithAlpha (5)

  • - MaskToImage (8)

  • - KSampler (3)

  • - EmptyLatentImage (2)

  • - ControlNetLoader (2)

  • - ControlNetApply (2)

  • - LoadImage (3)

  • - MaskComposite (1)

  • - GrowMask (3)

  • - CheckpointLoaderSimple (2)

  • - PerturbedAttentionGuidance (1)

  • - LoadImageMask (1)

  • - ImageResize+ (1)

  • - PreviewBridge (5)

  • - ImpactGaussianBlurMask (2)

  • - SAMLoader (2)

  • - AnimeLineArtPreprocessor (1)

  • - DepthAnythingPreprocessor (1)

  • - IPAdapterUnifiedLoader (1)

  • - IPAdapterAdvanced (1)

  • - ImageGaussianBlur (5)

  • - ICLightConditioning (1)

  • - LoadAndApplyICLightUnet (1)

  • - Float (1)

  • - SUPIR_first_stage (1)

  • - SUPIR_sample (1)

  • - SUPIR_conditioner (1)

  • - SUPIR_decode (1)

  • - SUPIR_encode (1)

  • - SUPIR_model_loader_v2 (1)

  • - RemapMaskRange (1)

  • - GrowMaskWithBlur (3)

  • - ColorMatch (3)

  • - ColorToMask (2)

  • - GroundingDinoModelLoader (segment anything) (2)

  • - GroundingDinoSAMSegment (segment anything) (2)

  • - JWImageResizeByFactor (5)

  • - JWImageResize (1)

  • - Image Blend by Mask (5)

  • - Image Blending Mode (9)

  • - Image Levels Adjustment (4)

Checkpoints (2)

epicrealism_naturalSinRC1VAE.safetensors

juggernautXL_v9Rdphoto2Lightning.safetensors

LoRAs (0)