Ink scenery Art - SD1.5 - Simple - Laptop configuration
5.0
1 reviews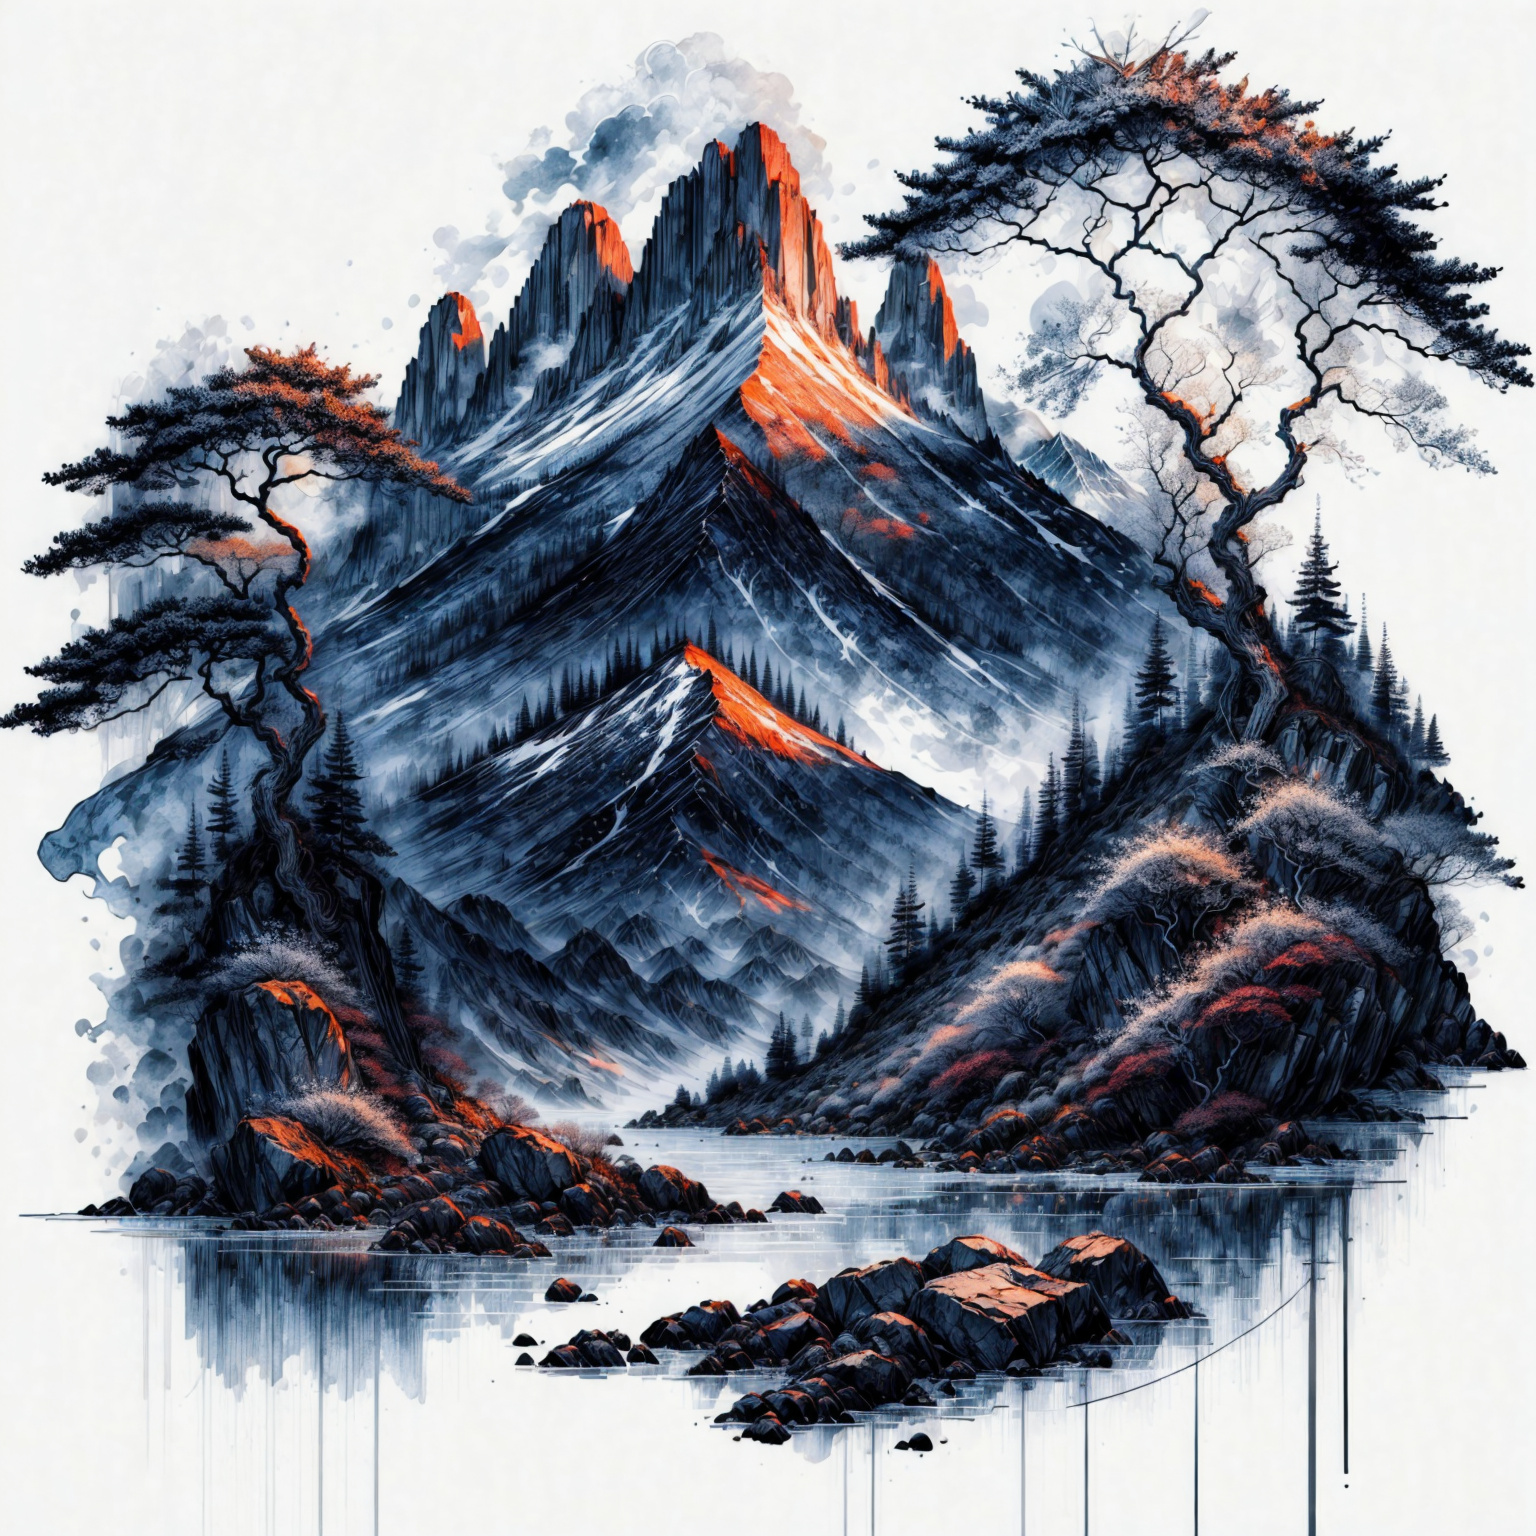
Description
Update
By choosing the native talent image size for SD1.5, the model will process the flow as efficient as possible.
keep to those talent image sizes
512x512
768x768
512x768
768x512
640x832
832x640
-
Important Observation
Importance of Image Size: The size of the image significantly impacts the model's performance. When instructing the model to generate a specific image, the results can vary greatly based on the latent image size used in processing. This variation is not necessarily due to a poorly crafted prompt.
To illustrate, imagine the difference between placing a full set of house furniture in a tiny room versus a spacious penthouse. this what is happening when you prompt an image in 512x512 and 1024x1024..etc
-
- Understanding Model Training: Gaining knowledge about the basics of how the model was trained is crucial. This understanding helps in optimizing the image size for better results.
- Hardware Considerations: The hardware utilized plays a pivotal role. As someone new to Stable Diffusion, there is a reluctance to invest in new hardware without fully understanding how to leverage this technology profitably.
- If you're using a laptop with specifications similar to mine, which includes a 3050 Ti 4GB GPU, it's important to set realistic expectations regarding the capabilities of your hardware, especially when working with advanced models like Stable Diffusion (SD), while competent for basic tasks and some moderate graphic demands, may not be equipped to efficiently handle the requirements of more complex models like SDXL.
- Unpredictability of Results: It is important to manage expectations regarding the model's output. Even with consistent settings and configurations, the model often produces unique and unexpected results.
-
What this workflow does
Create Text2Image Ink Scenery art work
-
How to use this workflow
My technique of generating an image, upscaling it, and then regenerating it for enhanced detail is an efficient method for achieving high-quality results. This process involves:
- Initial Generation: I create a basic version of the desired image.
- Upscaling: I improve the resolution of this image to add more detail.
- Regeneration: I process the upscaled image again to refine and enhance details.
This approach is effective for producing professional-level detail, especially when working with limited computing resources. It allows for finer detail in the final image without overburdening my hardware.
-
- key issue when using different interfaces for Stable Diffusion models, like Automatic 1111 and ComfyUI, which is that prompts might not be interpreted the same way across these platforms. I found a node to translate prompts for better compatibility with ComfyUI. This approach ensures more accurate results by tailoring prompts to fit the specific parsing style
https://github.com/shiimizu/ComfyUI_smZNodes
-
Tips about this workflow
I used
base model Noosphere as SD15 base model https://civitai.com/models/36538?modelVersionId=265285
Lora: add derail https://civitai.com/models/109775?modelVersionId=118311
Lora: Ink scenery https://civitai.com/models/78605?modelVersionId=83390
A lot of embeddings, you can see the N prompt
Discussion
(No comments yet)
Loading...
Reviews
No reviews yet
Versions (2)
- latest (2 years ago)
- v20240116-103120
Node Details
Primitive Nodes (1)
Reroute (1)
Custom Nodes (15)
- CR Apply LoRA Stack (1)
- CR LoRA Stack (1)
ComfyUI
- VAELoader (1)
- CheckpointLoaderSimple (1)
- PreviewImage (1)
- UpscaleModelLoader (1)
- VAEEncode (1)
- SaveImage (1)
- EmptyLatentImage (1)
- KSampler (Efficient) (1)
- KSampler Adv. (Efficient) (1)
- Seed Generator (1)
- smZ CLIPTextEncode (2)
- UltimateSDUpscale (1)
Model Details
Checkpoints (1)
SD15_NoosPhere_v42.safetensors
LoRAs (2)
SD15_Ink_Scenery.safetensors
SD15_more_details.safetensors