Noise Styling
5.0
0 reviews
Description
I'm just a beginner in ComfyUI myself and taking my first steps. This is one of my first tests on a workflow to understand how everything works. In this case I tried Noise Styling based on the amazing tutorial by Olivio Sarikas (see here: https://youtu.be/mLmC-ya69u8 )
EDIT: Akatsuzi (Suzie) who had the original idea provided her own "Styling With Noise Demo" . Thx @Cyrilstyle for making me aware of that one. Might be a better starting point than my dumbed down "have no idea what I'm doing" beginner mess. ;)
What this workflow does
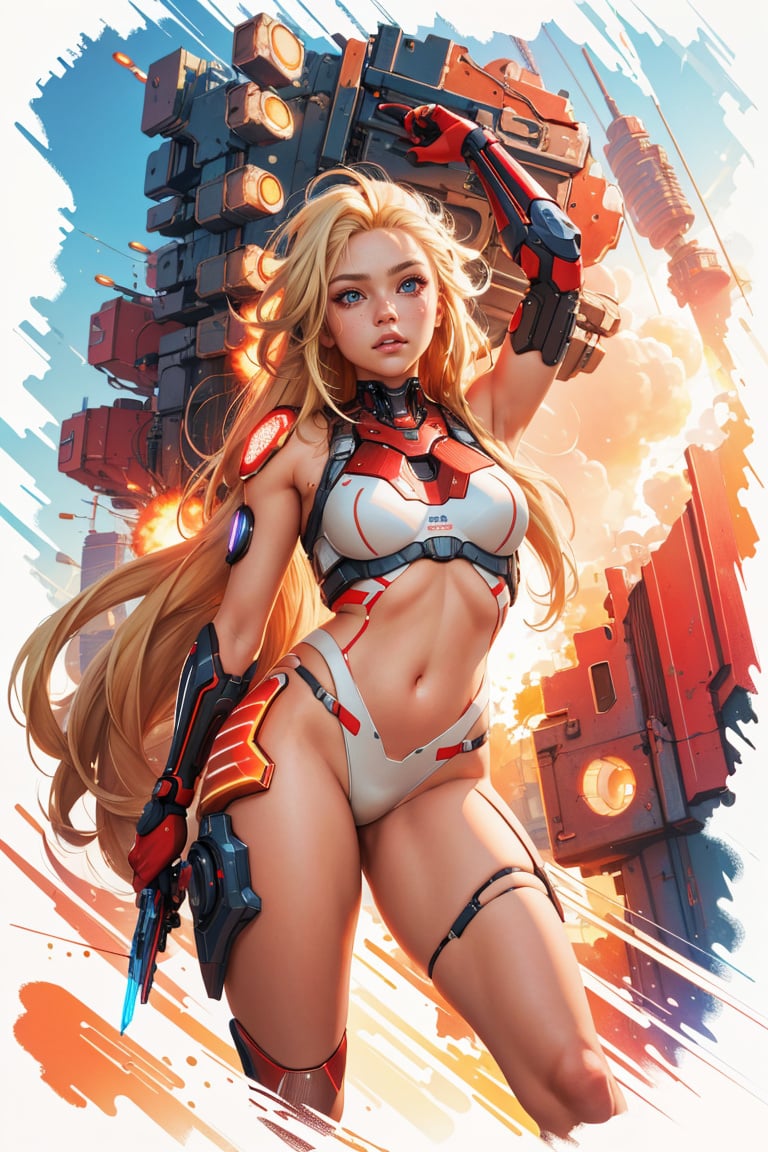
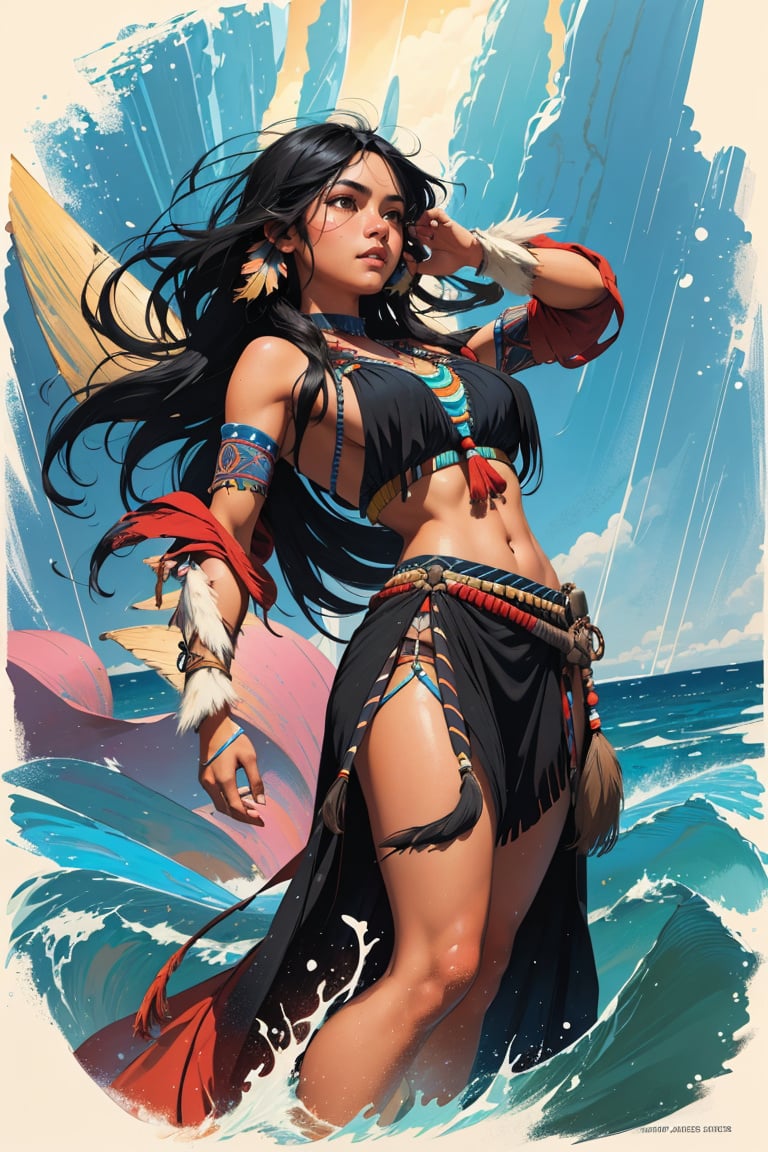
👉 Add Noise "Style" to Latent Image and Depth Map (with ControlNet) to Conditioning
👉 Generate Base Image with SD 1.5, Upscale and Face Detailer
How to use this workflow
👉 Nothing fancy, beginner friendly and straight forward. See linked tutorial by Olivio Sarikas for more information on how to use this method.
Tips about this workflow
👉 Bypass Upscaler and FaceDetailer to search for a good base seed to your prompt and experiment with different depth maps and noise "styles", then reactivate Upscaler and FaceDetailer to get HighRes Image
Used Models for Examples
👉 Checkpoint: (SD 1.5): aZovyaRPGArtistTools_v4.safetensors
👉 VAE (SD 1.5): vae-ft-mse-840000-ema-pruned.safetensors
👉 ControlNet: control_sd1.5_depth.pth
👉 Upscaler: 4x-UltraSharp.pth
👉 Face Detector: face_yolov8m.pt
Discussion
(No comments yet)
Loading...
Reviews
No reviews yet
Versions (1)
- latest (5 months ago)
Node Details
Primitive Nodes (16)
Reroute (15)
Seed (rgthree) (1)
Custom Nodes (29)
ComfyUI
- ImageScale (3)
- VAEEncode (1)
- PreviewImage (2)
- ControlNetLoader (1)
- VAEEncodeTiled (1)
- CheckpointLoaderSimple (1)
- CLIPTextEncode (2)
- CLIPSetLastLayer (1)
- VAELoader (1)
- VAEDecodeTiled (1)
- VAEDecode (1)
- SaveImage (3)
- KSampler (2)
- LoadImage (2)
- UltralyticsDetectorProvider (1)
- FaceDetailer (1)
- SAMLoader (1)
- CR Apply ControlNet (1)
- CR Upscale Image (1)
- Image Blending Mode (1)
- Image Padding (1)
Model Details
Checkpoints (1)
aZovyaRPGArtistTools_v4.safetensors
LoRAs (0)