2 Animations, one workflow [ADv3 + ALCM v2.1]
5.0
2 reviewsDescription
📽️ Tutorial: https://youtu.be/XO5eNJ1X2rI
Get the inputs to use in the workflow here: https://ko-fi.com/s/1876997f9a
Tips
Workflow development and tutorials not only take part of my time, but also consume resources. Please consider a donation or to use the services of one of my affiliate links:
☕ Help me with a ko-fi: https://ko-fi.com/koalanation
🚨Use Runpod and I will get credits! https://runpod.io?ref=617ypn0k🚨
Run ComfyUI without installation with:
*** Update 24 March 2024 ***
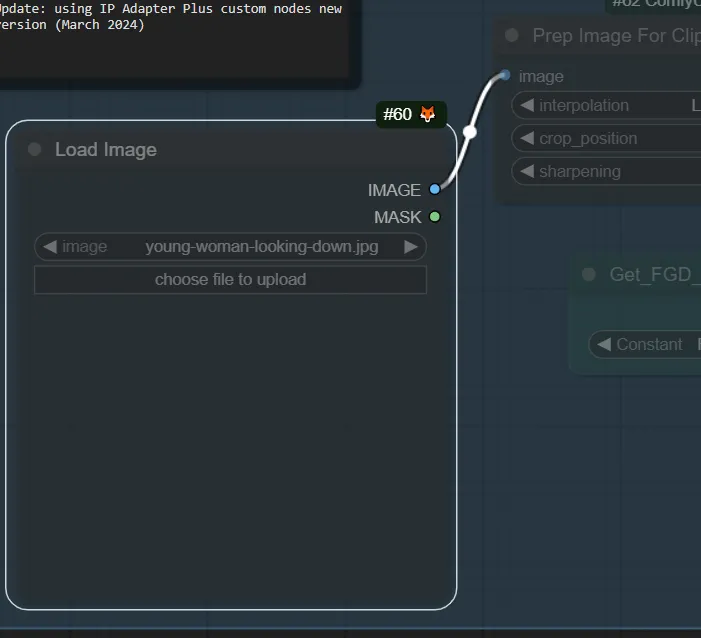
New version uploaded because of major update on IP Adapter plus nodes (making the existing workflow unusable
Other changes made: Civit.AI Loader, changed names of CN and use of AD v3 instead of AnimateLCM (still using LCM Lora)
*** Update 18 March 2024 ***
Workflow is now runnable in OpenArt.ai, but you need to make sure the models are available and with the correct name. Check below the instructions for details.
What does this workflow?
A background animation is created with AnimateDiff version 3 and Juggernaut. The foreground character animation (Vid2Vid) uses DreamShaper and uses LCM (with ADv3)
Seamless blending of both animations is done with TwoSamplerforMask nodes.
This method allows you to integrate two different models/samplers in one single video. This example uses two different checkpoints, loras and animateDiff models, but the method can also be used for image compositions where you want to use, for example, a realistic model for the foreground, and an artistic drawing model for the background.
Workflow is tested with SD1.5. SDXL or other SD models could be used, but controlnet models, loras, etc., should be changed to the corresponding version.
How the workflow works
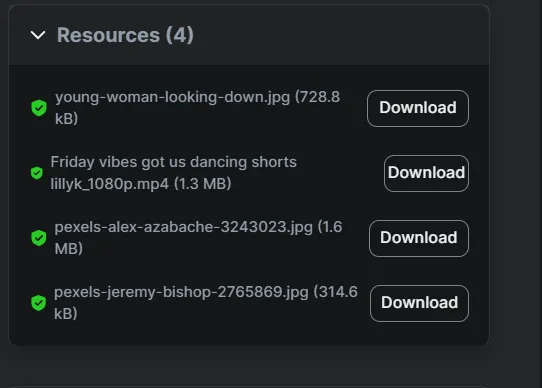
1- Download resources
If you are going to follow the example/tutorial: download the different assets from the 'Resources' on the right menu
2- Workflow download/start
If you are going to use the runnable workflow feature of OpenArt.AI, click on the green button 'Launch on Cloud'. If you are going to run it elsewhere (locally, VM, etc.), click on the 'Download' button
3- Load the workflow
in ComfyUI by drag and drop of the workflow file in the ComfyUI canvas (will be automatic if you are using the runnable workflow of OpenArt)
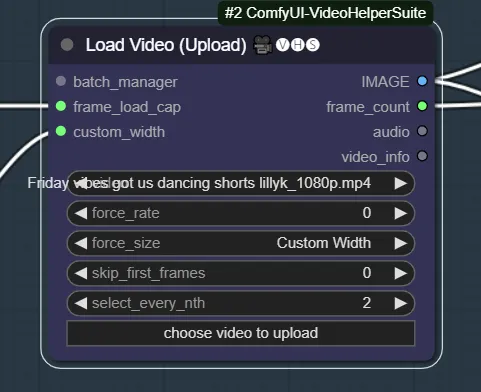
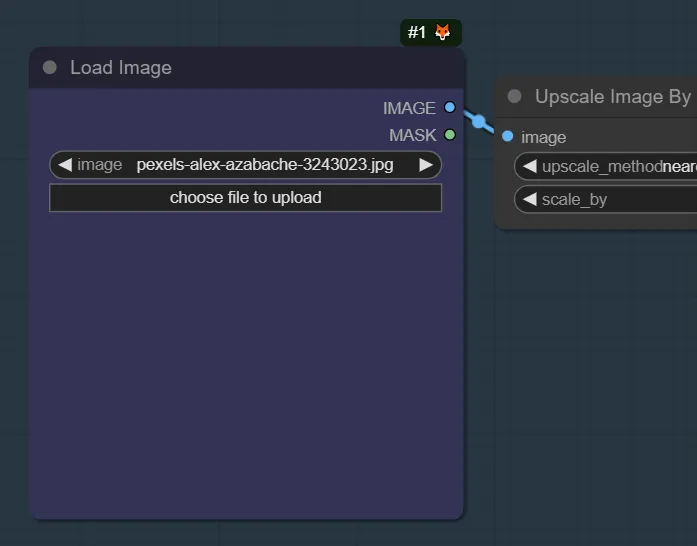
4- Prepare resources
Load the Video, the background image and the IP Adapter reference image. Set the width and the frame load cap of the video.
5- Create the Background image:
Adjust a background of your choice to the size of the frames of the original video
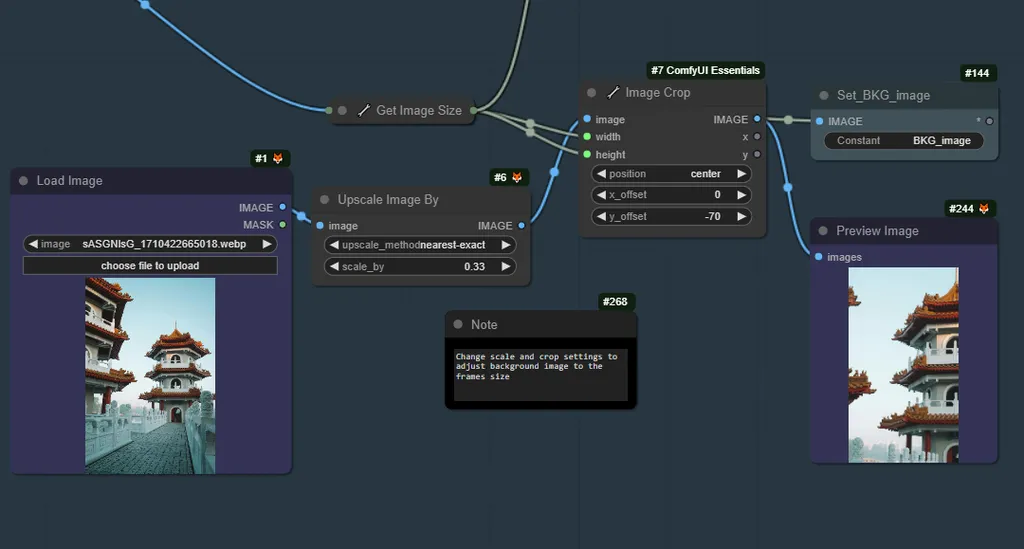
6- Background animation:
Create an animation using the background picture.
Activate the Background Animation node. Change the prompt to describe the animation, and run the workflow.
Choice in the example is to use AnimateDiff version 3. Latent will be later used for the TwoSamplerMask. LooseControlNet and Tile are recommended. Loras are optional. 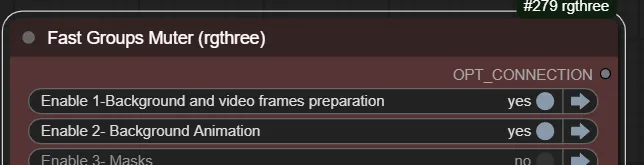
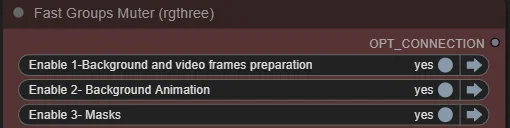
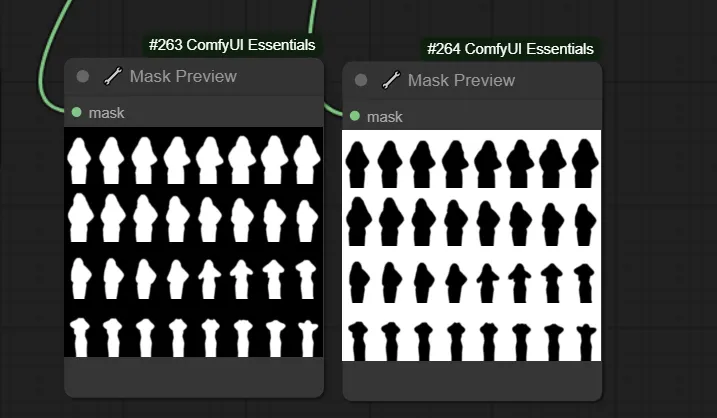
7- Create masks:
Masks for the foreground character from the starting video are created. Change the threshold detection level if needed
8- Foreground animation:
Create an animation of the foreground using the frames from the video.
Change the prompt according to the video you are making.
We use AnimateDiff v3 with LCM sampling. IP Adapter is used. Recommended ControlNets are ControlGif, Depth and OpenPose. Foreground mask is used in controlNets.

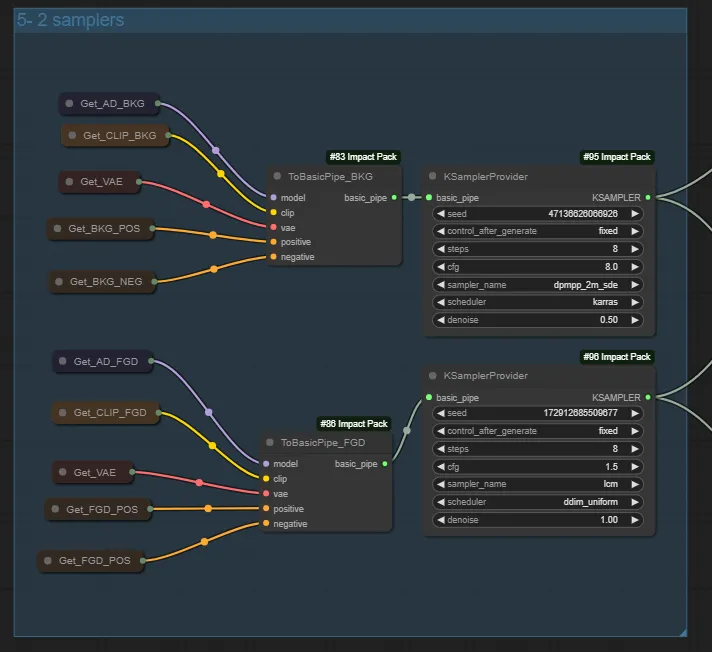
9- TwoSamplers:
provides two different samplers for rendering in step 6. Sampler 1 (background) uses AnimateDiff version 3 + Juggernaut, while sampler 2 AnimateDiff version 3 + Dreamshaper wtih LCM sampler. The settings, thus, need to be different. The background has a denoise of 0.5, while the foreground has a denoise of 1.0.
10- Rendering:
First option is to directly upscale (latent to 1.5x). Higher resolution, but time consuming. Second options to directly use the TwoSamplersforMask node, which uses. With the foreground mask we can have seamless integration of the background and foreground.
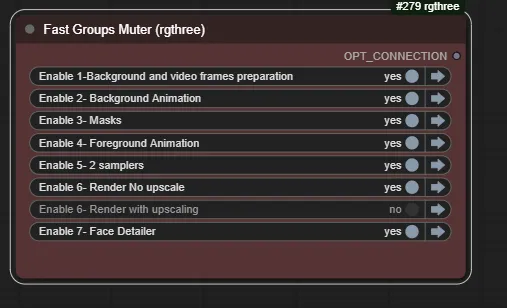
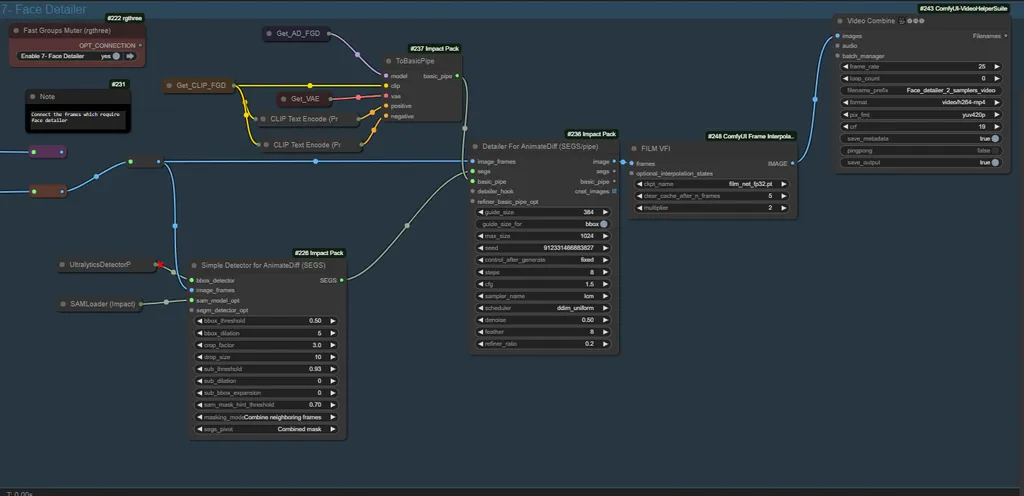
11- Face Detailer and Frame interpolation:
Face detailer and frame interpolation are added to correct face distortion and improve smoothness of the video. You need to connect either the upscaled or non-upscaled frames detector and the detailer
Runnable workflow specific instructions
In this version 2.1 I have adjusted the workflow (compared to the original in the tutorial), so it can be run in OpenArt.Ai (runnable workflow). Therefore, the loras are not used, and it is using AD v3 in the foreground, too. If you find a way to load the models (e.g. via Civit.ai node), it should be still possible to use the original workflow.
Be aware the frame load cap is limited in the runnable workflow because of machine limitations. OpenArt does you a great favor allowing you to use GPU computing for free, and it is nice for demonstration purposes, but for longer generations you will need to do it locally, VM or SD paid service with more computer power.
Obviously, you may want to change some the models, videos, etc.
Additional information and tips
- Check out the assets to use in the example
- In the runnable workflow, check that the models are all the right ones (see notes before)
- Check notes in the workflow for additional instructions
Discussion
(No comments yet)
Loading...
Reviews
No reviews yet
Versions (3)
- latest (2 years ago)
- v20240326-190407
- v20240314-133152
Node Details
Primitive Nodes (82)
Fast Groups Muter (rgthree) (7)
GetNode (29)
Lora Loader Stack (rgthree) (2)
Note (16)
PrimitiveNode (2)
Reroute (11)
SetNode (15)
Custom Nodes (79)
- ADE_ApplyAnimateDiffModelSimple (2)
- ADE_UseEvolvedSampling (2)
- ADE_LoadAnimateDiffModel (2)
- ADE_AnimateDiffUniformContextOptions (2)
- CivitAI_Checkpoint_Loader (2)
ComfyUI
- CLIPSetLastLayer (2)
- VAEDecode (4)
- CLIPTextEncode (6)
- FreeU_V2 (2)
- KSampler (2)
- LoadImage (2)
- UpscaleModelLoader (1)
- PreviewImage (1)
- VAELoader (1)
- ImageScaleBy (1)
- EmptyLatentImage (1)
- ImageCrop+ (1)
- MaskPreview+ (2)
- GetImageSize+ (1)
- FILM VFI (1)
- ToBasicPipe (3)
- KSamplerProvider (2)
- TwoSamplersForMask (1)
- TwoSamplersForMaskUpscalerProvider (1)
- IterativeLatentUpscale (1)
- UltralyticsDetectorProvider (2)
- SAMLoader (1)
- ImpactSimpleDetectorSEGS_for_AD (1)
- SegmDetectorSEGS (1)
- DetailerForEachPipeForAnimateDiff (1)
- ImpactImageBatchToImageList (1)
- SegsToCombinedMask (1)
- MaskListToMaskBatch (1)
- AIO_Preprocessor (1)
- DepthAnythingPreprocessor (1)
- DWPreprocessor (1)
- IPAdapter (1)
- IPAdapterNoise (1)
- PrepImageForClipVision (1)
- IPAdapterUnifiedLoader (1)
- ControlNetLoaderAdvanced (5)
- ACN_AdvancedControlNetApply (5)
- VHS_VideoCombine (5)
- VHS_LoadVideo (1)
- GrowMaskWithBlur (1)
Model Details
Checkpoints (0)
LoRAs (2)
SD1.5/animatediff/v3_sd15_adapter.ckpt
lcm/SD1.5/pytorch_lora_weights.safetensors