[v3.0] ControlNet Extra - AutoMasking + SoftEdgePlus
5.0
0 reviews
Description
1) First Time Video Tutorial : https://www.youtube.com/watch?v=qczh3caLZ8o&ab_channel=JerryDavosAI
2) Full Documented Tutorial : https://www.patreon.com/posts/update-v3-0-96482739
.
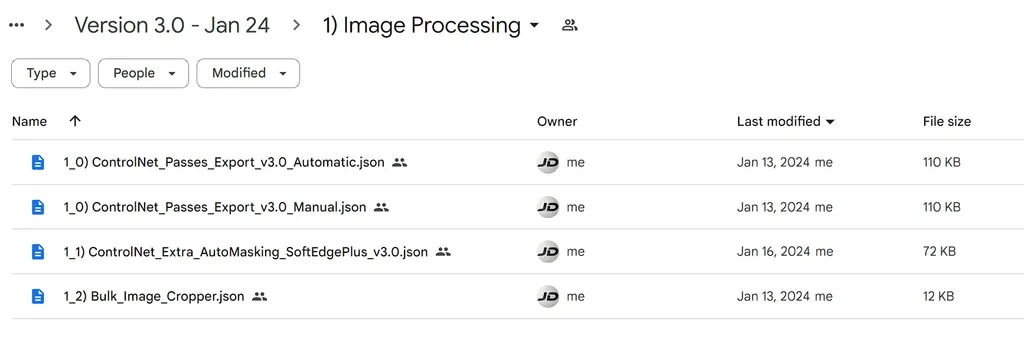
1_1) ControlNet_Extra_AutoMasking_SoftEdgePlus_v3.0
This is the New Improvement file added for getting more dynamic and better results.
- It can export mask which are auto generated by using RVM Technology
- It has a new SoftEdgePlus Pass Feature which can be used instead of softedge original or lineart pass.
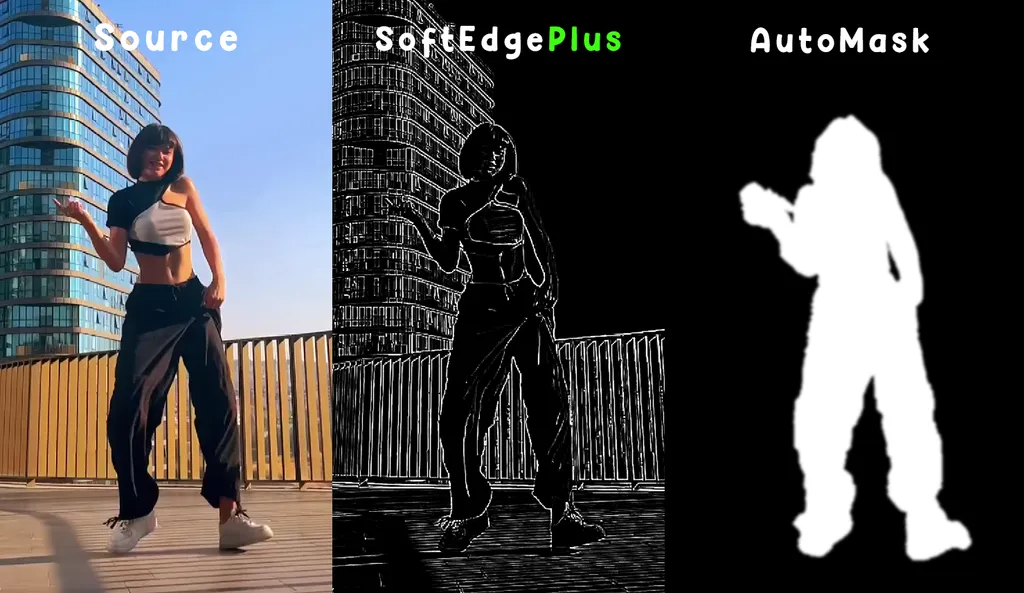
Auto Masking
- This RVM is Ideal for Human Masking only, it won't work on any other subjects

- Enable Auto Masking - Enable = 1, Disable = 0
- Mask Expansion - How much you want to expand the mask in pixels.
- Mask Blur - How much to feather the mask in pixels
Important - Use 50 - 100 in batch range, RVM fails on higher values.
SoftEdgePlus

It's an alternative to Softedge Pass, which give more control over details, Using Edge detection and Highpass ( I spent days testing and developing it :D )
It Has some "noise" in the image, which helps in giving consistency and further enhance stability of colors and details

The Above render is directly from the Raw File
- It's Observed, it has more stable color then not using this pass, Blue is maintained as blue in large area of the image, unlike before, which got hue shifts
-Face has more accurate capture of details of eyes, lips, ear, and hair too.
How To Use

- SoftEdgePus Radius - Use Minimum value 1 - 5 to get the max details, higher values won't capture details
- SoftEdgePlus Strength - Use between 1 - 15, It depends on your image, this needs some practice to get used to.
Practice Sheet

Example Image - Radius Vs Strength Plot
Zoom in the Image to see the details, Green tick is the safe range for softedge plus pass which will work best, Orange circle is okay-okay, Red cross, images will have too much noise in render.
How to Get best softedgePlus Pass - You to manually observe that you should get all minute details and images contours, and should not have too much noise.
Tip: Use Controlnet Weight - around 0.8 - 0.9 and End percent near 0.9 for best results. This is experimental values, you can test in your render.
Ceil Node - Github link, if it does'nt install with manager :
aria1th/ComfyUI-LogicUtils: just some logical processors (github.com)
_________________________________________________________
*Special Features are separated in different files due to technical limitation. All Files Download Folder Link : https://drive.google.com/drive/folders/1HoZxKUX7WAg7ObqP00R4oIv48sXCEryQ?usp=sharing
If you need Cloud GPU : https://www.runcomfy.com/?ref=jerrydavos
My Discord Server : https://discord.gg/z9rgJyfPWJ
Discussion
(No comments yet)
Loading...
Reviews
No reviews yet
Versions (1)
- latest (2 years ago)
Node Details
Primitive Nodes (19)
CeilNode (1)
Note (10)
PrimitiveNode (4)
Reroute (4)
Custom Nodes (50)
- CR Integer To String (3)
ComfyUI
- ImageScale (1)
- ImageScaleBy (1)
- MaskToImage (1)
- EmptyImage (2)
- If ANY execute A else B (7)
- Float (1)
- Robust Video Matting (1)
- VHS_LoadVideoPath (3)
- GrowMaskWithBlur (1)
- ReroutePrimitive|pysssss (2)
- MathExpression|pysssss (2)
- ShowText|pysssss (3)
- Cfg Literal (1)
- Int Literal (2)
- Seed Generator (2)
- GetImageSize (2)
- Constant Number (2)
- Text Concatenate (2)
- Image Save (2)
- Logic Boolean (3)
- String to Text (2)
- Text String (2)
- Image High Pass Filter (1)
- Image Dragan Photography Filter (1)
Model Details
Checkpoints (0)
LoRAs (0)