Ultimate Flux Upscaler - 2k - 4k - 8k - 16k - 32k
5.0
0 reviewsDescription
Hey Everyone, I would like to share my flux upscaler workflow which I am using to upscale my AI generated images for my projects, hopefully it might also come in handy with you.
This is a concept template workflow, you can translate to SDXLs too. or use turbo models. Just change it's settings and models.
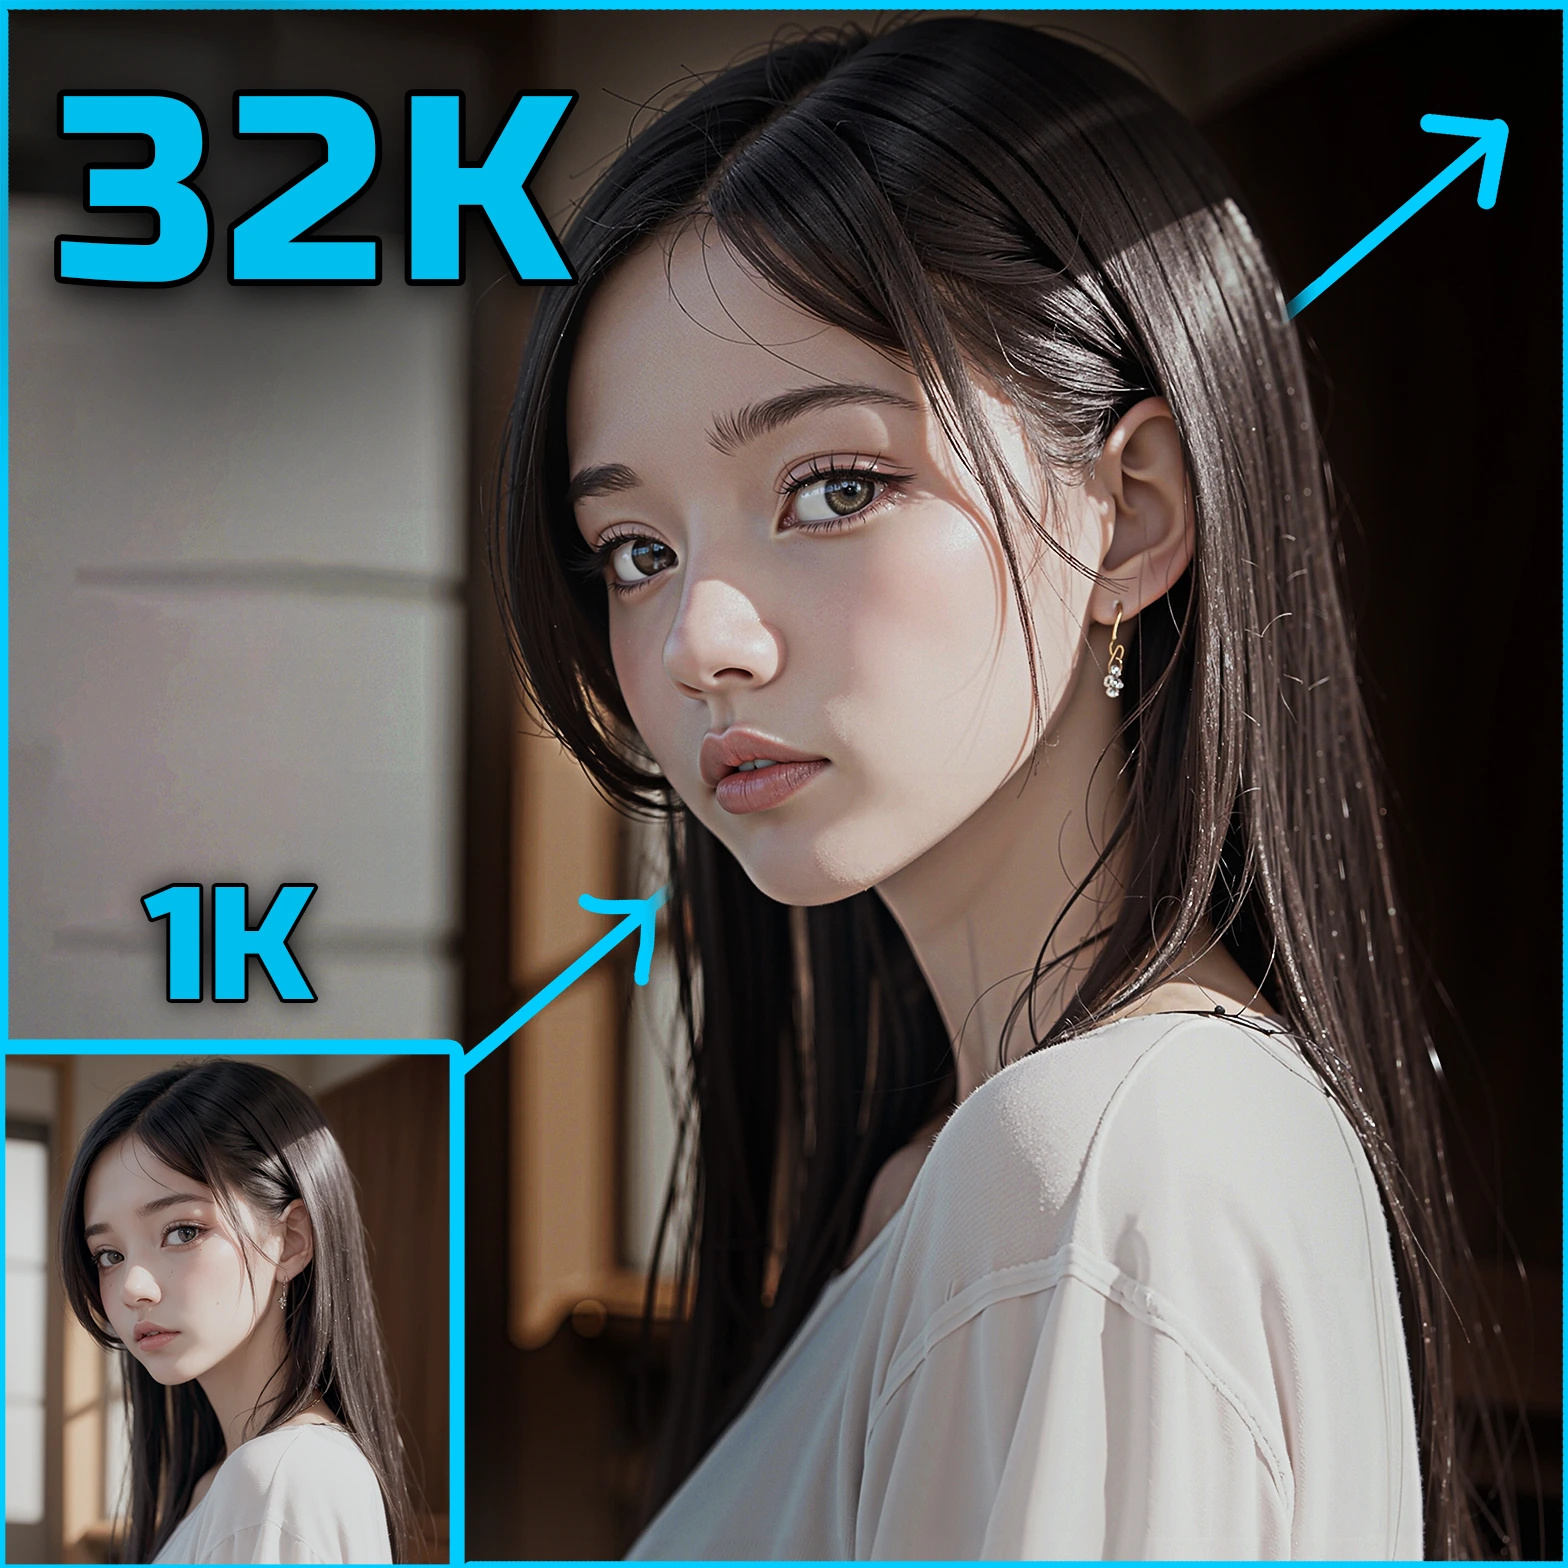
It can upscale from 1k images to 2k,4k,8k,16k push even upto 32k.
Required Specs for up till 8k upscale :
- CPU - 32GB Ram
- GPU - 16GB Vram [ 8gb vram can also work but will take longer time and run in low vram only ]
It will require approx 20- 30 mins to render 8k image
Required Specs for 16k and 32k upscale :
- CPU - 48 GB or more
- GPU - 16 GB or more
It will require near 1 hour more for 16k sampler and 2-3 hours more for 32k sampler.
The time may vary according to the model and settings you use.
During VAE Decode for 16k and 32k , 48 gb or more is required else it might run of memory.
Generally File size after rendering comes out as
4k - 10-12 MB - Safe
8k - 40-42 MB, - Safe
16k - 180 - 200 MB - Slowish
32k - Above 300-500 MB - Extreme Laggy
Normally 16k will be enough, Enable 32k for extreme use only....
!! Caution: Computer will become slow while handling 16k and 32k images in Comfyui or Windows.
----------------------------
[Paid Cloud Rendering Service]
If you want to run this workflow on cloud without any setup you can also do so:
Link: RunComfy - Flux 32k Upscaler
---------------------------
I usually do a SD 1.5 or SDXL for creating a good composition and then Flux for refining and uspcale.
Comparison:


Above is the workflow preview, each section configured/edited separately if you want to edit or improvise from this workflow.

Load the Image Group

- Upload, Drag and drop or Copy and Paste (Ctrl+V) your image in the load image node
- Limit Image Size to MegaPixels: is default to 1.5 MP, This servers as the starting point for upscaling resolution. which will be upscaled 2x,4x,8x,16x,32x times.
Models and Loras Group

- Load Checkpoint: In this node you select the checkpoint which best suits your upload image's rendering style i.e. realistic, anime, toon...etc which will increase the accuracy of details
- Optional Lora Stack: Using style loras like cloths, figures, style, character, artstyle or abstract loras of your image's element will further increase the accuracy of the rendered image.
- Load VAE: The default flux vae is fine to use.
- Dual Clip Loader: The default clip models are loaded and need not to be changed.
- Make a copy of lora stack and connect it in chain if need more than 3 loras.
ControlNet Group

In this controlnet model Flux.1-dev-Controlnet-Upscaler is used which act as a traditional tile controlnet.
- Strength: The Strength for the Controlnet. Use value below 0.7 as higher value will give rough artifacts on the edges.
- Start Percent: This value decides from which percent the controlnet will take affect. Let it be 0.
- End Percent: This value decides till when percent the controlnet apply it's affect. Use Value under 0.7 .
- DownloDd: Flux.1-dev-Controlnet-Upscaler : https://huggingface.co/jasperai/Flux.1-dev-Controlnet-Upscaler/tree/main Put inside Folder: comfyui > models > controlnet
You can lower the [CN strength and percent] and Increase Denoise of the Refining sampler to have similar composition of the input image but a good flux render with good proportions.
I use it to render images in SD 1.5 or SDXL models and upscale and refining images in flux with loras too.
Additional Prompt

In this text box, it can remain empty, or you can add your lora trigger prompts, style prompts which will improve your renders.
Refiner Sampler

This Ksampler will give you a preview of how the upscaling is going to progress.
- Use Deis, Euler and Dpm_2 is seen to give best output. Feel free to try other sampers and schedulers.
- Use Low Denoising (0.2 - 0.4) if major details are getting lost.
- According to your selected Model, Loras and Prompts used, the image may slightly change from Original.

The SD sampler is set to best settings, just only with Denoise value and sampler name only.
Following are the Detailed parameters:
- denoise: Uses from default img2img field. We recommend 0.35 value for image enhancements, but if you don't want changes, use 0.15-0.20.
- type:linear: All tiles processed one by one, column by column, row by row.chess: All tiles are processed in a checkerboard pattern, reducing the chance of seam artifacts.none: Disabled redraw. Use it when running generation without seam fix, seeing visible overlays or artifacts on seams, and wanting to run just seam pass. Don't forget to put upscaled image as the source before.tile width: The width to be processed. The larger the tile, the fewer artifacts in the final image. For 2k, 512px is usually enough.tile height: The height to be processed. The default is 0, in which case it is equal to the width. Larger tiles reduce artifacts. For 2k, 512px is usually enough.padding: How many pixels of neighboring tiles will be taken into account during processing.mask blur: It is blur of masks used in tile masking. Set it to 12-16 on 512-768px size. Increase if you see seams.
- seams fix: Do not use if the result image has no visible grid; it's just another redraw pass.type:bands pass: Adds passes on seams (rows and columns) and covers a small area around them (width in UI). It requires less time than offset pass.half tile offset pass: Adds two passes like redraw pass, but with a half-tile offset. One pass for rows with vertical gradient mask and one for columns with horizontal gradient mask. This pass covers a bigger area than bands and mostly produces better results, but requires more time.half tile offset + intersections pass: Runs Half tile offset pass, then runs extra pass on intersections with radial gradient mask.none: Disabled seams fix. Default value.denoise: Denoise strength for seams fix.width: Redraw line width. Used only by "Band pass."padding: Pixels near the seam will be taken into account when processing a tile.mask blur: It is the blur of masks used in tile masking. Set to 8-16 on 32px padding. Increase if padding is increased.
- upscale_by: Number to multiply the width and height of the image by. For exact width and height, use the "No Upscale" version of the node and perform upscaling separately (e.g., ImageUpscaleWithModel -> ImageScale -> UltimateSDUpscaleNoUpscale).
- force_uniform_tiles: If enabled, tiles cut off by the image edges will expand using the rest of the image to keep consistent tile size as determined by tile_width and tile_height (similar to A1111 Web UI). If disabled, minimal tile size will be used, which may speed up sampling but can cause artifacts due to irregular tile sizes.
Tips:
1) Use Denoise 0.2 - 0.3 in the Ultimate SD sampler to enhance/Sharpen image a little.
2) Use Sampler steps to 15-20 or more in them to increase minute details.
3) Use Bigger tile width and height upto (2048*2048) in 16K and 32K sampler to further increase with increase sampling steps 15-20 to increase details.
4) Use Skin detailer loras like these to increase skin details.
https://civitai.com/models/906923/skindetails
https://civitai.com/models/651043/flux-skin-texture
5) You can use Fine Tuned Flux models like this to increase more accuracy

Link: https://civitai.com/models/141592/pixelwave

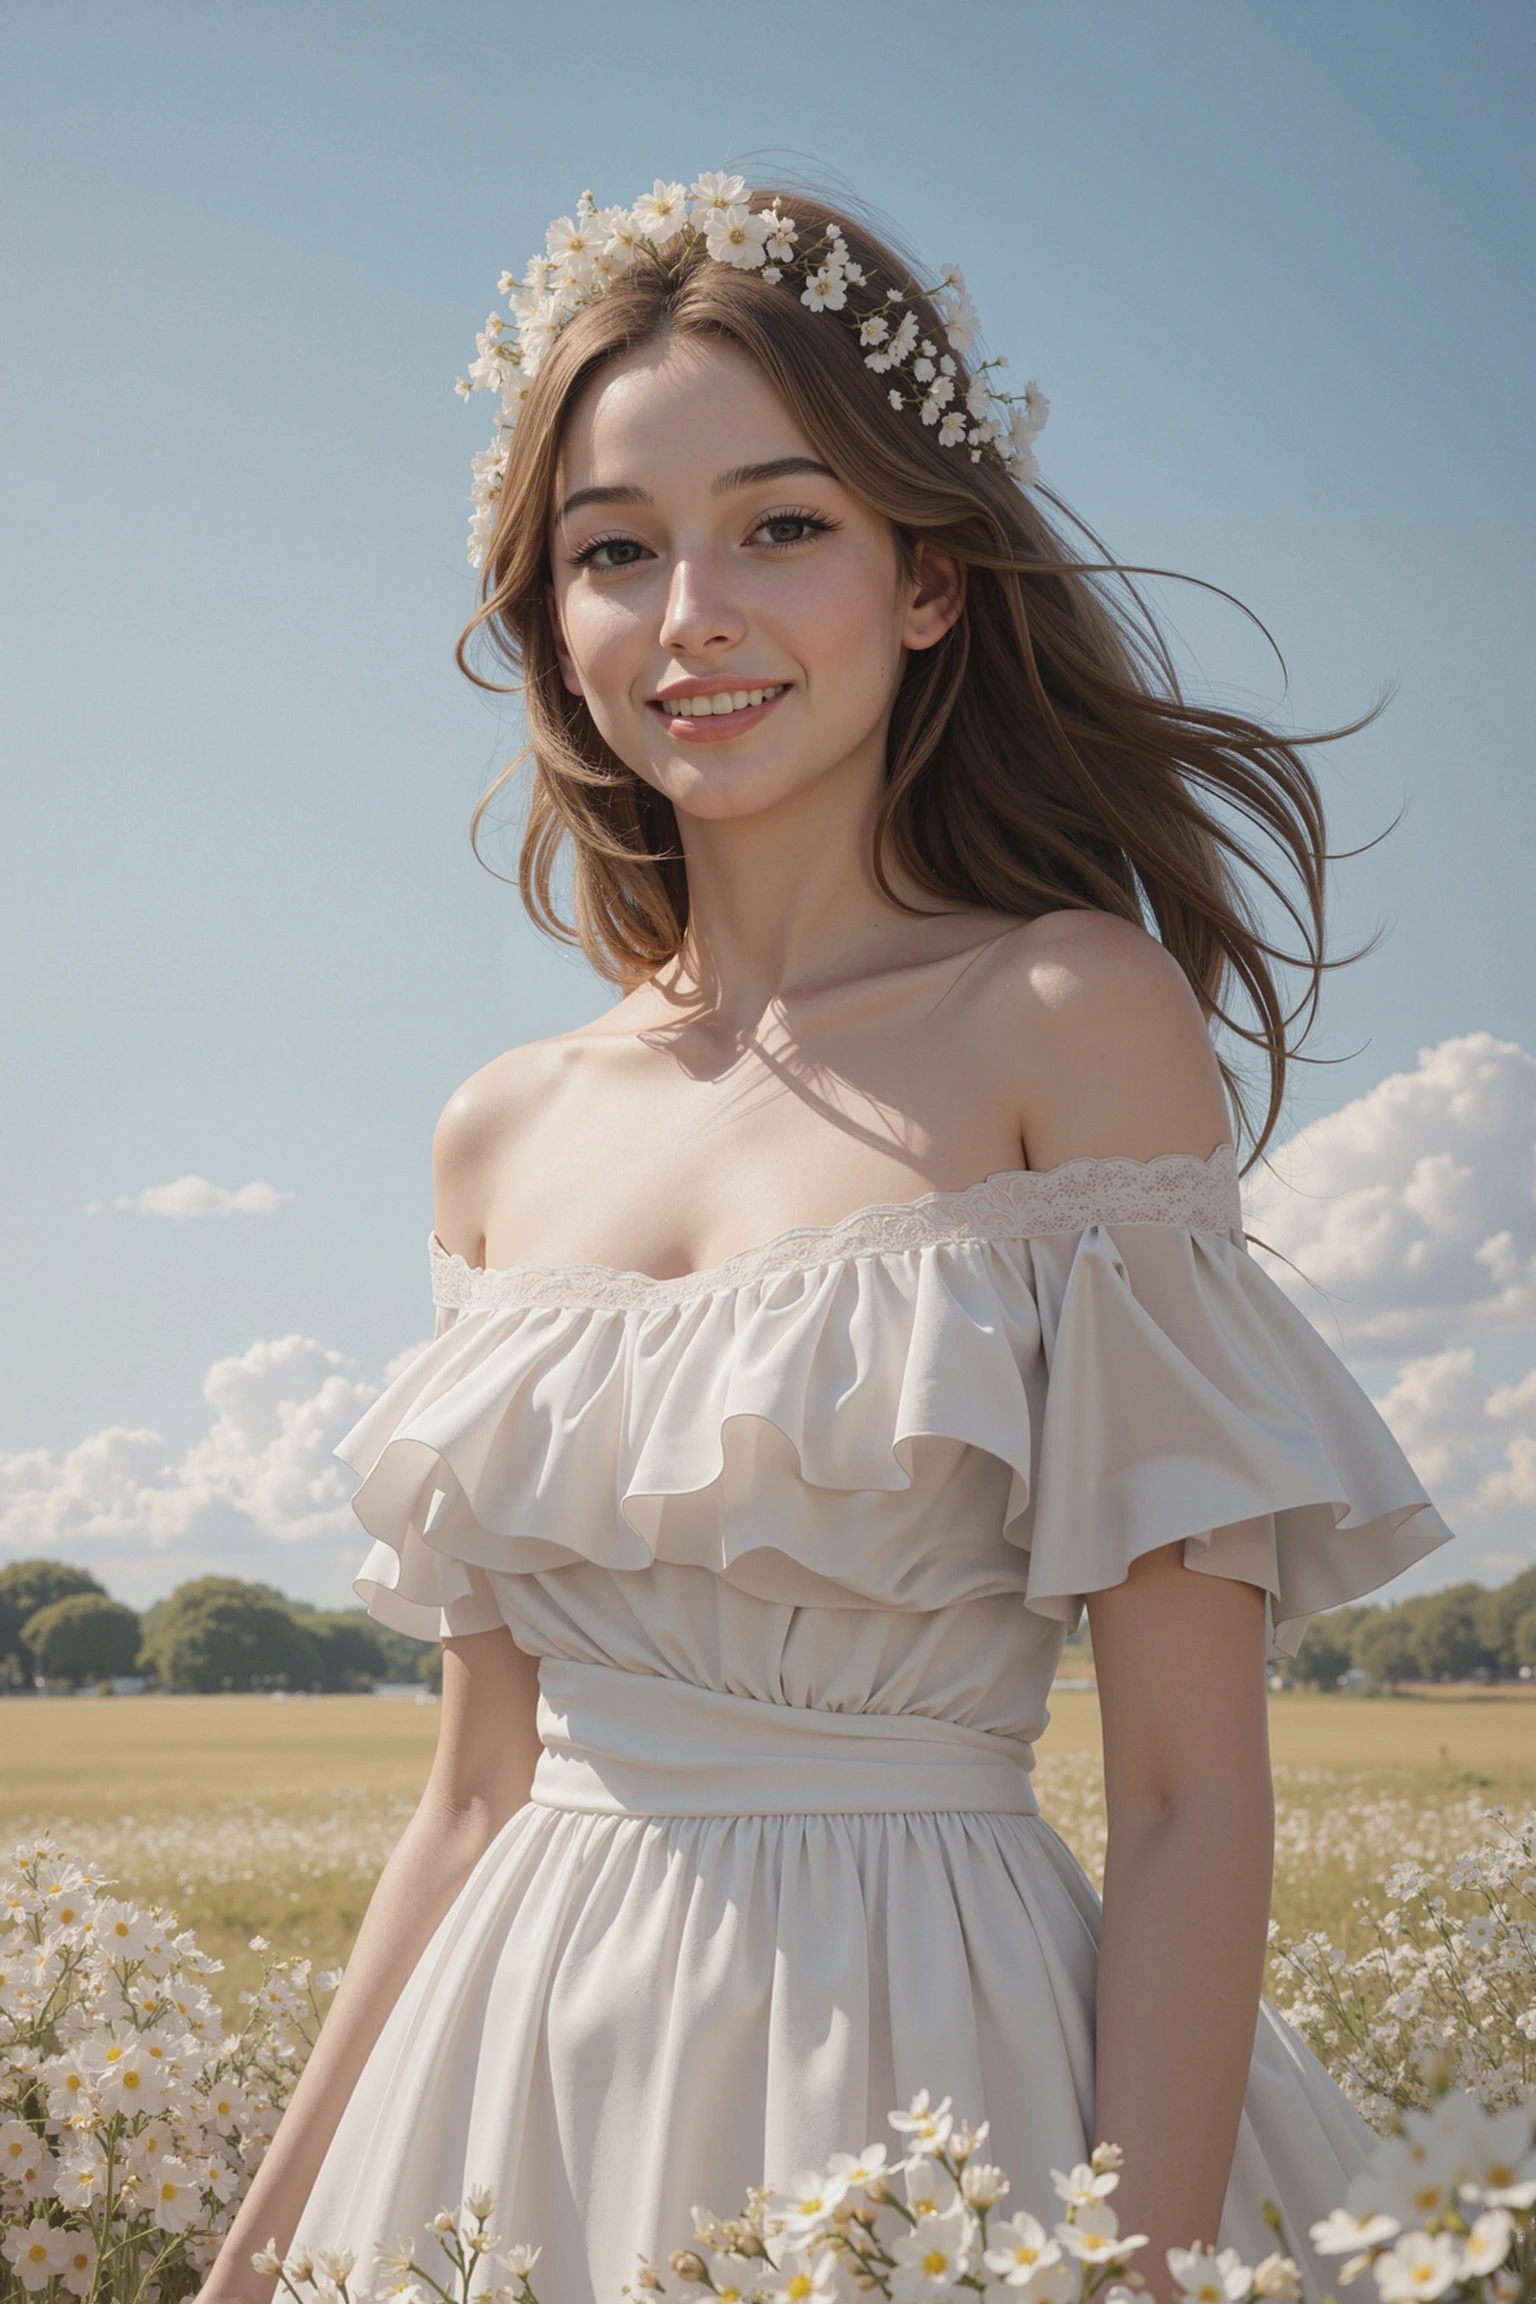
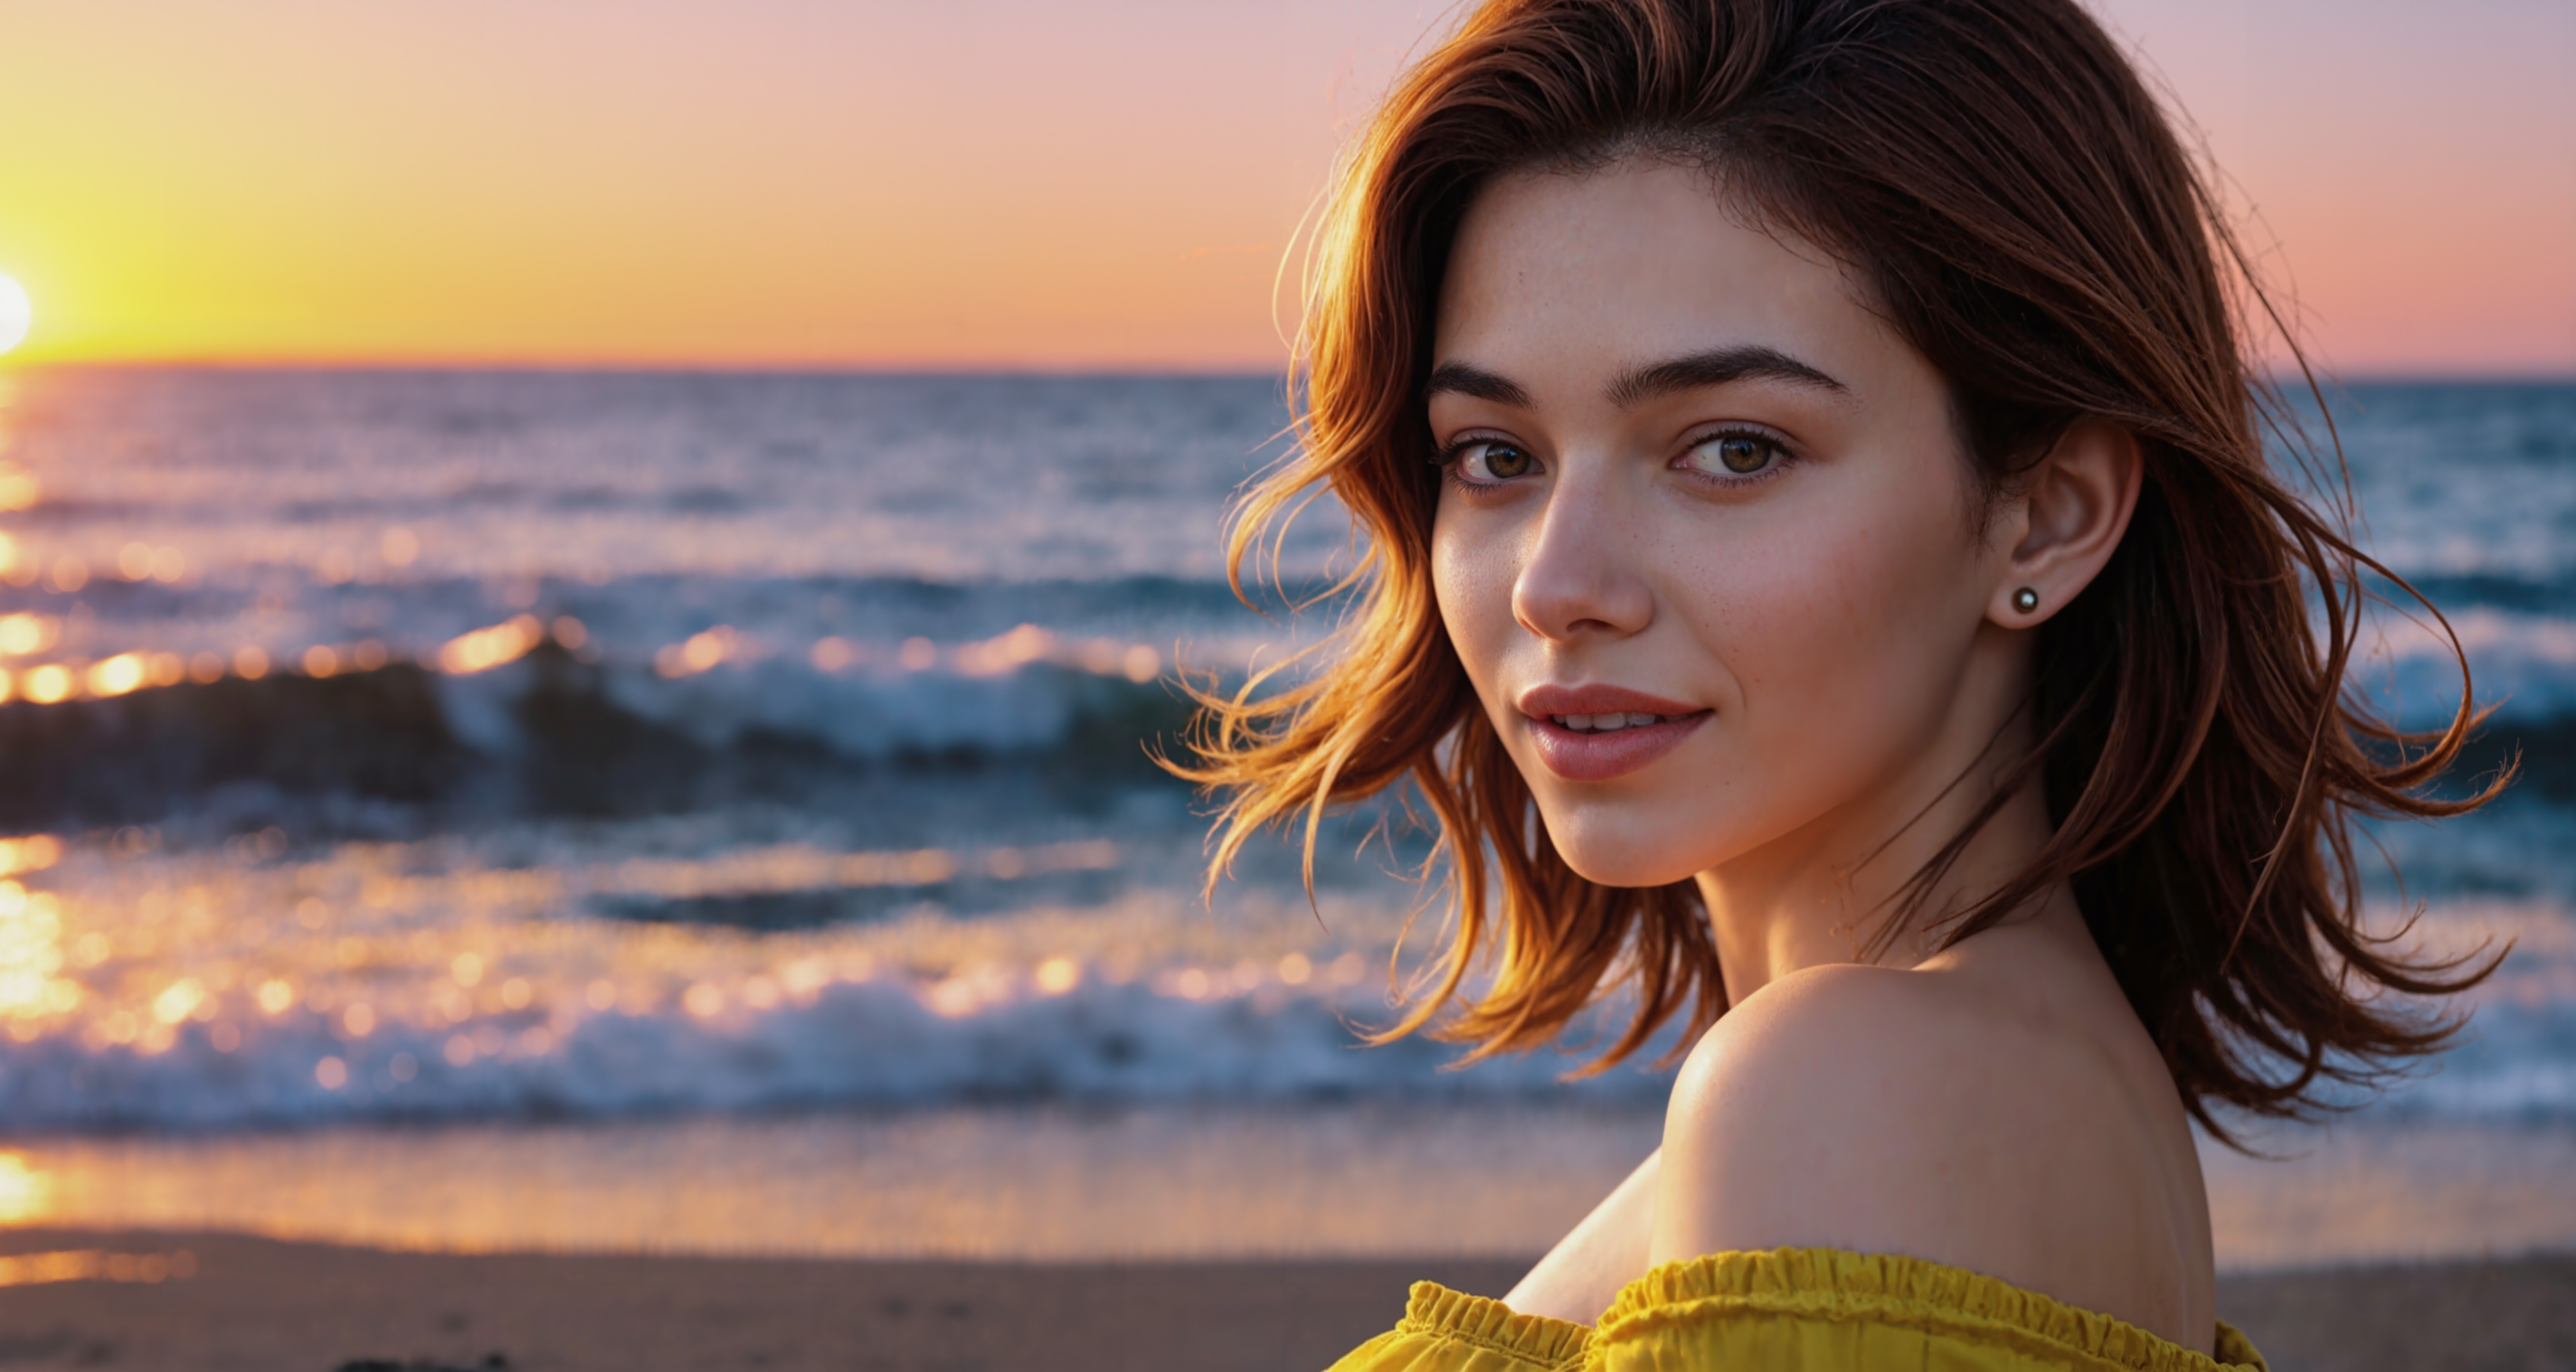
Below is the flux upscaler workflow with some comparisons and samples.
You can drag and drop any image in comfyui to see their generation workflow.
Or you can download it from here: https://drive.google.com/drive/folders/1-1jMla5NTVj4lLptqO6Z6MZ4odmVSdTo
Or Here is the alternate link: https://www.patreon.com/posts/upscale-flux-32k-115673839
Discussion
(No comments yet)
Loading...
Reviews
No reviews yet
Versions (1)
- latest (a year ago)
Node Details
Primitive Nodes (114)
CLIPTextEncodeFlux (2)
ControlNetApplySD3 (1)
GetNode (68)
Image Comparer (rgthree) (12)
Label (rgthree) (4)
Note (7)
Reroute (5)
SetNode (15)
Custom Nodes (37)
- KepStringLiteral (1)
- CR Apply LoRA Stack (1)
- CR LoRA Stack (1)
ComfyUI
- VAEDecode (1)
- VAEEncode (1)
- LoadImage (1)
- ImageScaleBy (5)
- ConditioningZeroOut (1)
- SaveImage (6)
- VAELoader (1)
- DualCLIPLoader (1)
- ImageScaleToTotalPixels (1)
- CheckpointLoaderSimple (1)
- KSampler (1)
- ControlNetLoader (1)
- GetImageSizeAndCount (7)
- UltimateSDUpscaleNoUpscale (5)
- Latent Noise Injection (1)
Model Details
Checkpoints (1)
flux/pixelwave_flux1_dev_fp8_03.safetensors
LoRAs (3)
Flux/SkinDetails_flux_lora_v8.safetensors
Flux/fluxRealSkin-V2.safetensors
Flux/realism_lora.safetensors


