SDXL/Pony: Hand Fix, Watermark Removal, and Upscale
5.0
0 reviewsDescription
4 March 2025
No longer updating this workflow, but making it available again for anyone who wants to use it. Please be aware that I am no longer maintaining this workflow and have moved on to my Illustrious workflow.
Updated on Jul 9 2024.
Changelog:
- Converted the scheduler inputs back to widget. These will have to be set manually now.
- The initial image KSampler was changed to the KSampler from the Inspire Pack to support the newer samplers/schedulers.
- Eye Detailer is now Detailer. The node itself is the same, but I no longer use the Eye Detection Models. I have gotten more consistent results using a face detailer model. You can still use it for eye detection if you prefer.
Note: I no longer use Ultimate SD Upscale or the Hand Fix portion of the workflow personally. I instead use a second KSampler without controlnet to upscale. I left USDU and the Hand Fix in this workflow if you prefer using those still.
This will be the last update on this particular workflow with having USDU and the Hand Fix.
My workflow for generating anime style images using Pony Diffusion based models.
It should work with SDXL models as well.
This workflow also includes nodes to include all the resource data (within the limits of the node) when using the "Post Image" function at civitai instead of going to a model page and posting your image.
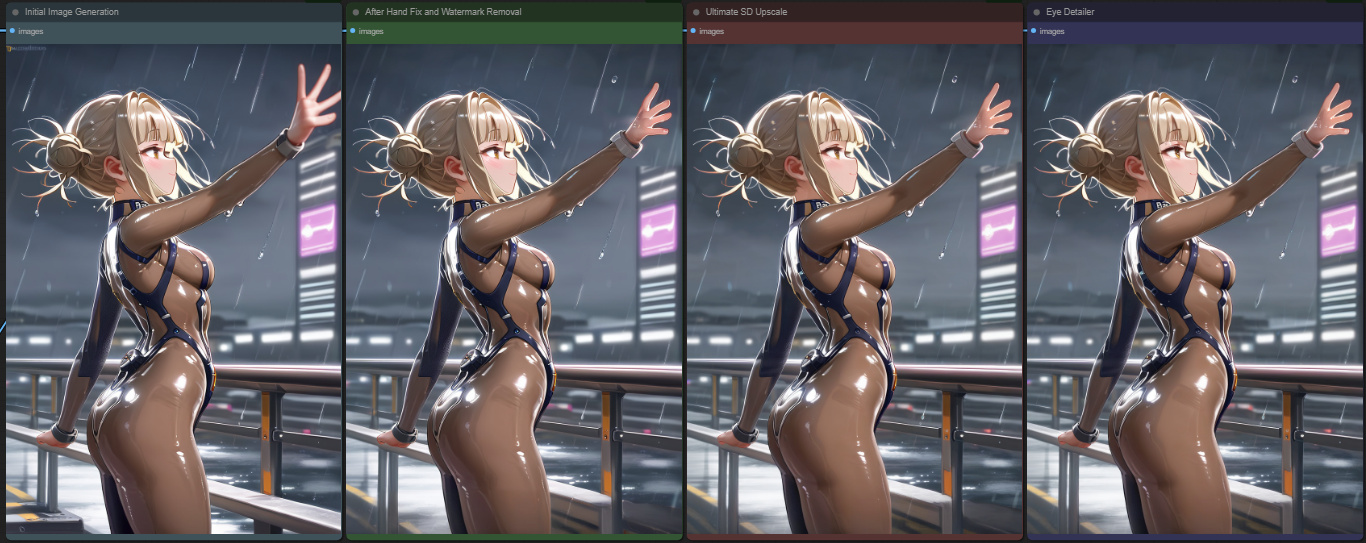
How the workflow progresses:
- Initial image generation
- Hands fix
- Watermark removal
- Ultimate SD Upscale
- Eye detailer
- Save image
This workflow contains custom nodes from various sources and can all be found using comfyui manager. If you see any red nodes, I recommend using comfyui manager's "install missing custom nodes" function.
For the hand fix, you will need a controlnet depth model that is compatible with SDXL.
Hands Fix:
The hands fix portion of the workflow is not my creation. It originated from a reddit post when I was looking up info on the MeshGraphormer Hand Refiner node.
It doesn't always detect the hands, but I have had good results with it fixing wrecked hands. There are some videos on YouTube that cover how the MeshGraphormer Hand Refiner node works, so I won't cover that here.
By default it is set up to run a batch of 4 hand fix images. If none of them look good: cancel the queued job, load the newest item under "view history", change the seed in the SEGS detailer, and queue it up once more.
When a good result is made, let the process go to the start of the watermark removal workflow, cancel the job, and load the most recent item under "view history" again.
From there, use the Picker (SEGS) node by clicking on "pick" and select the desired result in the pop out window and then click done. Queue up once more.
Watermark Detection and Removal:
Just like the hand fix, it does not always detect the watermark. You will have to adjust the threshold to a lower number if the watermark is not being detected. I have had to go as low as 0.001.
This part of the workflow is not my creation, I found a workflow and made tweaks to it to allow more adjustment for the detection threshold. You will also need to download a watermark detector model. There are a few on civitai, which is where I found the one I use.
If you are getting false detections, you can set the threshold to a higher number. The original workflow had this set to 0.5 if I recall.
Just like with the hand fix, you may need to cancel the job and load it up from the history again if you need to make adjustments to the threshold. Make the adjustments after loading from history and then queue it up again.
Ultimate SD Upscale:
You may notice that I am using the "no upscale" version of this node. The way I have it set up seems to give me better results, but it could just be in my mind as well. It does still upscale based on the settings below the node. Just remember that if you are using a 4x upscaler model, you need to adjust the number next to "scale by" while taking that into consideration. e.g. if you are wanting to only upscale to 2x the resolution of the image, you would use "0.5" as the setting for "scale by".
Face Detailer:
This should be self-explanatory, this just detects and details the face. You may need to download a face detection model. Again, I used civitai to find the one I use. If you end up using a model that puts an X where it says "SEGM Detector", disconnect the thread from the detailer. Leaving it connected may throw an error.
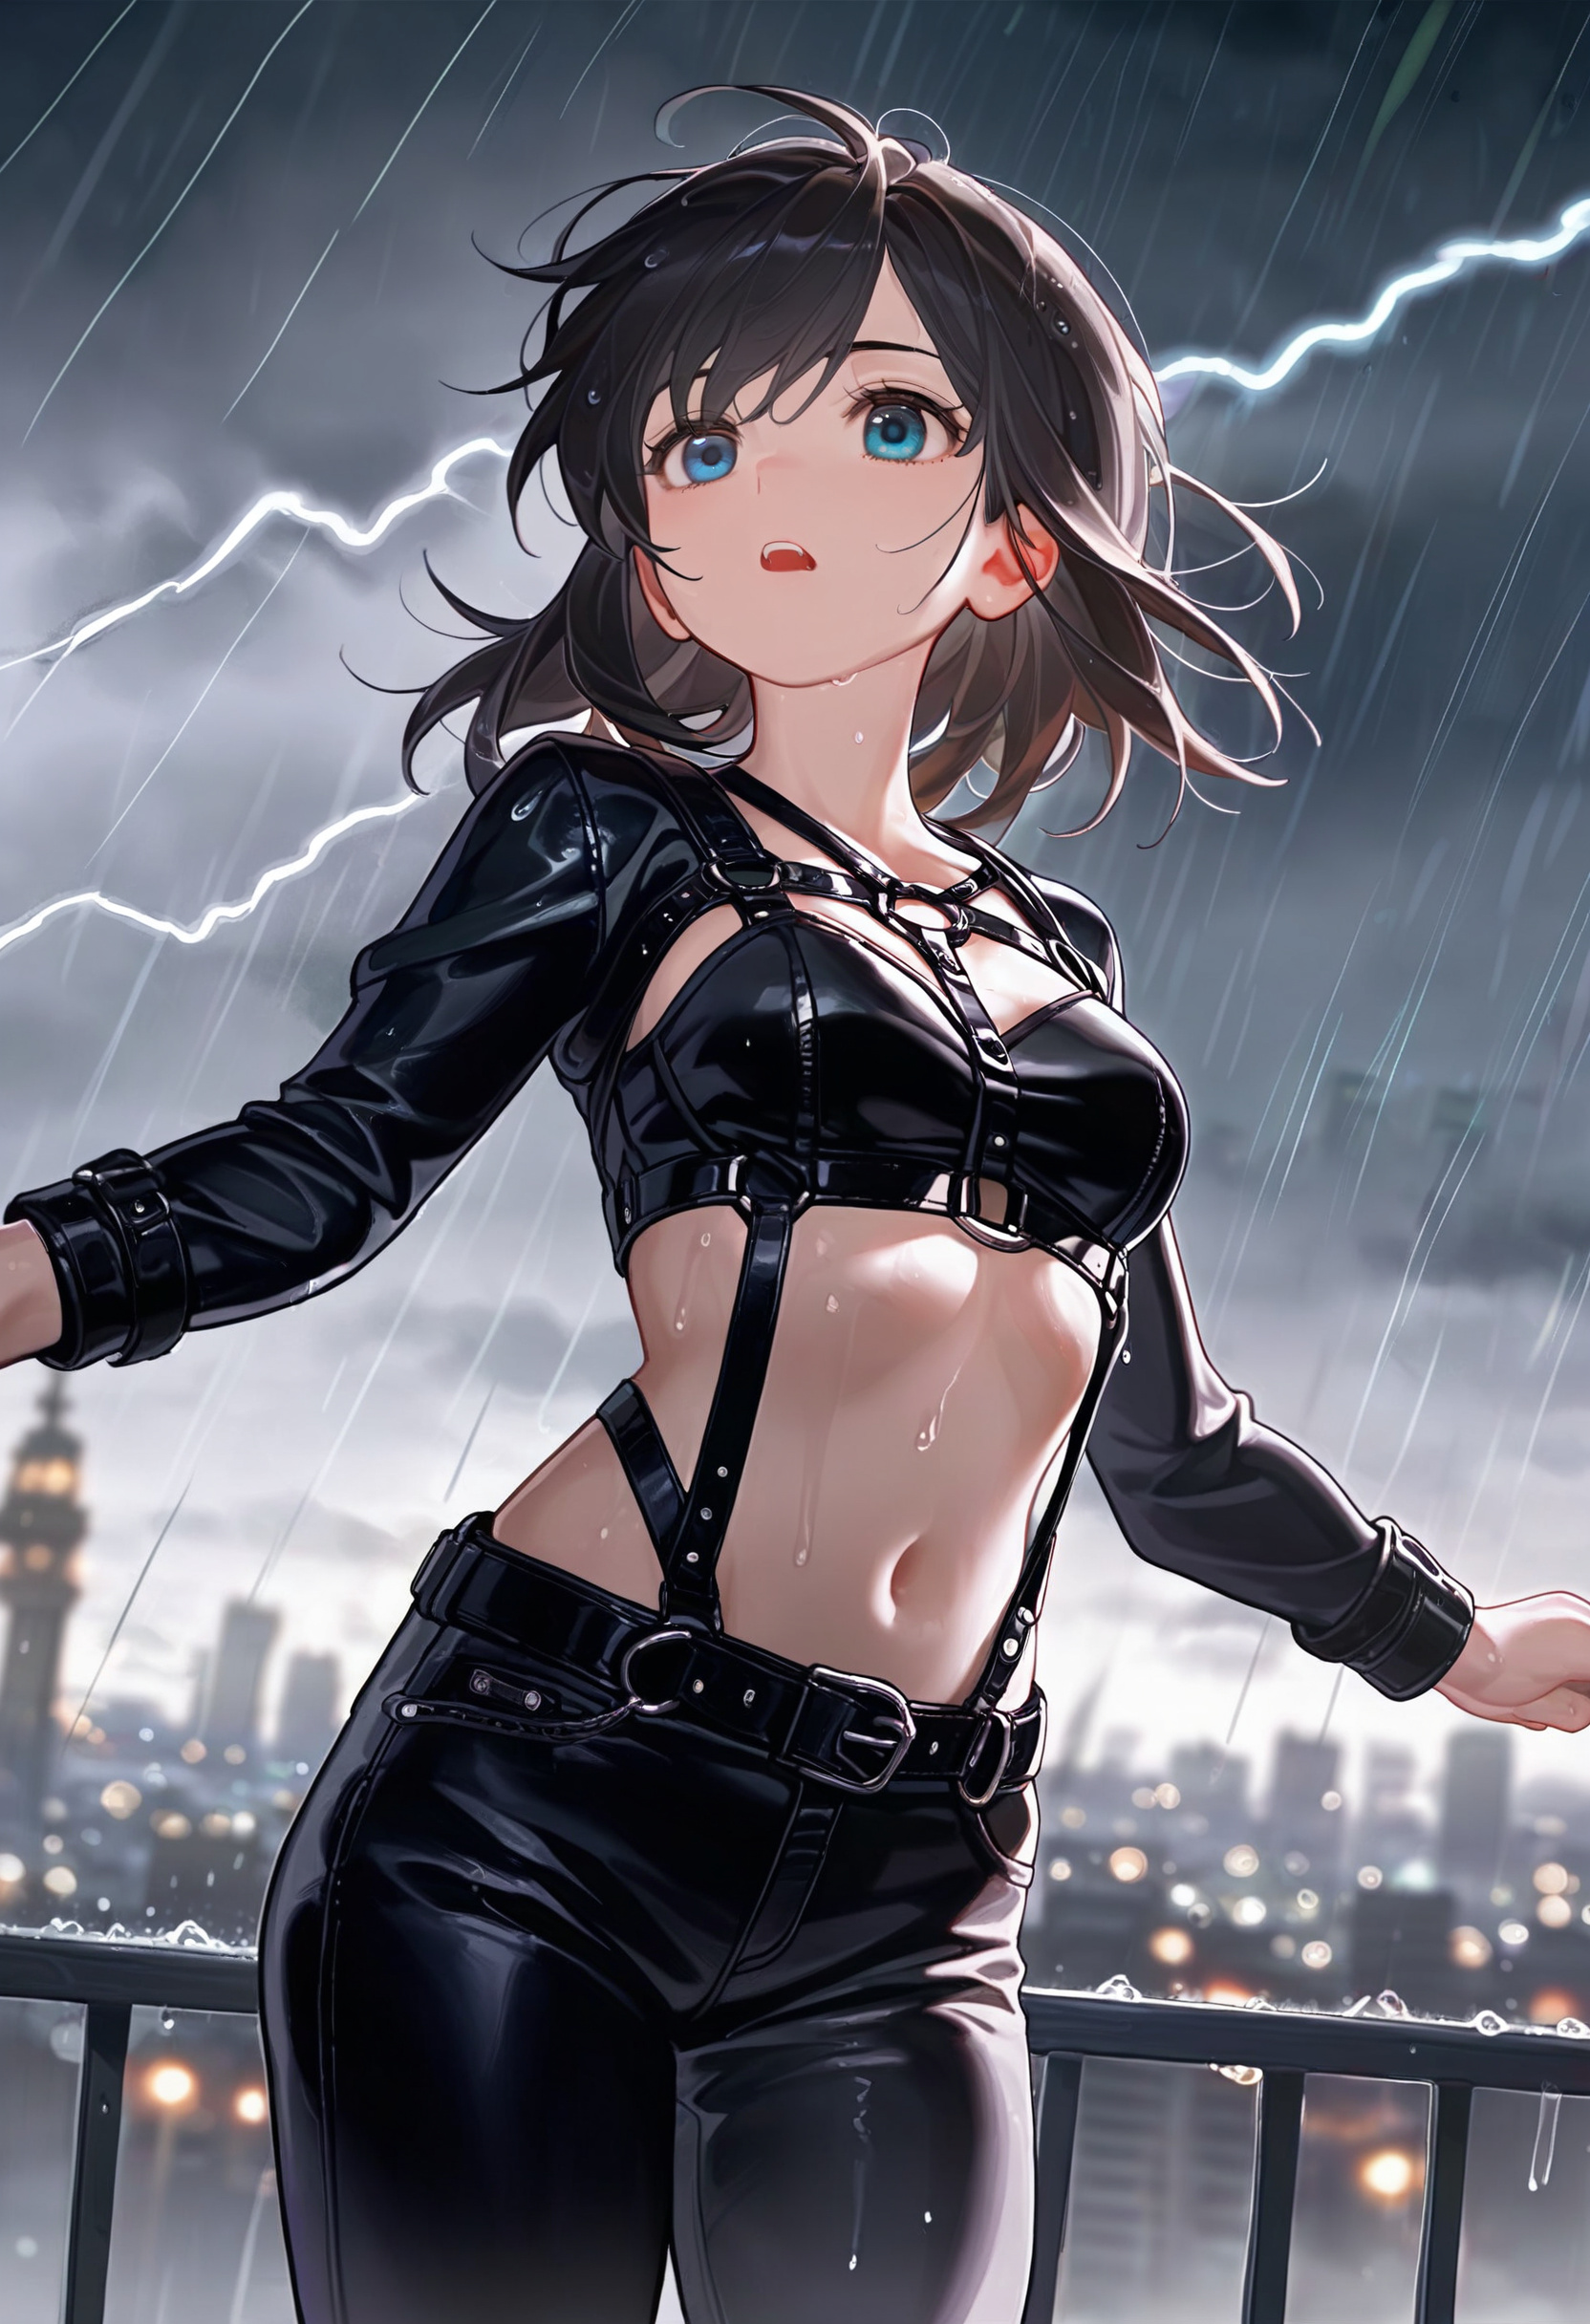
Not sure on the policy for showing the results, so I will keep it to SFW images. The example images were generated using the T-ponynai3 - v3.5 model.pe
Discussion
(No comments yet)
Loading...
Reviews
No reviews yet
Versions (1)
- latest (2 years ago)
Node Details
Primitive Nodes (16)
Anything Everywhere (1)
Note (9)
Prompts Everywhere (1)
Reroute (2)
Simple String (1)
Switch any [Crystools] (1)
workflow/Parameters (1)
Custom Nodes (63)
- CR String To Number (1)
- CR Multi-ControlNet Stack (1)
- CR Apply Multi-ControlNet (1)
ComfyUI
- PreviewImage (11)
- CLIPTextEncodeSDXL (2)
- VAEDecode (1)
- UpscaleModelLoader (1)
- ImageUpscaleWithModel (1)
- ImageScaleBy (1)
- GrowMask (1)
- ImageToMask (1)
- ImageInvert (1)
- MaskToImage (3)
- SolidMask (1)
- VAELoader (1)
- EmptyLatentImage (1)
- ControlNetLoader (1)
- DifferentialDiffusion (2)
- Checkpoint Loader with Name (Image Saver) (1)
- Image Saver (1)
- SEGSDetailer (2)
- ToBasicPipe (1)
- SEGSPaste (2)
- MaskToSEGS (2)
- SegsToCombinedMask (1)
- BboxDetectorSEGS (1)
- SAMLoader (1)
- UltralyticsDetectorProvider (2)
- SEGSPreview (1)
- ImpactControlNetApplySEGS (1)
- ImpactSEGSPicker (2)
- FaceDetailer (1)
- KSampler //Inspire (1)
- LeRes_DepthMap_Preprocessor_Provider_for_SEGS //Inspire (1)
- WildcardEncode //Inspire (2)
- LamaRemoverIMG (1)
- MeshGraphormer-DepthMapPreprocessor (1)
- UltimateSDUpscaleNoUpscale (1)
- Image Transpose (2)
- Number Operation (1)
- Constant Number (1)
- Image Size to Number (1)
Model Details
Checkpoints (1)
PDXL\tPonynai3_v35.safetensors
LoRAs (0)


