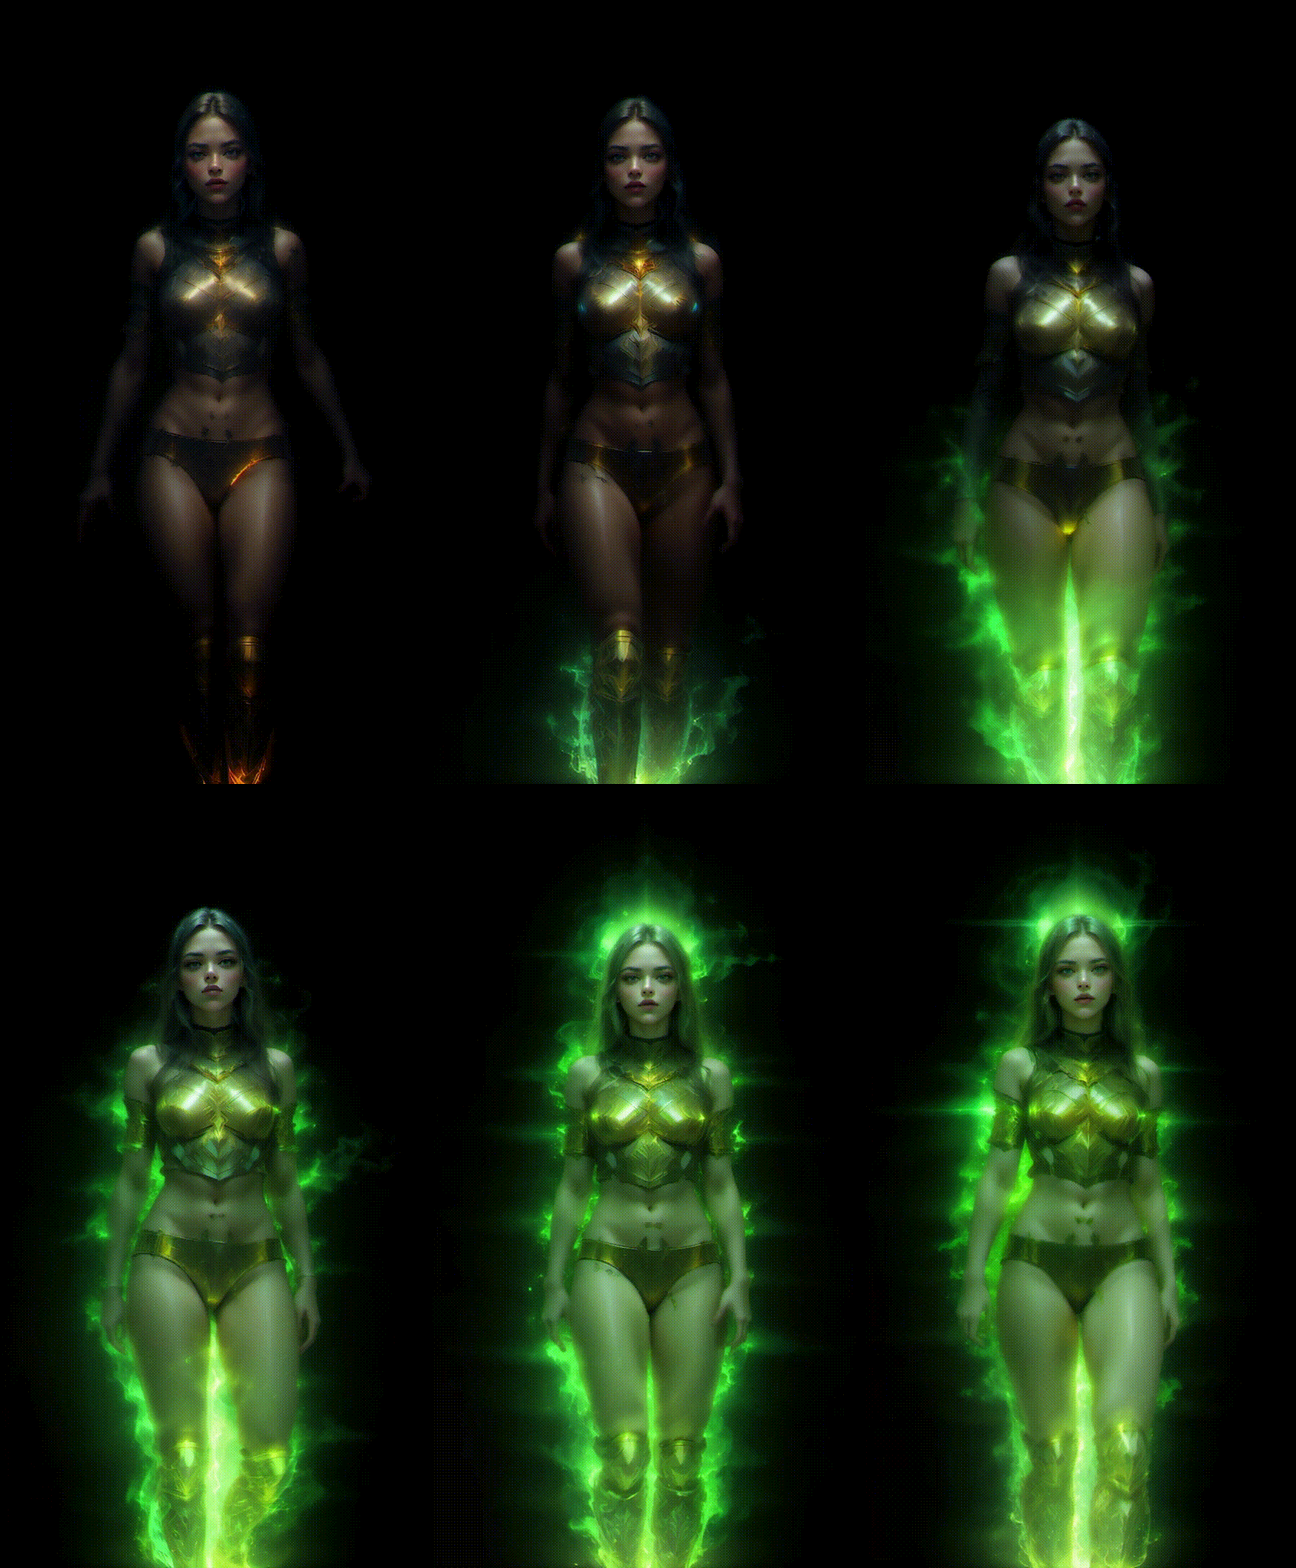
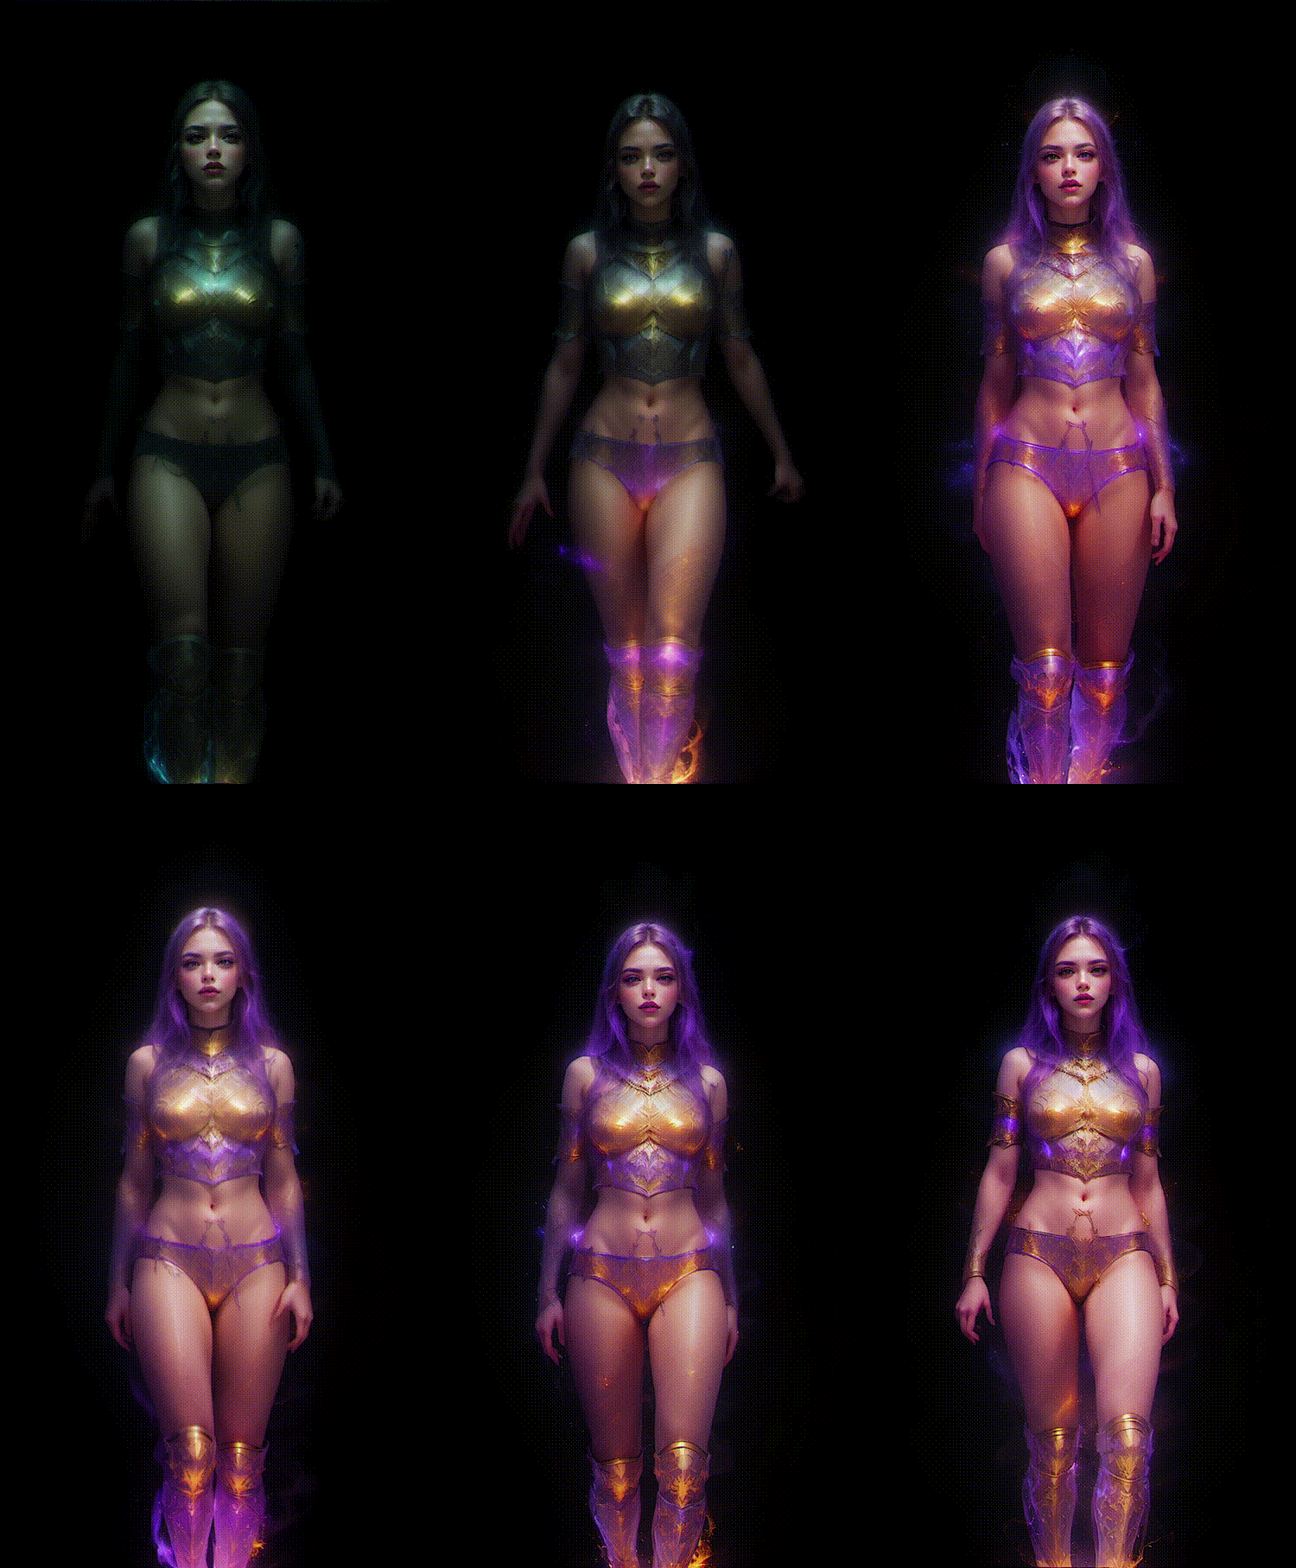
[v3.0] Light Mixer
5.0
2 reviewsDescription
.
.
.
Video Tutorial: https://www.patreon.com/posts/v3-0-light-mixer-100482069
.
.

Hi Folks !! A new Workflow has been added in the above folder which can manipulate light maps onto the images and create some cool lights vfx.
Drive link : https://drive.google.com/drive/folders/1z5N8rHwTRd8_P0vJBqlQy8mECNKX_6am
2.5_1) Light Mixer
How it works it that it take a light map (Colored Mask of the Lights) and Blends it with the Raw latents and diffuse it through the sampler. The Colored pixels of the Light map tell that there is particular Area has more Light/Effects/Bright elements there which are guided by the prompts.
This workflow can be used after the raw workflow, and before refiner to add some Light VFX using custom light maps,
* Also can be used with Original Images to add AI Styled Light Effects.
- Single Image or Sequence (Directory) as Shown below:

[Unmute the Group and Connect the Blue Reroute Nodes to use]
1) Single Map: You can use photoshop or any painting software to make an image and paint any area you want the light effects to happen. Color Black where you want the areas to be darker.
You can use multiple colors, gradients, or even patterns to make interesting outputs.
Neutral Grey Color will affect the least.
2) Directory (Sequence): You can use any video frames like fire, VJ loops, Shiny Abstract patterns or Custom Made maps made from after effects like from the Thumbnail video, and use those frames to drive the Light Mixer workflow.
You can also input patterns like the QR Code monster's inputs ( Black and white spiral.. etc).

From this ImageAdjust Options, you can add tints, saturations, change hue from inside Comfy. Also you can Blur the Light map if needed.
Raw Image Inputting

Here in the Orange Node you will enter the Raw Images folder Path, These images can be also used for Tile Controlnet if need.
*Tile CN Strength is set to 0 as they can make the image brighter and also sometimes blurs the shadow areas. You as you are required.
Hight Lights

1) Yellow Node is used to extract the highlights from the "Raw" images, Use the Threshold slider to control how much you want your highlights to have more visibility.

2) Orange Node is used to change the tint of the highlights,
*Sometimes the highlight color can be mis-matching in the Outputs, here you can try to fix them.
Use the Red, Green and Blue Color Sliders to Add or Subtract them.
Blending

Here you can set the Intensity of the blending and brightness or the raw images. If you want want, you can change the blending mode and play with the settings.
Other Settings

1) Highlights Intensity can be manipulated here to some extent.
2) If you see too much Artifacts or Latent Noise try upscaling by increments of 0.1
3) Here you set the "Start Blending from nth Step", Higher values will result in lower quality, and Low values can change the image entirely. So keep it around (5-15). Feel free to over step these values.
__________________________________________________________________________
Free After Effects SABER Plugin: https://www.videocopilot.net/blog/2016/03/new-plug-in-saber-now-available-100-free/
Custom Node : https://github.com/Amorano/Jovimetrix
_________________________________________________________________________
Will Come Back soon with some more stuff ❤️
My Discord Server : https://discord.gg/z9rgJyfPWJ
If you need Cloud GPU : https://www.runcomfy.com/?ref=jerrydavos
- Jerry Davos
.
.
.
.
.
YOU CAN SUBMIT YOUR RENDERS BELOW IN THE COMMENTS IF YOU WANT THEM IN THE THUMBNAILS OF THIS WORKFLOW
.
..
.
.
Discussion
(No comments yet)
Loading...
Reviews
No reviews yet
Versions (1)
- latest (2 years ago)
Node Details
Primitive Nodes (64)
ADJUST (JOV) 🕸️ (1)
BLEND (JOV) ⚗️ (1)
GetNode (22)
Note (15)
Primitive float [Crystools] (1)
Primitive integer [Crystools] (1)
Reroute (13)
SetNode (10)
Custom Nodes (75)
- ImageFilterBlur (1)
- ImageEffectsAdjustment (2)
- ADE_StandardStaticContextOptions (1)
- ADE_UseEvolvedSampling (1)
- ADE_ApplyAnimateDiffModel (1)
- ADE_LoadAnimateDiffModel (1)
- CR Apply LoRA Stack (1)
- CR LoRA Stack (2)
- CR Integer To String (1)
ComfyUI
- PreviewImage (8)
- LoadImage (1)
- VAELoader (1)
- ImageScale (2)
- CheckpointLoaderSimple (1)
- VAEDecodeTiled (1)
- KSamplerAdvanced (1)
- VAEEncode (2)
- LatentUpscaleBy (1)
- ImageBlend (1)
- LatentBlend (1)
- GetImageSize+ (2)
- ImageListToImageBatch (2)
- ACN_AdvancedControlNetApply (2)
- LoadImagesFromDirectory (3)
- ControlNetLoaderAdvanced (2)
- VHS_SplitImages (8)
- FloatConstant (7)
- ImageBatchRepeatInterleaving (1)
- MathExpression|pysssss (1)
- Int Literal (6)
- Cfg Literal (1)
- Seed Generator (1)
- smZ CLIPTextEncode (2)
- Text Multiline (2)
- Text String (1)
- Text Concatenate (1)
- String to Text (1)
- Image Save (1)
Model Details
Checkpoints (1)
animerge_v27.safetensors
LoRAs (0)


